JEEPTALK.net: Homemade Intake - JEEPTALK.net

Jump to content

Page 1 of 1
  • You cannot start a new topic
  • You cannot reply to this topic

Homemade Intake

#1 User is offline   92SquareEye 

  • Colonel
  • View gallery
  • Group: Members
  • Posts: 1,761
  • Joined: 13-January 05
  • Gender:Not Telling
  • Location:xxxxx

Posted 15 November 2011 - 01:47 PM

So after installing the new motor, I've had the opportunity to take it out twice and have already come way closer to the danger zone than I feel comfortable with. That said, I decided to make a new intake to rest my fears a bit...

The premise of the build revolved around a 6" section of PVC and an air filter from a F450/550.

Parts required:

1x F450 air filter
1x 8" section of 6" PVC
2x 6"x4" Fernco rubber couplings
2x 3" Fernco rubber couplings
1x 4"x3" PVC reduction bushing
2x 3" PVC 90° bends
1x 3" PVC 45° bend
1x 12" section of 3" PVC
1x 24" section of flexible 3" intake hose
1x 3"x2½" intake coupling
1x Black door trim
1x Precleaner for the intake head. I used a Donaldson TopSpin that I had acquired long ago.

Posted Image

The flange on the filter seats perfectly on the 6" PVC...

Posted Image

I got a little carried away and forgot to take pics of the next several steps, but here's what happened:

The PVC bends I used were male on one end and female on the other (street bends). For plumbing code and whatever else reasons, the ends are designed to accept 2" of male tube into the female tube. Wanting to keep the size as small and compact as possible, I shaved 1" off of each end of the pvc fittings...1" of fused seal will be ample for the needs of an intake. I sanded the flared end of the reduction bushing to make it smooth and then cut the reduction bushing in half to yield 2 pieces. I also shaved 1½" off of the 4" end of the large Fernco couplings. I cut the 6" piece down to size, inserted the air filter into the pipe and capped it with the Fernco couplings (you might wish to mark it with an arrow indicating air flow as not to forget). When done, the pieces looked something like this:

Posted Image

Coming out of the air canister, I used the two 90° bends. I inserted the male end of the 3" bends into the reduction bushing and glued it up. From there, the reduction bushing fits in the 4" end of the Fernco couplings perfectly and the band clamps ensure an airtight fit.

I attached the 3" flex hose to the intake using the coupling and gauged where to route it. Coming out of the engine compartment, I went through the firewall and into the passenger area behind the dash. For both of the holes, I used a 4⅛ hole saw. Run a strip of the door trim around the hole to avoid any sharp edges which could cut through the 3" Fernco coupling and then install the coupling. This finishes the work under the hood.

Posted Image

Posted Image

Now put one of the bends into the air can and tighten the band clamp. Put a short section of the 3" pvc (4" or so) into the female end of the elbow. For the next step, it is much easier of you remove the passenger seat and glove compartment.

Contort yourself like a pretzel so you can now gain access up underneath the dash and insert the air can into the 3" coupling coming through the firewall. Do not tighten this band clamp yet as you will need to be able to move it around to get the correct fitment.

Posted Image

Posted Image

Put the other 90° bend into the opposite end of the air can and then put the 45° bend into the 90° (Do not glue these yet). With the bend loose and not glued, you can twist them until the result looks something like this:

Posted Image

Now you know about where to make the hole in your body cowl. Use as much time as required before deciding where to make the hole...you get one shot at this.

Clean the area where you want to make the hole (it is not necessary to clean any other area of your Jeep!).

Posted Image

Mask the area w/ tape and take the plunge...

Posted Image

Use another piece of the door trim to line this opening also

Posted Image

Insert the remaining 3" coupling into the opening and set the height of where you want it to be...

Posted Image

measure, cut and fit the remaining 3" pvc between the rubber coupling and the 45° bend. Once you're satisfied w/ the angles and fitment, mark the bends, remove and glue them up.

Posted Image

Posted Image

If you want to paint it, now is the time. I used a leftover can of bedliner I had in the shed...

Posted Image

Putting it together. Assemble the air can using the filter, 6" pvc and Fernco couplings. Remember which way you installed the filter so you get the flow direction right...

Posted Image

Posted Image

Now install the other pieces...

Posted Image

and then fit it all together in the Jeep...

Posted Image

Posted Image

Posted Image

Install the prefilter to the topside of the cowl coupling and secure...

Posted Image

If you didn't think to check the hood clearance before cutting the hole, you can do that now also...

Posted Image

re-install the passenger seat and glove compartment...

Posted Image

and you're done. At this point, I fired the engine to hear it breathe. I couldn't detect any leaks and the engine seemed to be getting plenty of air. For added piece of mind, I removed the prefilter and covered the intake opening with my hand. I was able to shut the engine down, satisfying my questions as to how sealed it actually was...and it's sealed!!

Haven't put it in a real world testing situation yet and I'm really not chomping at the bit to do so; but, if that situation were to unexpectedly present itself...I'm pretty confident that it would pass.

-dave
#2 User is offline   JeepNWilly 

  • Brigadier General
  • View gallery
  • Group: GlobalMod
  • Posts: 2,570
  • Joined: 23-April 07
  • Gender:Male
  • Location:West Palm Beach, FL

Posted 15 November 2011 - 03:16 PM

Nice work :2thumup:
I see water in your future. :whistle:
Willy
2006 Wrangler X , 2014 JK Unlimited Sport
Keep Calm And Wave On
Pics:

Posted Image

#3 User is offline   RockOn 

  • Master Sergeant
  • Group: Members
  • Posts: 84
  • Joined: 27-July 11
  • Location:Plantation, Florida

Posted 15 November 2011 - 04:02 PM

Thats awesome Dave. Cool write up.
RockOn
1993 Jeep Wrangler
Work in Progress... has some stuff, needs some stuff, have a bunch of stuff to put in/on

#4 User is offline   Rollbar 

  • Commander
  • Group: GlobalMod
  • Posts: 7,058
  • Joined: 16-May 03
  • Gender:Male
  • Location:Palm Harbor, Florida

Posted 15 November 2011 - 04:23 PM

Cool, but a CJ with ROUND headlights doesn't have that problem :rof: :obsessed: :empathy: :tongue1:
*MY CJ IS YOUR yJ's DADDY*
'48 Willys; '74CJ5; '80CJ7; '84 CJ8; '86 CJ7

*Who Needs A Stinking Manual When You Have A Fat Wallet For Tech Support!*

*What man is a man who does not make the world better*

Support the Central Florida Bible Camp for kids

#5 User is offline   CrackerJack 

  • Lieutenant Colonel
  • Group: Members
  • Posts: 1,134
  • Joined: 23-September 09
  • Gender:Male
  • Location:Miami, Fl

Posted 15 November 2011 - 05:19 PM

Nice write up Dave. Keep your eyes open, I had a whirl air just like that one taken off my jeep last week while I was at work. :mouthzip1: Give me a call when you're ready to give it a"real world" test. :thumbsup:
1991 YJ 3" SOA, 3" BL, 38.5 boggers, SYE, EB D44/8.8, 4.10s, 1999 4.0 High Output motor, BIG rear bumper, 10K vortex winch w/ wireless remote, Square Headlights plus a few extra
1989 YJ. 2"BL, semi-functional snorkel, little "girlie" tires
2001 F350 7.3L turbo diesel, Square Headlights
2007 Honda Rancher 4x4 27" Vampire tires, Square Headlights
Member: South Florida Jeep Club
FOUNDER: Square Headlight Intense Team
"Right is Right even if no one does it & Wrong is Wrong even if everyone does it."
"NEVER look down on someone unless you are helping them up"
"I'm not smart but I can lift heavy things"

Posted Image

#6 User is offline   YJay92 

  • Second Lieutenant
  • Group: Members
  • Posts: 204
  • Joined: 14-November 09
  • Gender:Male
  • Location:Pembroke Pines, FL

Posted 15 November 2011 - 06:36 PM

Looks great Dave! Did you remove the heater box for this install or was it already gone?
1992 YJ, 4.0, auto, HP D30 w/TJ chromoly shafts, Ford 8.8 LSD, 4.10 gears, NP231J w/AA SYE, Tom Woods Drive Shaft, 4" Pro Comp lift, 1.25" shackle lift, 35" MTZ's, 10,000lb winch, Mark VIII fan, 136 amp alternator, TJ flares, homemade snorkel and rock rails, no track bars or sway bar

Square Headlight Intense Team []lllllll[]

#7 User is offline   RockOn 

  • Master Sergeant
  • Group: Members
  • Posts: 84
  • Joined: 27-July 11
  • Location:Plantation, Florida

Posted 09 December 2011 - 11:58 AM

Shortly after Dave did his I was inspired to do mine. However I have a disclaimer here... My install is a helluva lot more money than Dave's project due to that the simple fact that I have more $$$ than I have patienices orSKILL. Having said that... none of my parts are home made... they were all purchased. So if you are looking for a cost saving install, click the "back" button now. Thank you.

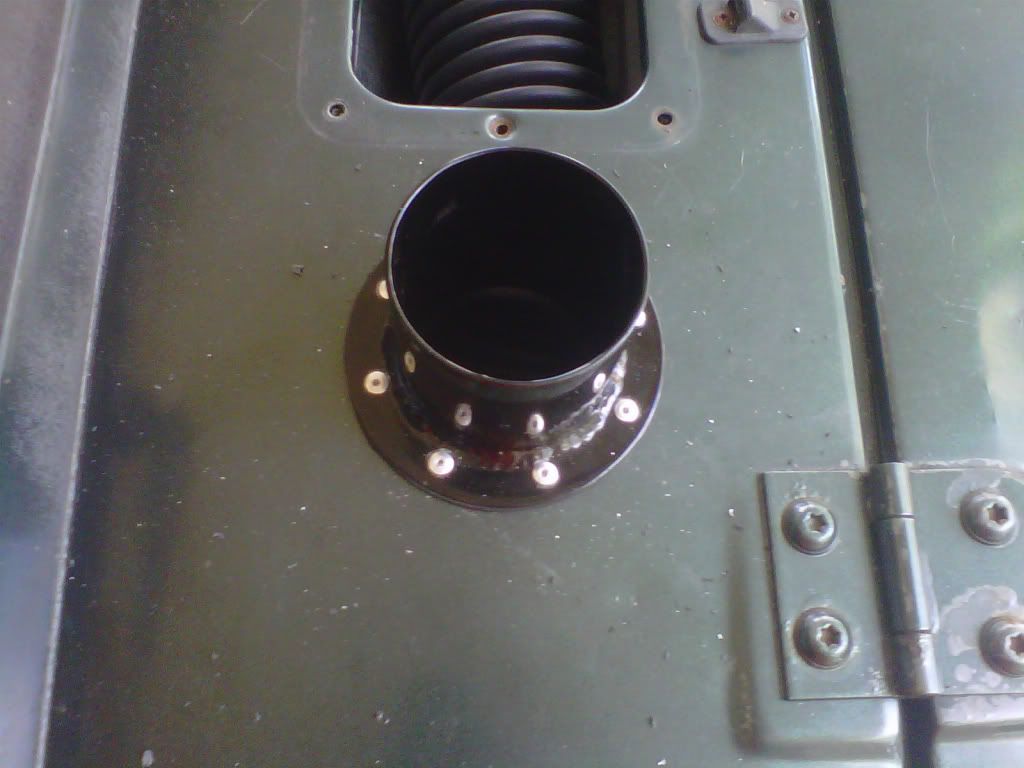
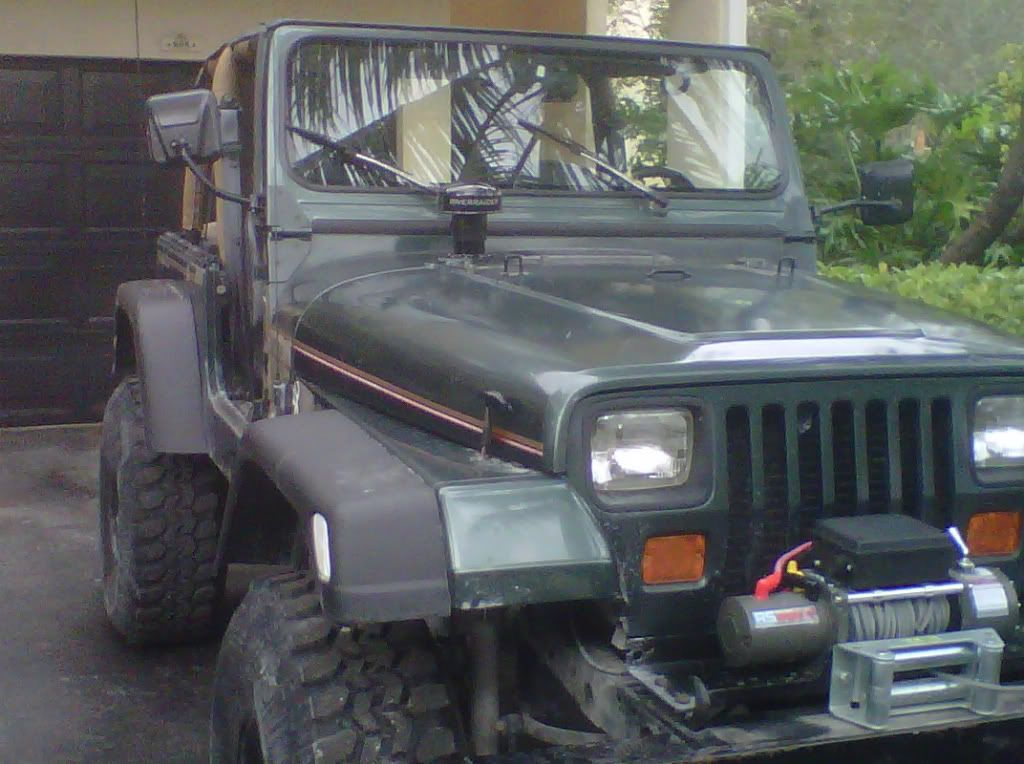
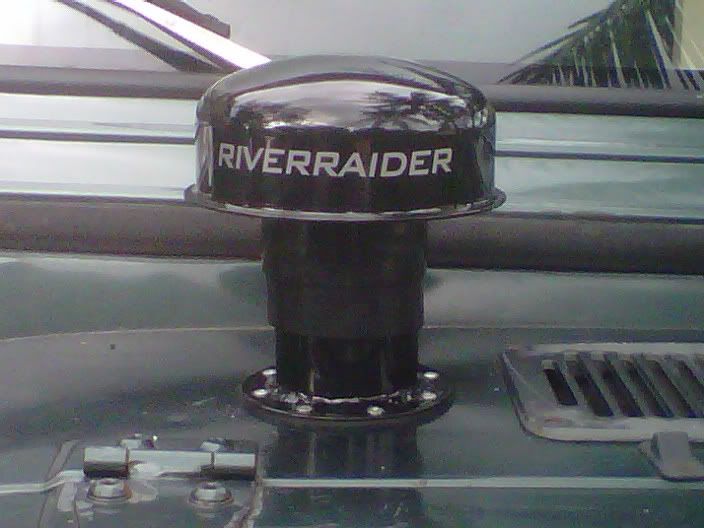
Had a River Raider Expedition kit laying around from when I owed a TJ... went in through the passenger side cowl.

Posted Image

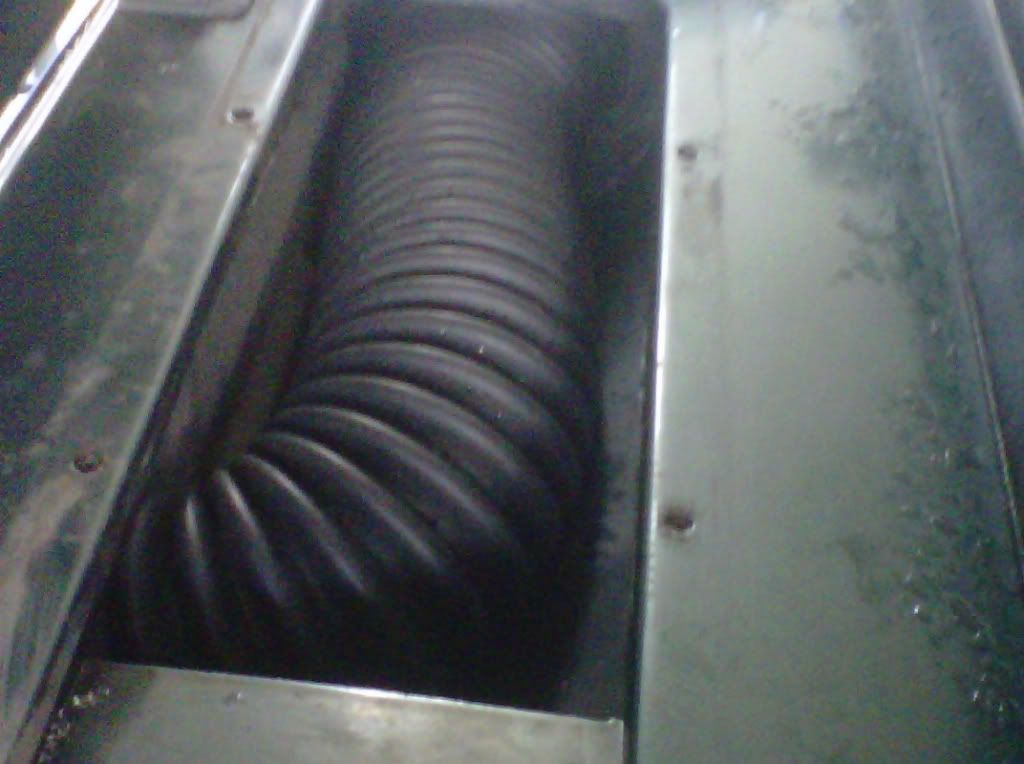
Ran the "long" hose that came with the RR kit through the vent tray...

Posted Image

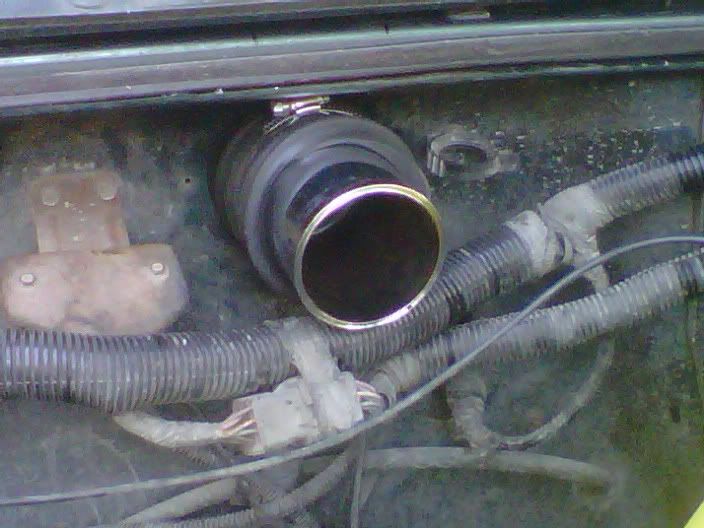
Came out through the fire wall with a 3x3 4" Spectra coupler...

Posted Image

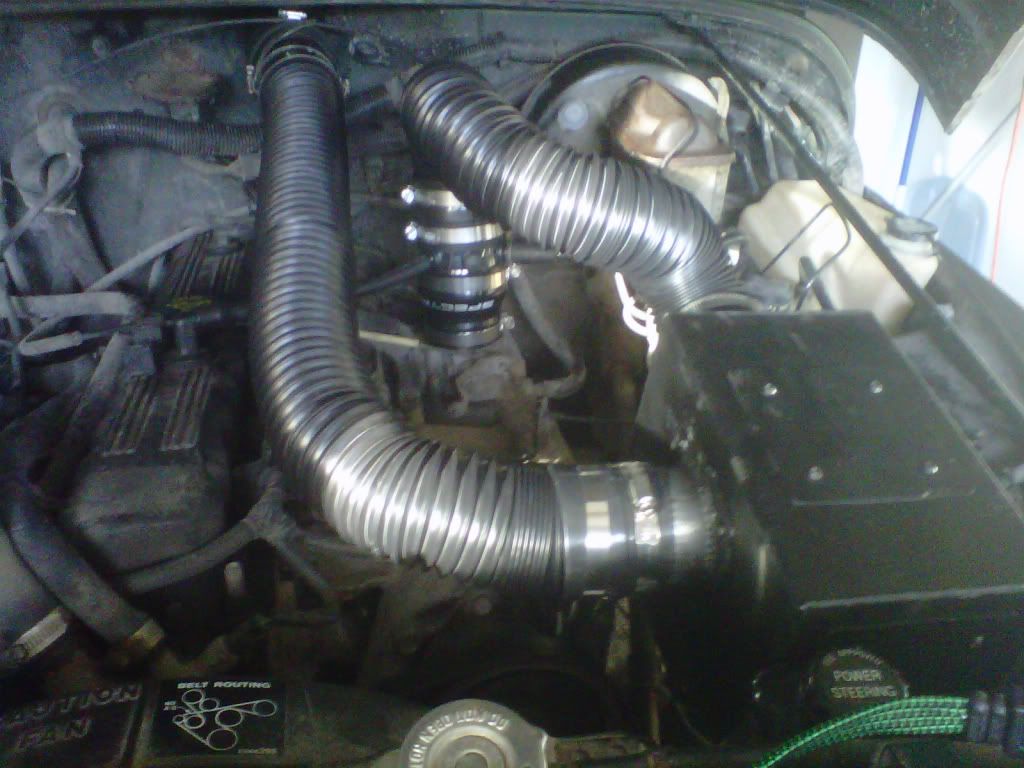
Used Spectra hose to a RR air box (homemade air box didn't work out for me... example of more $$$ than skill). Used Spectra adapter for the vac lines

Posted Image

Posted Image

Posted Image
RockOn
1993 Jeep Wrangler
Work in Progress... has some stuff, needs some stuff, have a bunch of stuff to put in/on

Share this topic:


Page 1 of 1
  • You cannot start a new topic
  • You cannot reply to this topic