Page 1 of 1
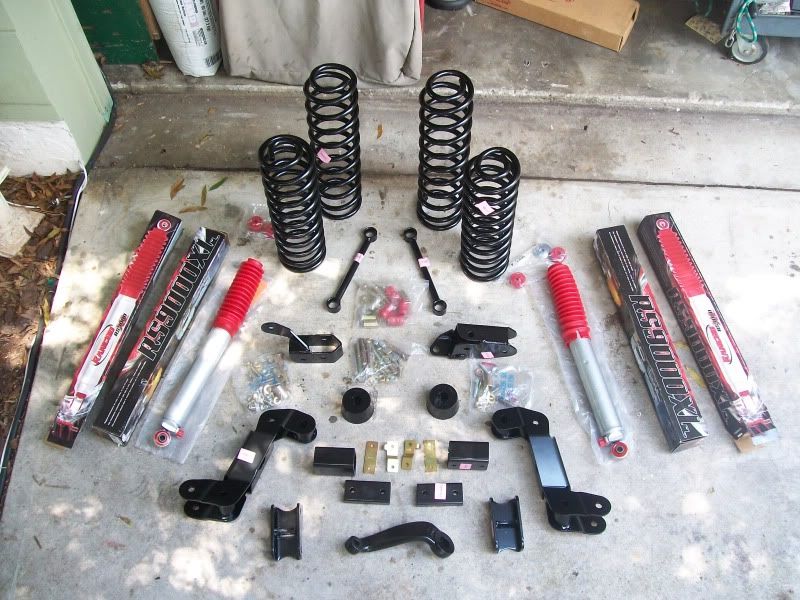
Installed the 4" Rancho Sport Lift
#1
Posted 13 July 2010 - 03:24 PM
Well, Friday afternoon Rob at 4 Wheel Parts in West Palm made the call I had been waiting on. "Your lift is here"
With the $500 rebate the total cost is just under $600 including tax.
Step 1 disco the ole - side
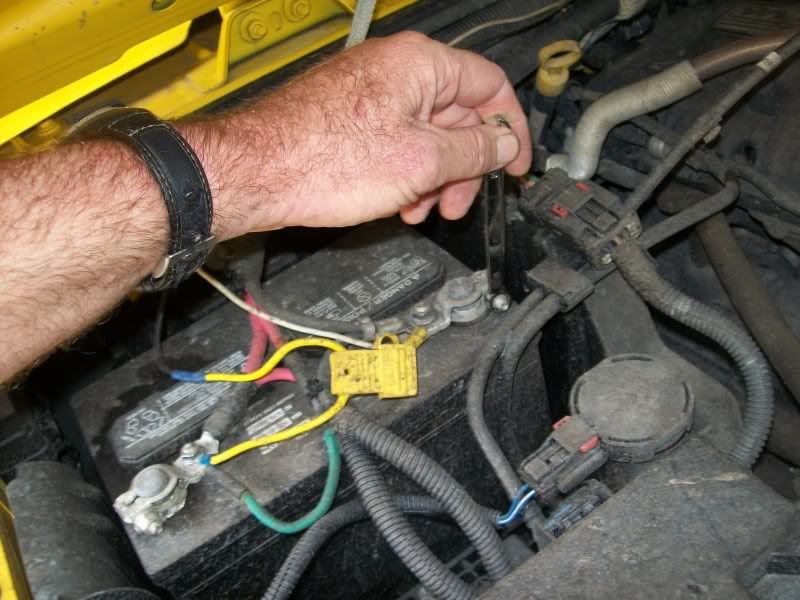
Jack it up, support the frame and remove the rubber.
Remove the front track bar from the frame end
I little force multiplier can come in handy sometimes
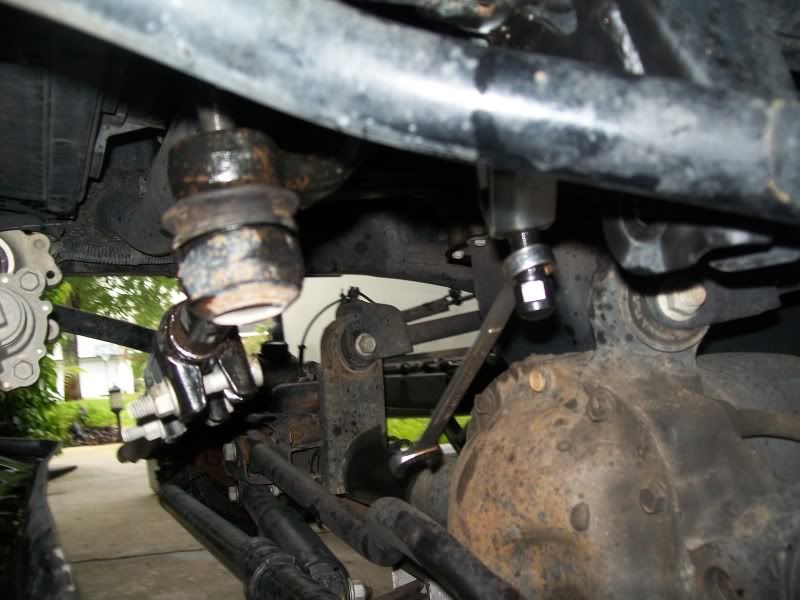
Remove the Sway Bar End Links
Ditto for the other side
Remove the drag link from the Pitman Arm... Yea right, there is no way to get a puller in there. Using a pickle fork will wreck the boot... stay tuned.
Remove the front shocks
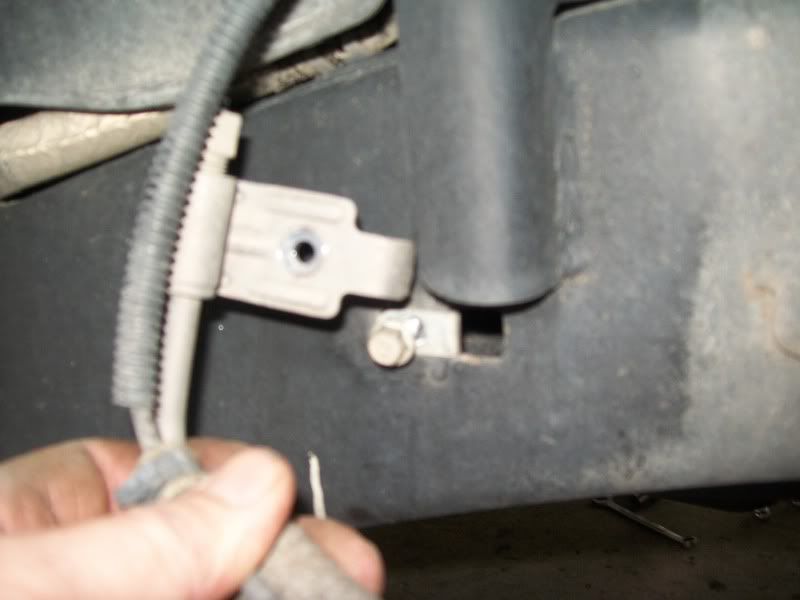
Disconnect the brake line / wheel speed sensor clips
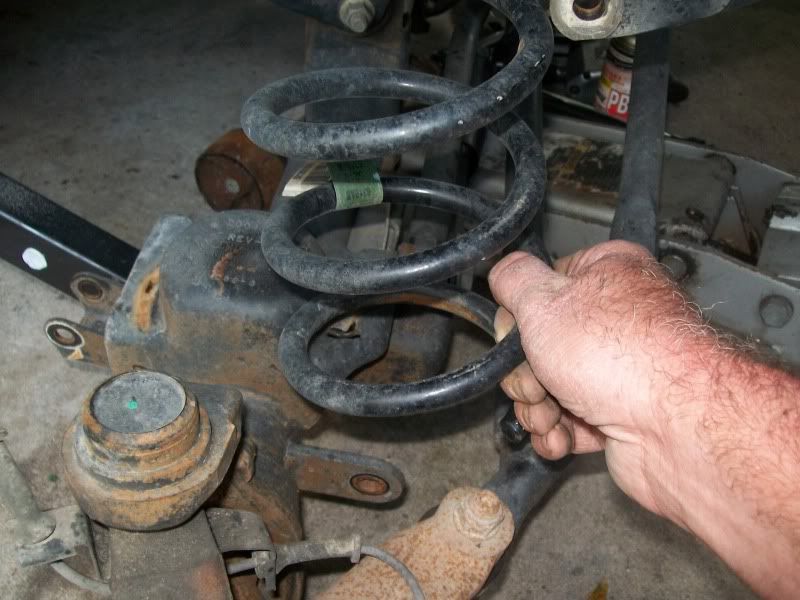
Lower the axle and remove the stock front springs
First break one puller then cus alot and go get another puller and after a bunch of blaster, a few taps with a hammer and quite a bit of torque on the new puller gently remove the stock pitman arm. Note that now you can get a puller on the drag link end and pull that as well without damage to the boot.
Disconnect the Upper Control Arm from the axle side
Disconnect the frame end and remove the upper. Also disconnect the frame end of the LCA
Now the fun part, putting new stuff on and getting all the holes to line up... by yourself
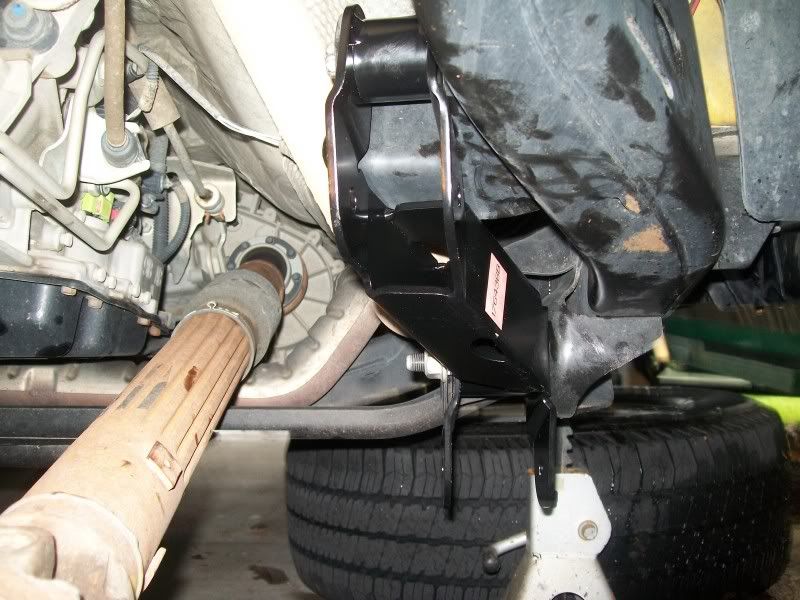
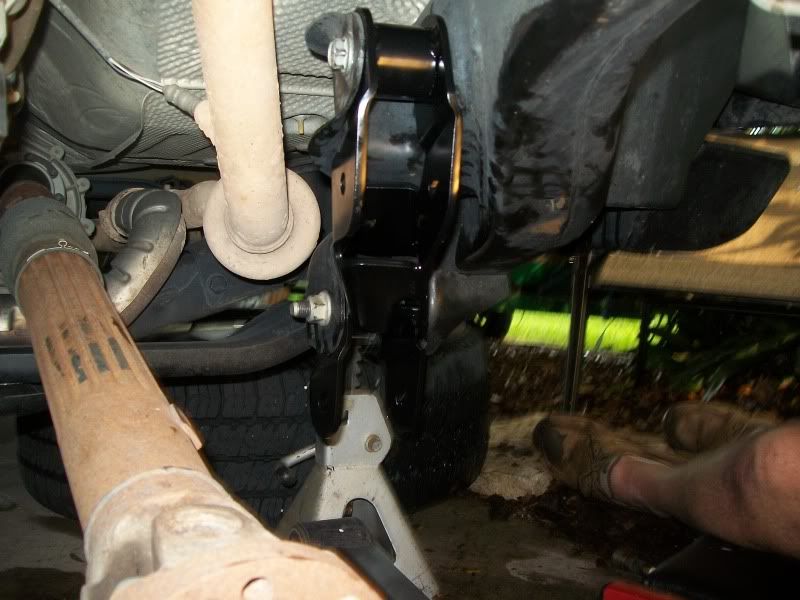
Install the control arm relocation brackets
Drill hole in spring pad for extended bump stop
Tap with 3/8 tap
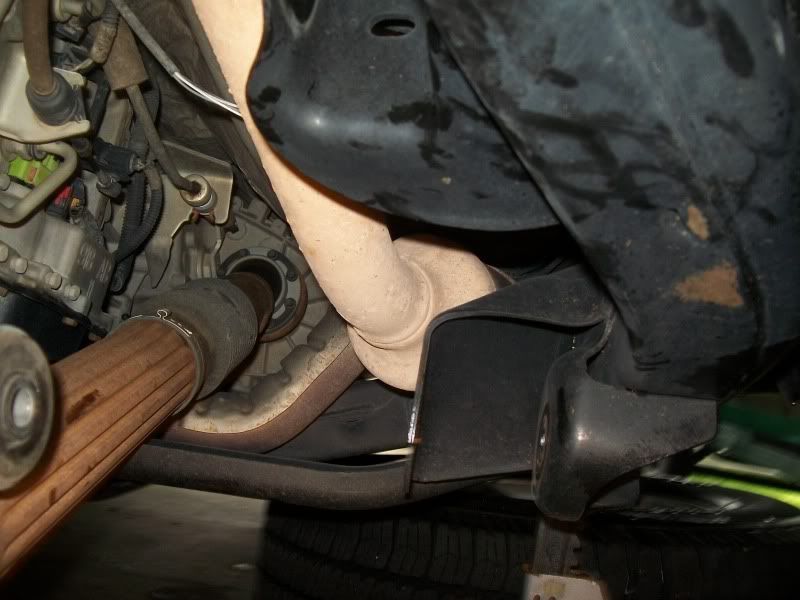
Index and disconnect drive shaft to allow axle to drop for new springs
Now install the new springs... you did remember to raise the jeep enough to clear the new LONGER springs right?
You idiot, what was the name of this project again? LIFT kit install... Jack up axle put on jack stands then use floor jack to get frame high enough to allow axle low enough to put the dang springs on.
Tighten bolt in new bump stop extension
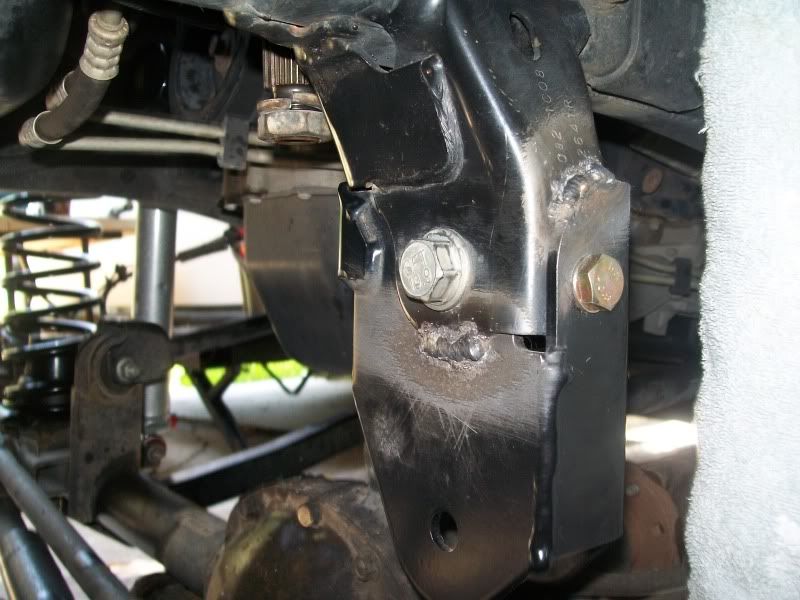
Now install the track bar relocation bracket. Getting the 12mm bolt install up inside that sucker took the better part of 30 minutes.
The directions recommend welding of the bracket so I broke out the Lincoln WeldPAK... no jokes about my welding. I haven't had one break yet. Pretty welds are for Sissy's
Now the Rubicon sway bar end links have to be assembled.
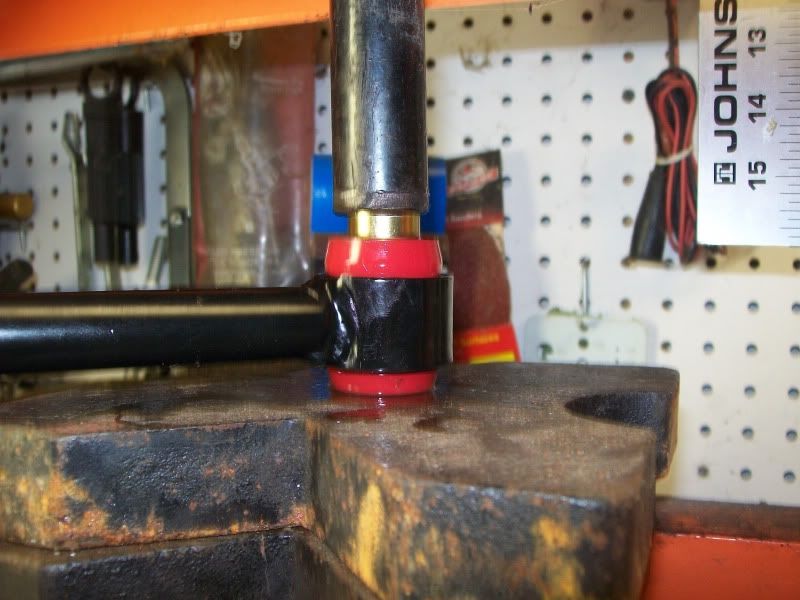
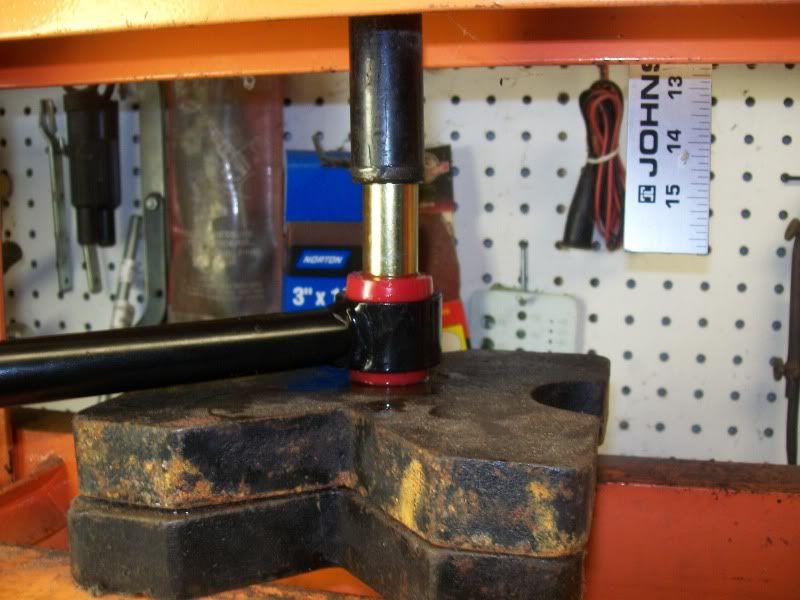
The poly part was easy to insert by hand but there was NO WAY the sleeve was going in there without a press
It just so happens that I have one so here we go
I didn't take pics of reconnecting the Control arms and track bar but that is pretty straight forward. Just work the jack up and down and with a little gentle persuasion everything will line up nicely.
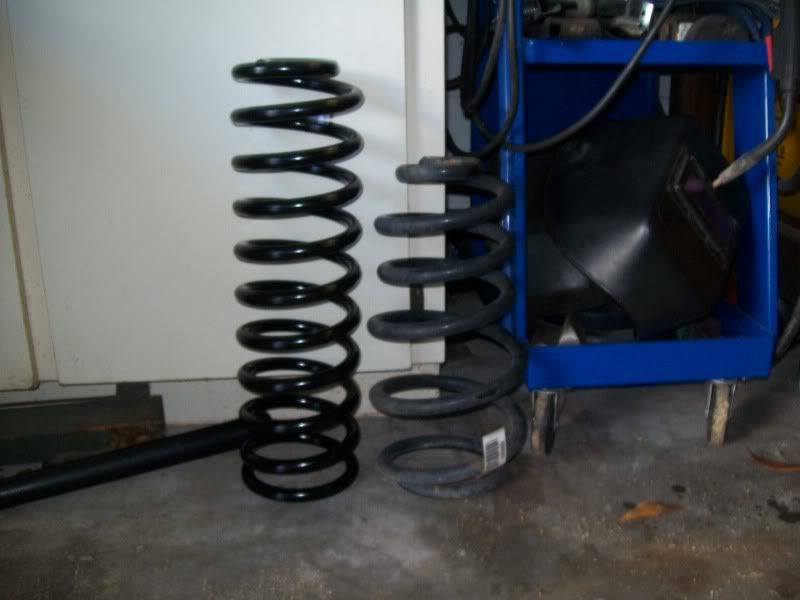
The new rear springs a right at 4" taller than stock
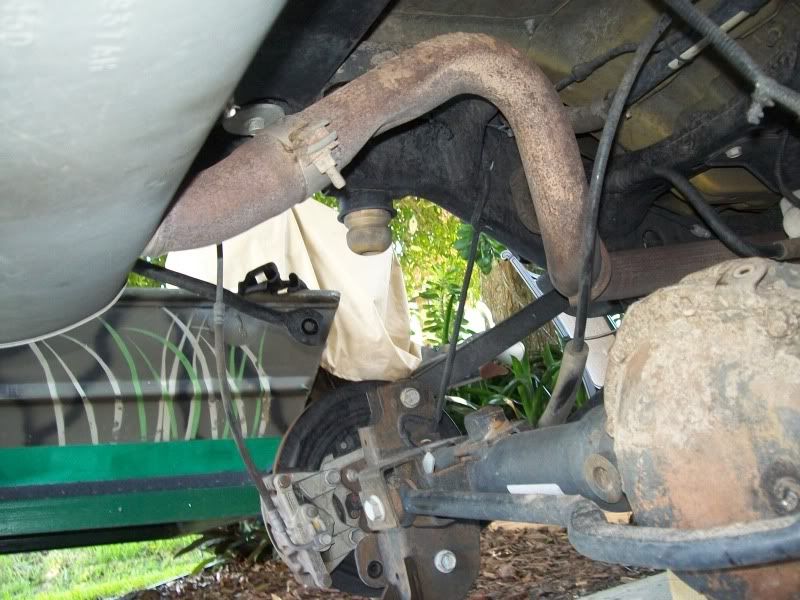
I forgot to take pics but you just pull off the shocks. Disconnect the track bar from the frame. remove the brake line clips. remove the parking brake hanger and get enough slack in the E-locker wiring and vent to allow the rear axle to drop enough to pull out the stock springs.
Install the new extended bump stops
Install the rear track bar relocation bracket, install the springs and button everything up and when you lower it down you will be sitting 4" higher.
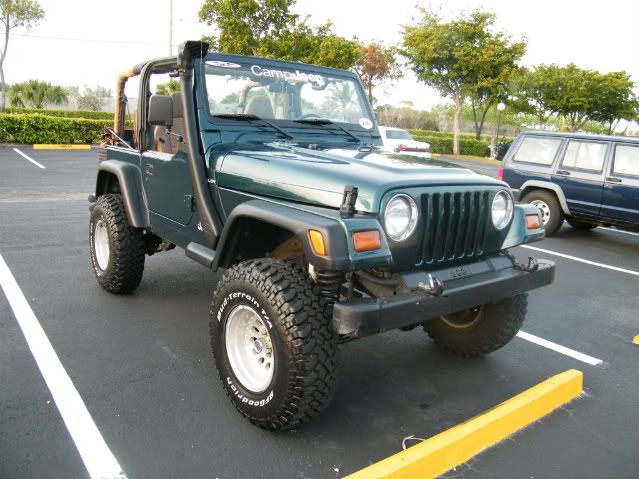
Time for some new tires for sure.
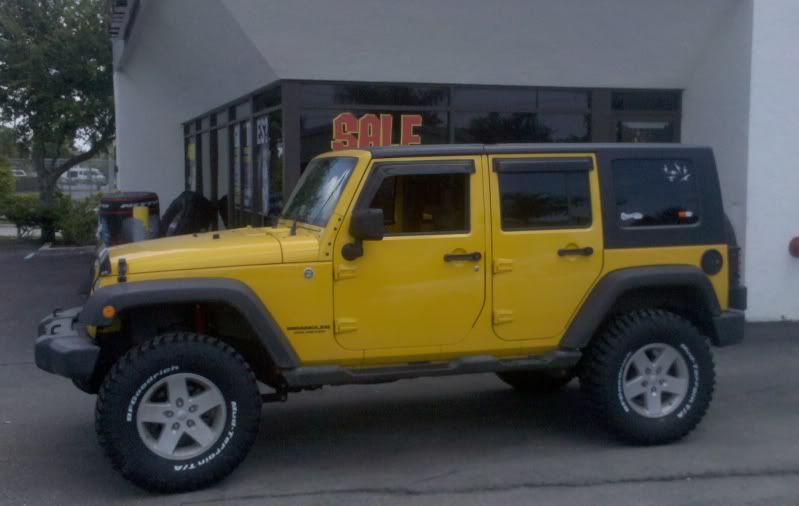
The lift was exactly 4" on all four corners.
It drives so much better than stock that it is hard to believe. It eats up bumps like they are not there. Very good product!
With the $500 rebate the total cost is just under $600 including tax.
Step 1 disco the ole - side
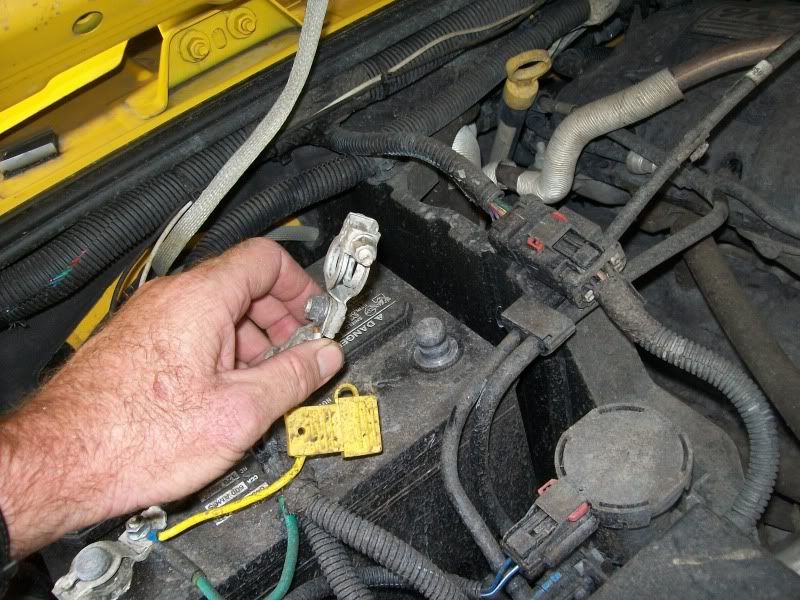
Jack it up, support the frame and remove the rubber.
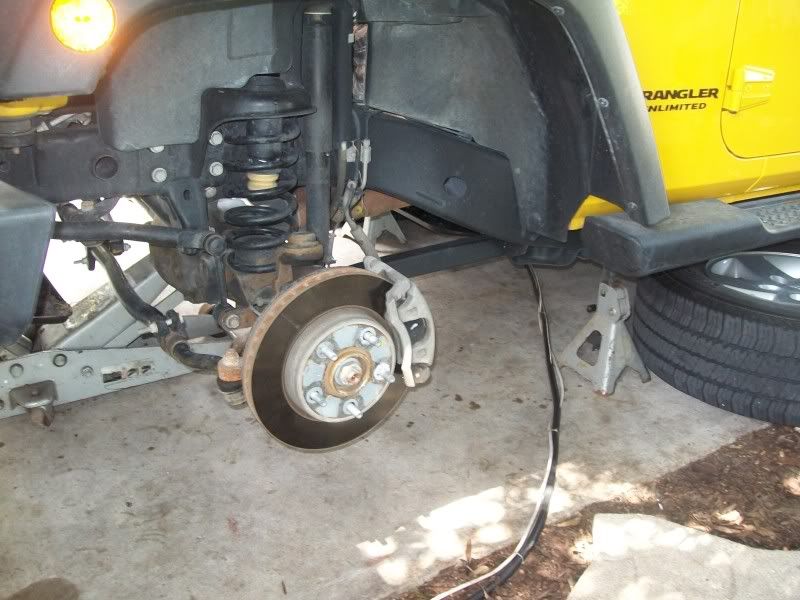
Remove the front track bar from the frame end
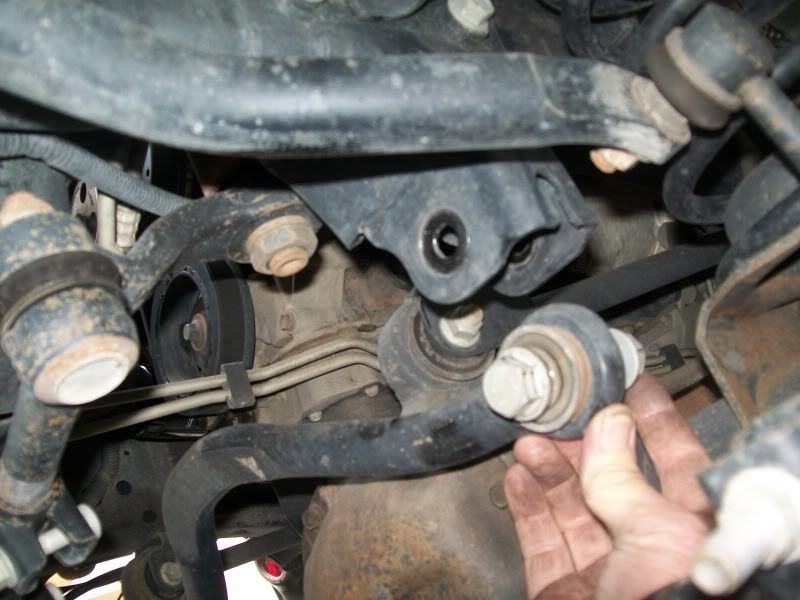
I little force multiplier can come in handy sometimes
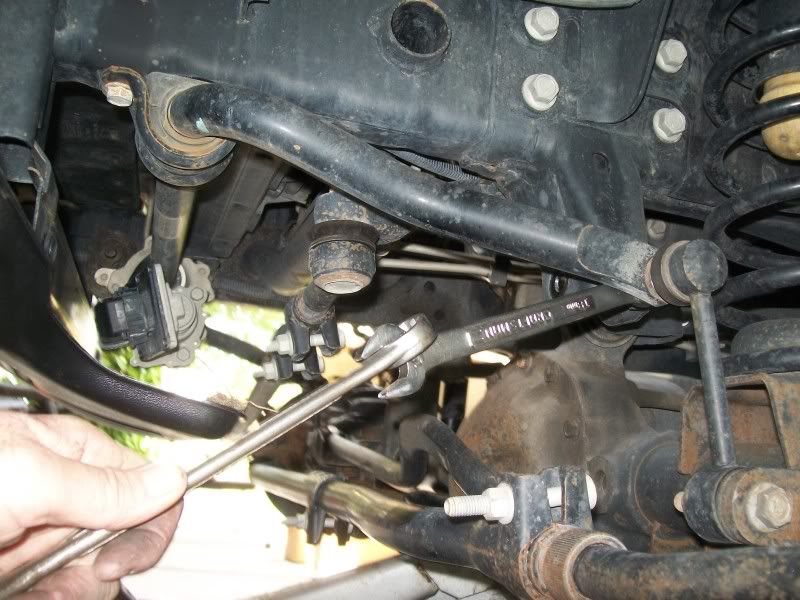
Remove the Sway Bar End Links
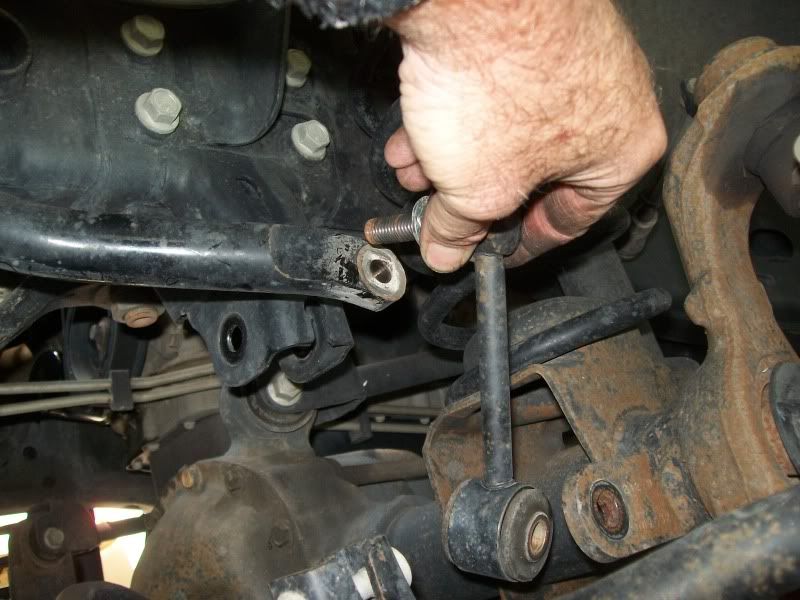
Ditto for the other side
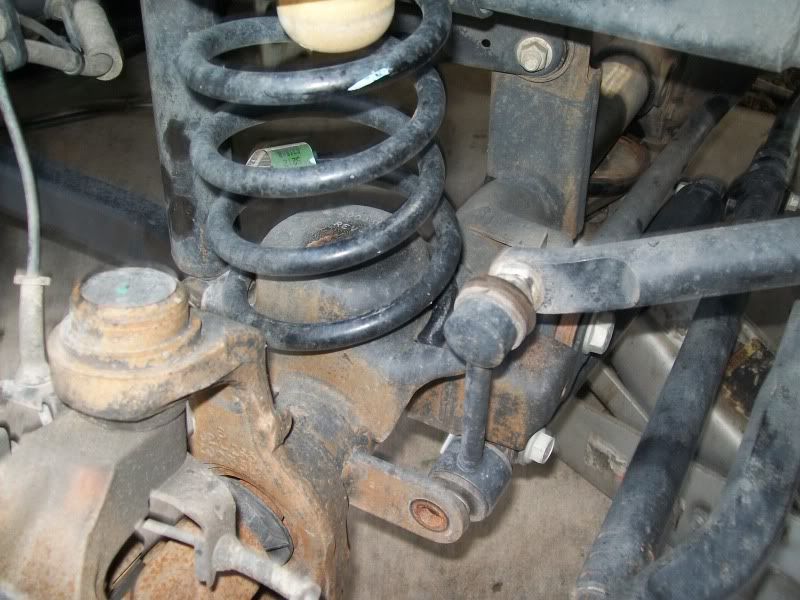
Remove the drag link from the Pitman Arm... Yea right, there is no way to get a puller in there. Using a pickle fork will wreck the boot... stay tuned.
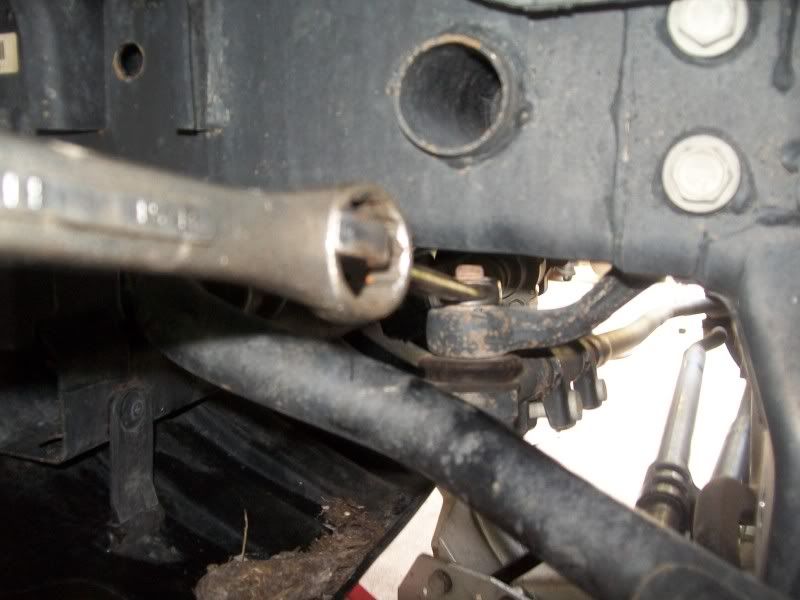
Remove the front shocks
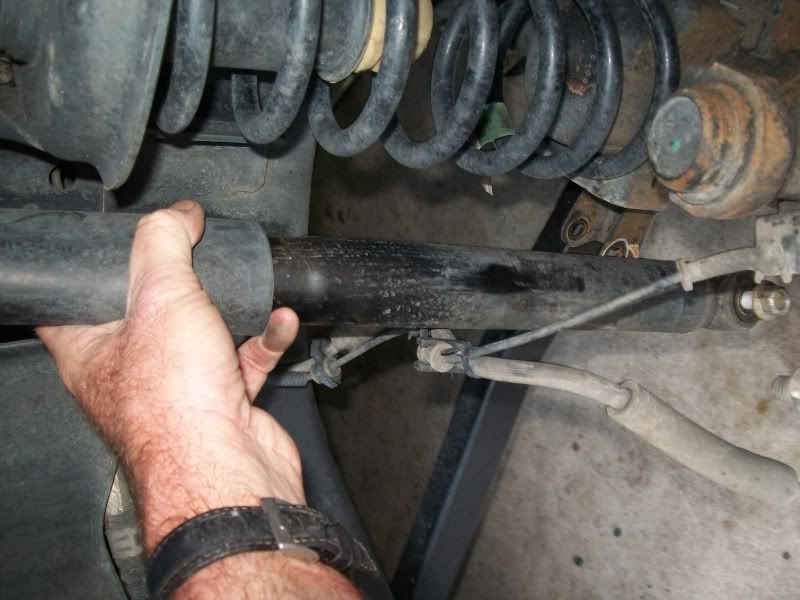
Disconnect the brake line / wheel speed sensor clips
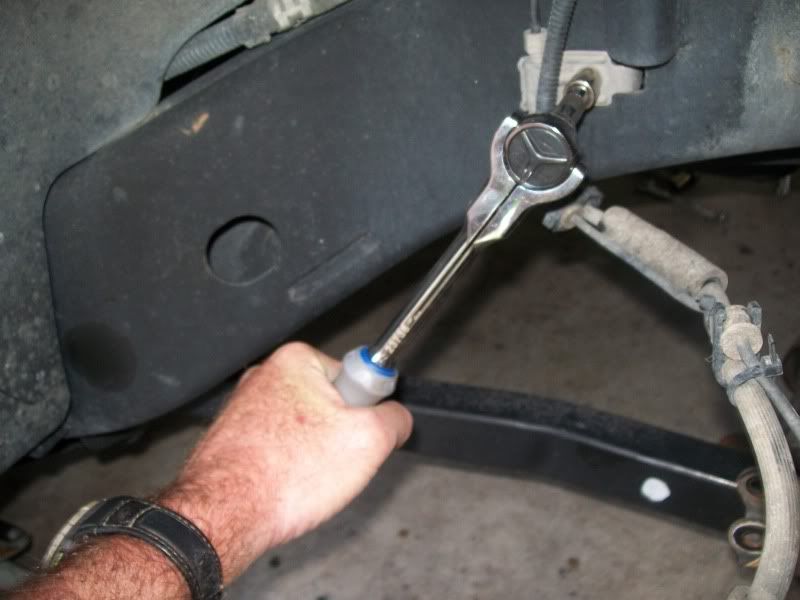
Lower the axle and remove the stock front springs
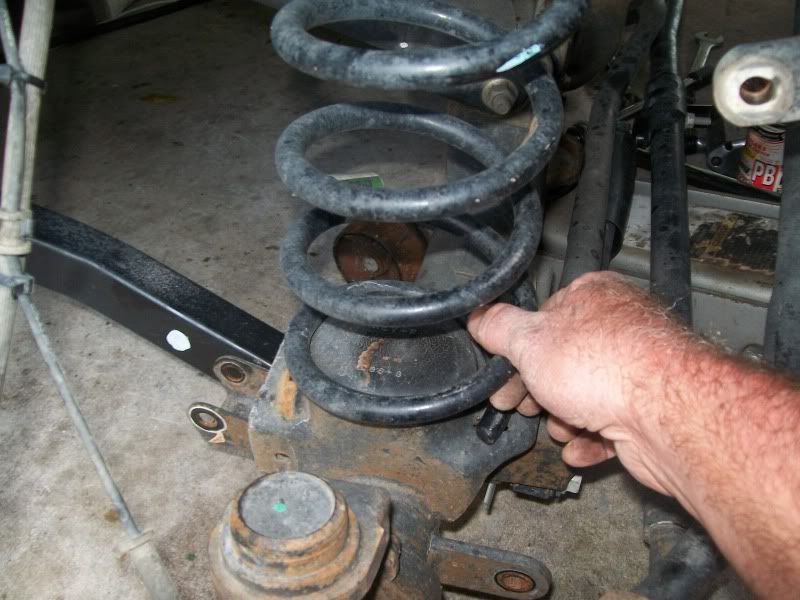
First break one puller then cus alot and go get another puller and after a bunch of blaster, a few taps with a hammer and quite a bit of torque on the new puller gently remove the stock pitman arm. Note that now you can get a puller on the drag link end and pull that as well without damage to the boot.
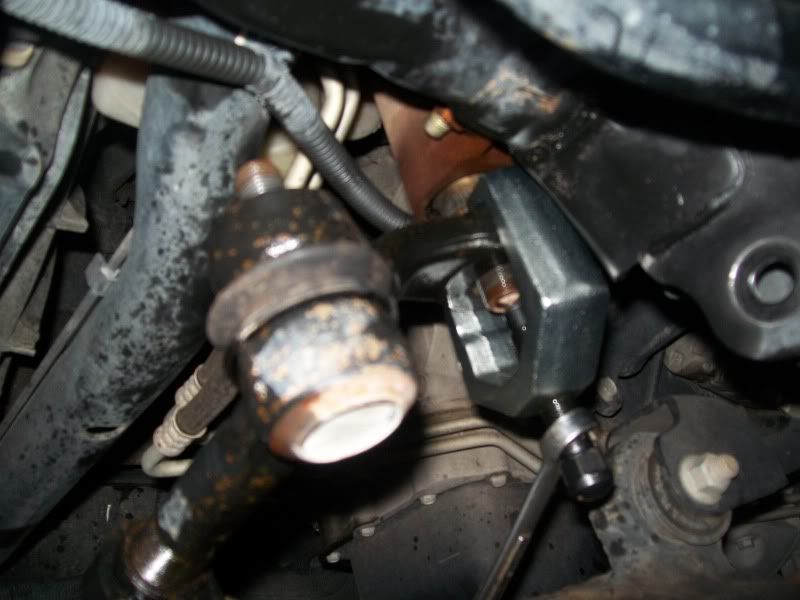
Disconnect the Upper Control Arm from the axle side
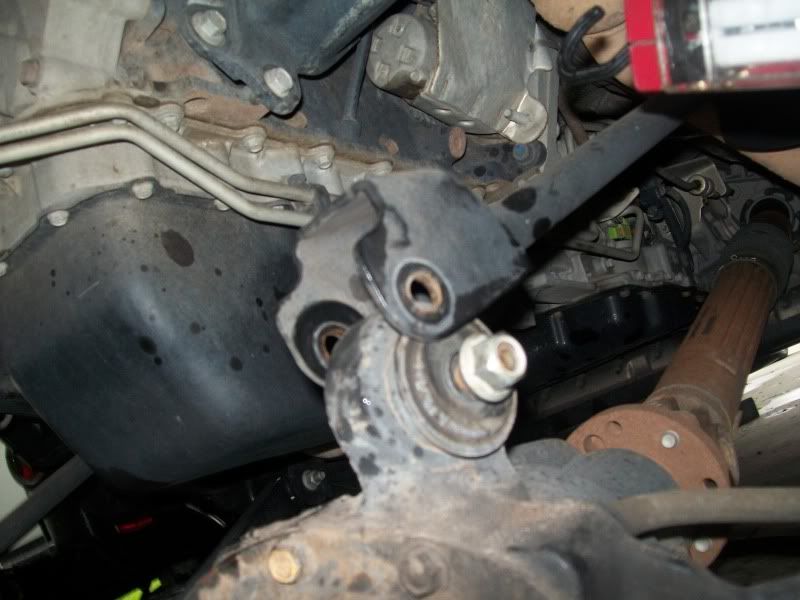
Disconnect the frame end and remove the upper. Also disconnect the frame end of the LCA
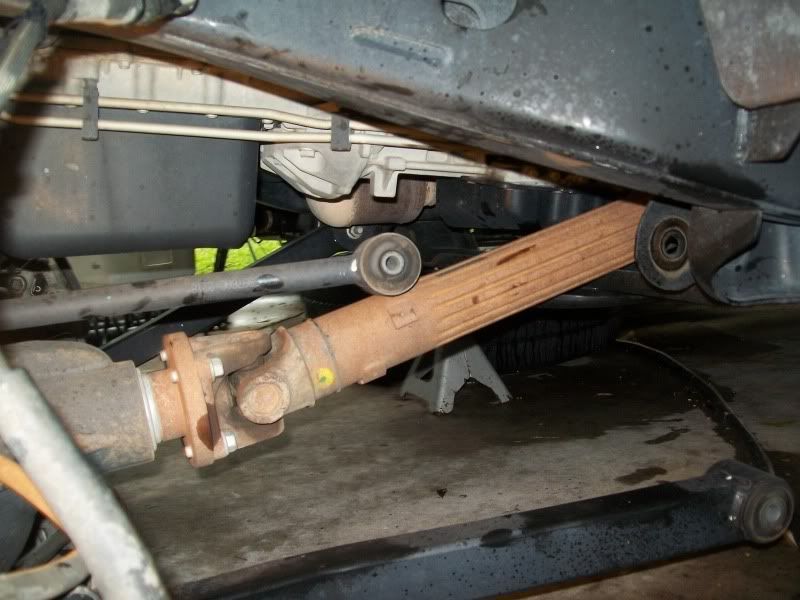
Now the fun part, putting new stuff on and getting all the holes to line up... by yourself
Install the control arm relocation brackets
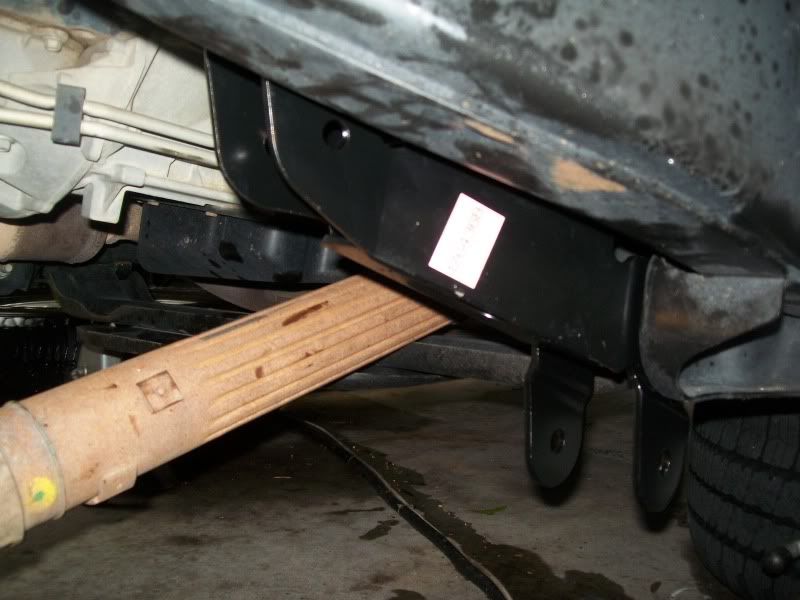
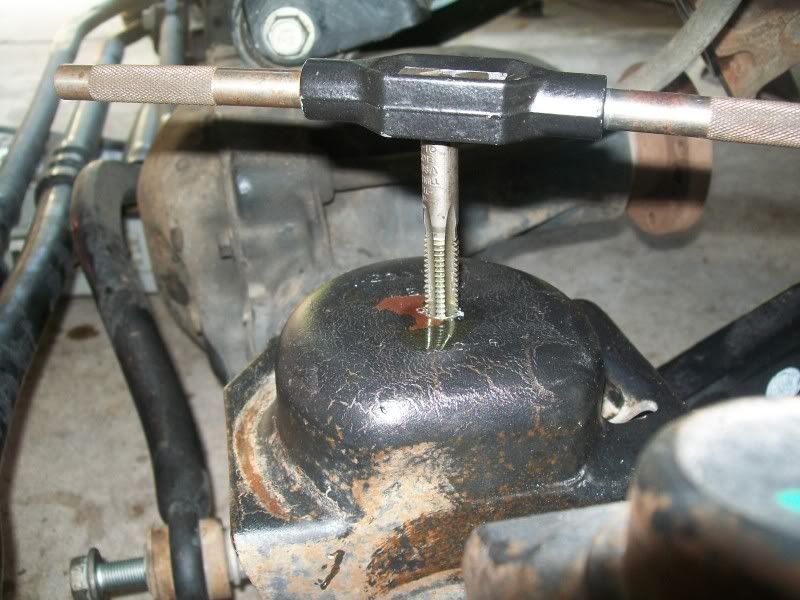
Drill hole in spring pad for extended bump stop
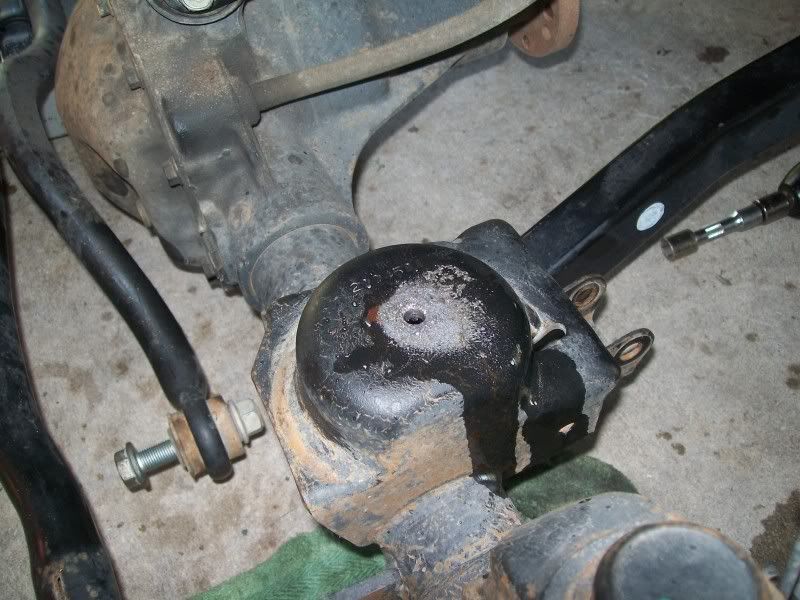
Tap with 3/8 tap
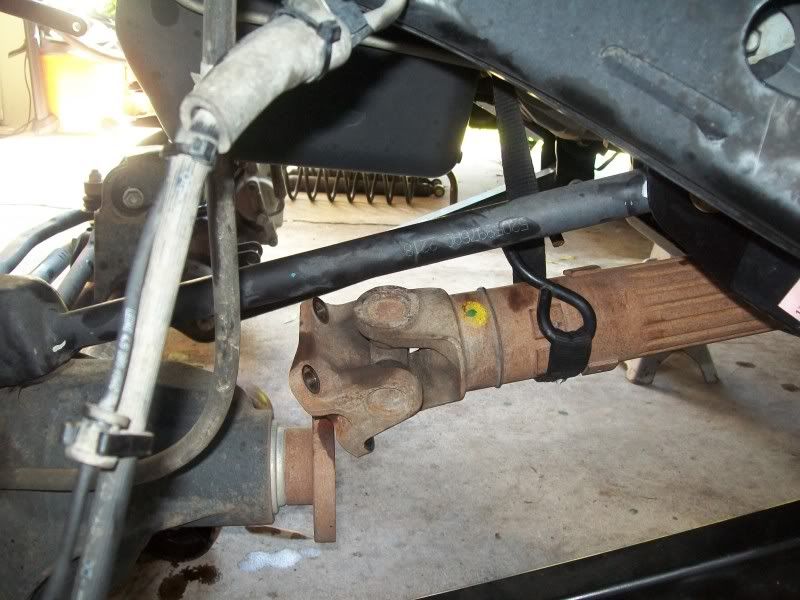
Index and disconnect drive shaft to allow axle to drop for new springs
Now install the new springs... you did remember to raise the jeep enough to clear the new LONGER springs right?
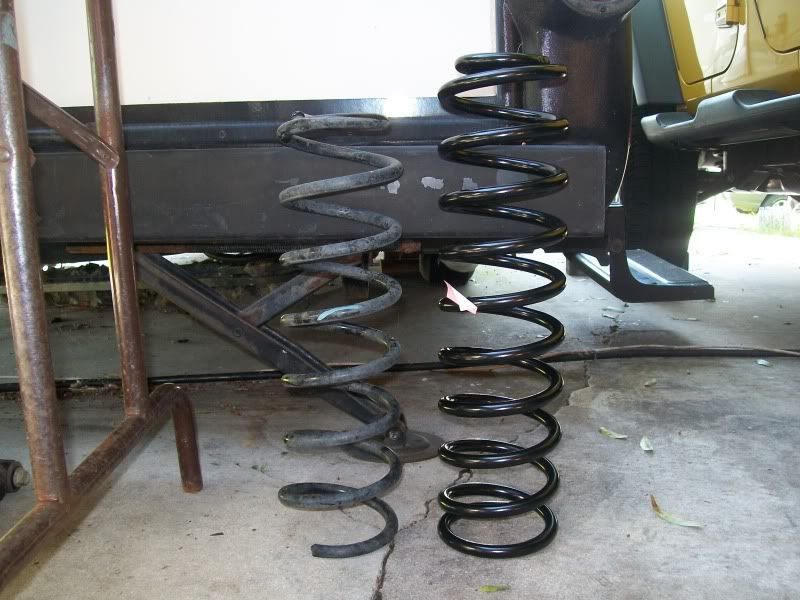
You idiot, what was the name of this project again? LIFT kit install... Jack up axle put on jack stands then use floor jack to get frame high enough to allow axle low enough to put the dang springs on.
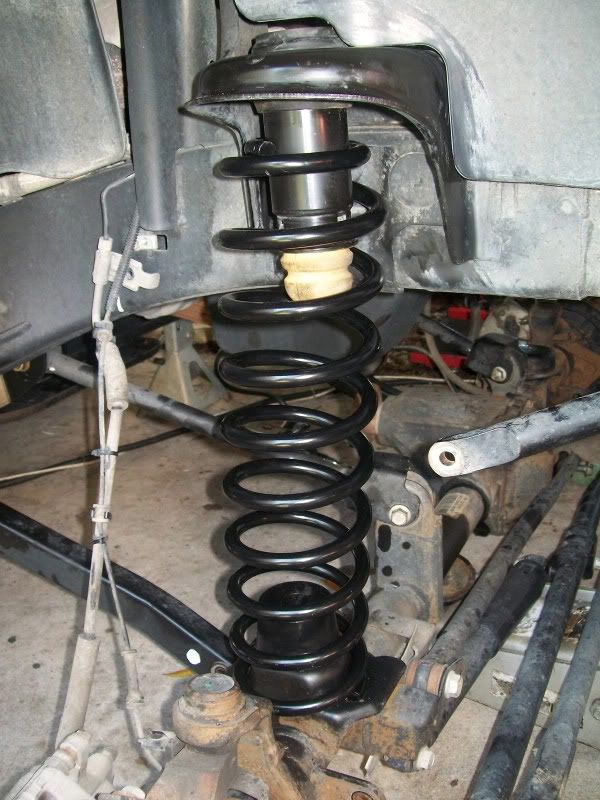
Tighten bolt in new bump stop extension
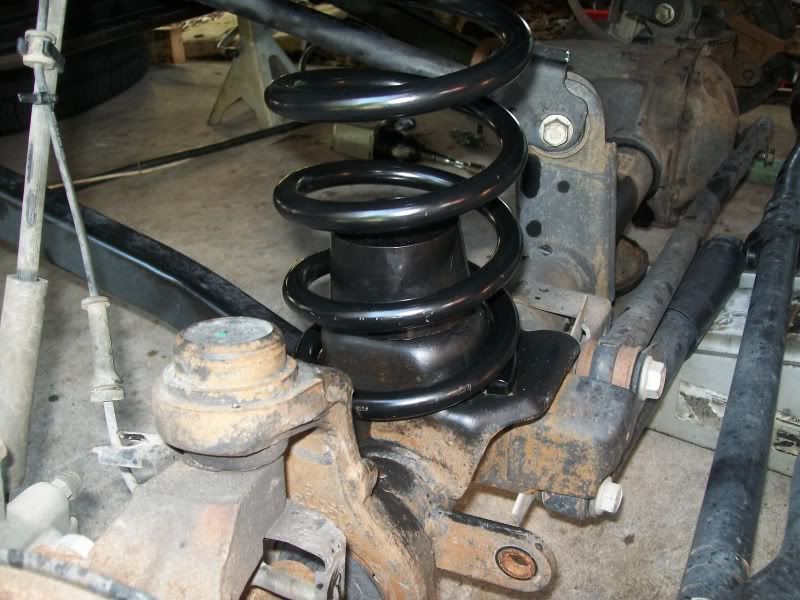
Now install the track bar relocation bracket. Getting the 12mm bolt install up inside that sucker took the better part of 30 minutes.
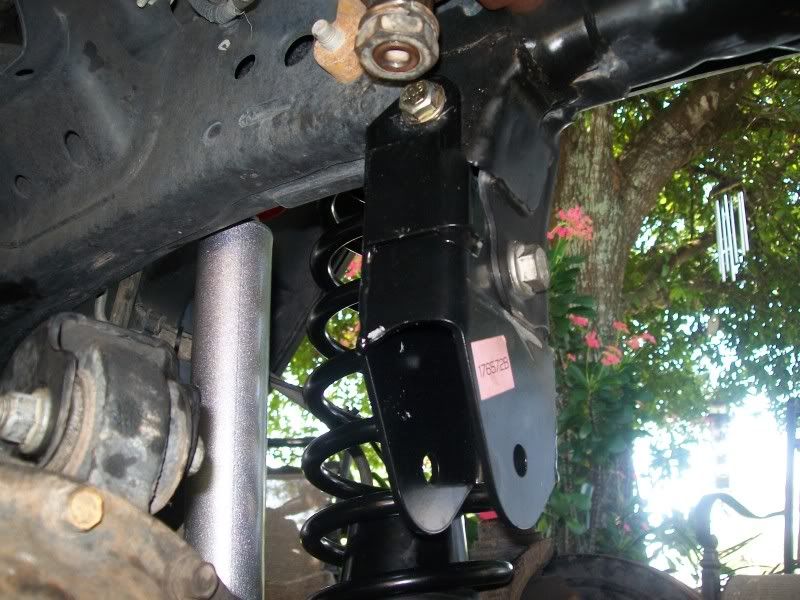
The directions recommend welding of the bracket so I broke out the Lincoln WeldPAK... no jokes about my welding. I haven't had one break yet. Pretty welds are for Sissy's
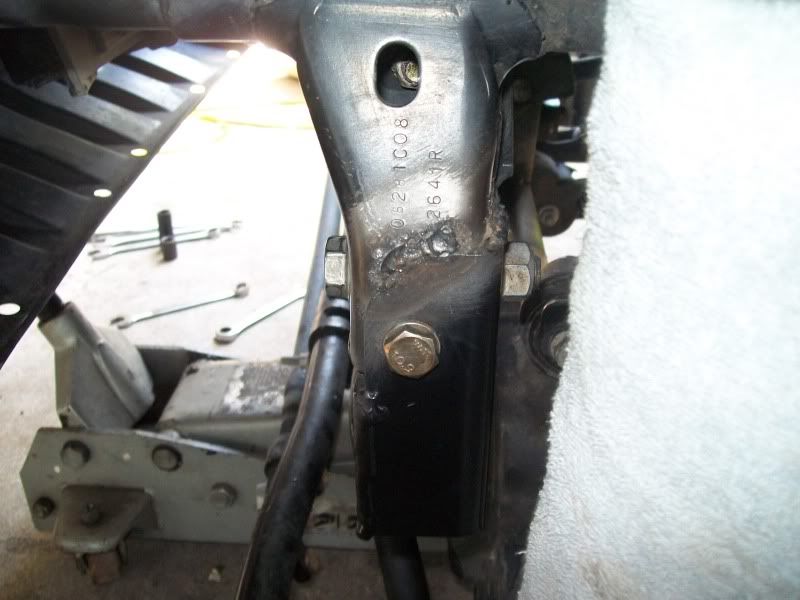
Now the Rubicon sway bar end links have to be assembled.
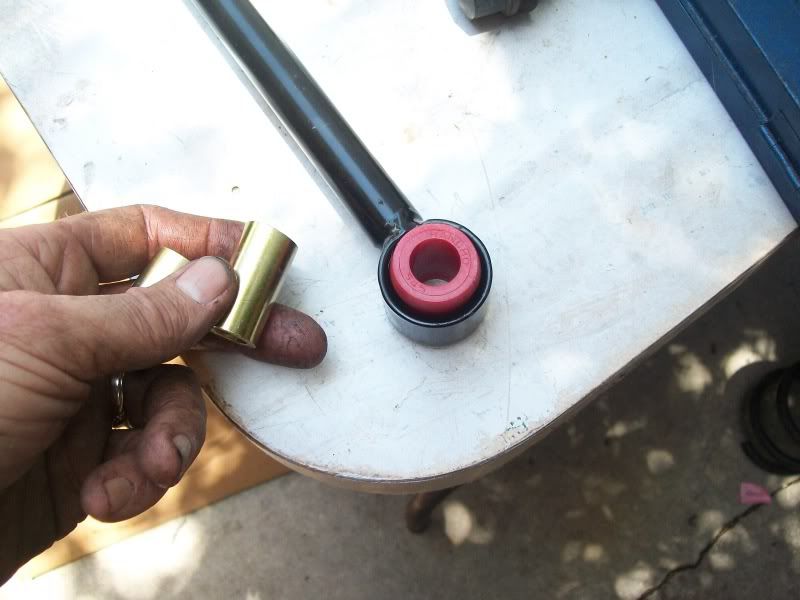
The poly part was easy to insert by hand but there was NO WAY the sleeve was going in there without a press
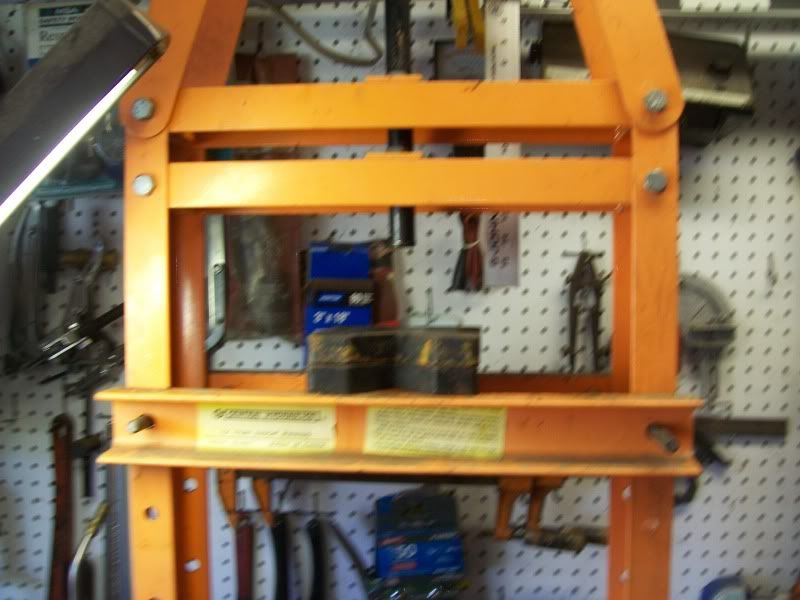
It just so happens that I have one so here we go
I didn't take pics of reconnecting the Control arms and track bar but that is pretty straight forward. Just work the jack up and down and with a little gentle persuasion everything will line up nicely.
The new rear springs a right at 4" taller than stock
I forgot to take pics but you just pull off the shocks. Disconnect the track bar from the frame. remove the brake line clips. remove the parking brake hanger and get enough slack in the E-locker wiring and vent to allow the rear axle to drop enough to pull out the stock springs.
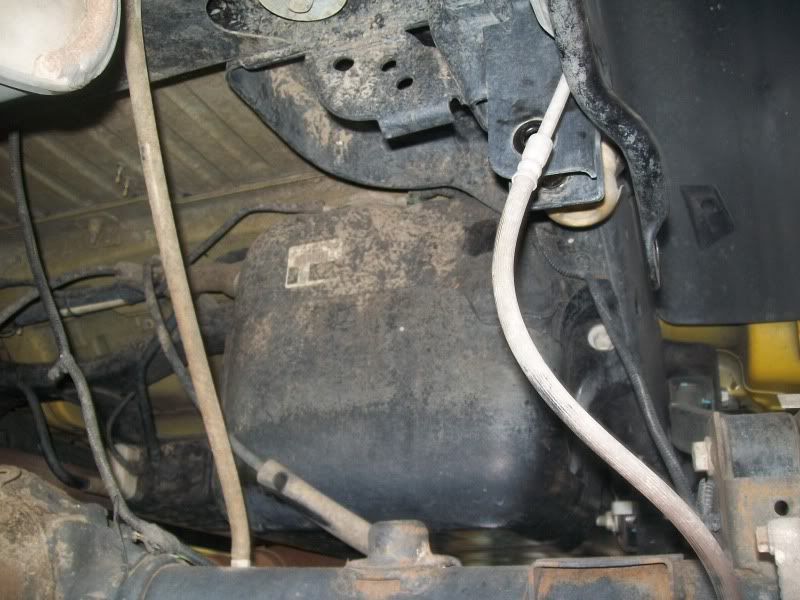
Install the new extended bump stops
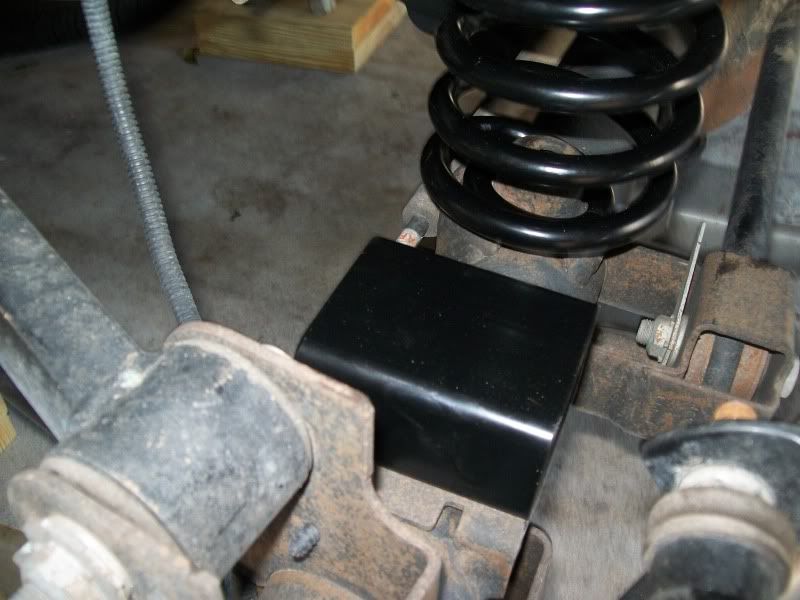
Install the rear track bar relocation bracket, install the springs and button everything up and when you lower it down you will be sitting 4" higher.
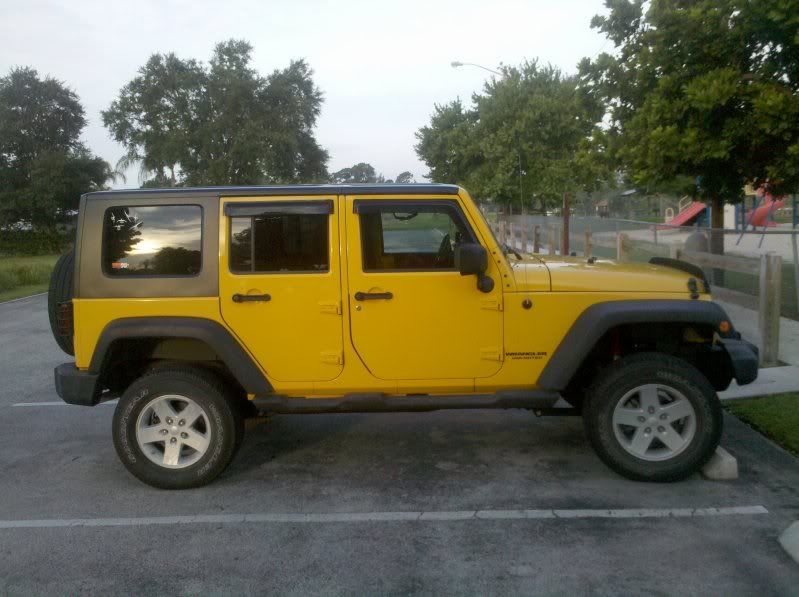
Time for some new tires for sure.
The lift was exactly 4" on all four corners.
It drives so much better than stock that it is hard to believe. It eats up bumps like they are not there. Very good product!
#3
Posted 15 July 2010 - 07:19 AM
looks great! what size tires you gonna get?
1992 YJ, 4.0, auto, HP D30 w/TJ chromoly shafts, Ford 8.8 LSD, 4.10 gears, NP231J w/AA SYE, Tom Woods Drive Shaft, 4" Pro Comp lift, 1.25" shackle lift, 35" MTZ's, 10,000lb winch, Mark VIII fan, 136 amp alternator, TJ flares, homemade snorkel and rock rails, no track bars or sway bar
Square Headlight Intense Team []lllllll[]
#4
Posted 15 July 2010 - 07:31 AM
nice write up.... jeep looks great. well, needs tires but the height is nice.
90 YJ 4.2 - 3" BL / 4" RC Lift / 33x12.5x15 TSL Swampers / Smittybuilt XRC-10
2003 Dodge Ram Quad Cab
Member: Square Headlight Intense Team
Member: South Florida Jeep Club
Always looking to get dirty…
…daddy to be... 8/27/10
"If you don't stand behind our troops, please feel free to stand in front of them"
"Dont quote me on anything i say from knowledge.. only experience"
2003 Dodge Ram Quad Cab
Member: Square Headlight Intense Team
Member: South Florida Jeep Club
Always looking to get dirty…
…daddy to be... 8/27/10
"If you don't stand behind our troops, please feel free to stand in front of them"
"Dont quote me on anything i say from knowledge.. only experience"
#5
Posted 15 July 2010 - 01:50 PM
really nice write up... get some rubber now!
1997 TJ OlllllllO
4 banger / 4.5" procomp lift / 33" KM's BFG / AR wheels / 4.56 gears / e-fan / snorkel
tb spacer / quite a few lights / stinger bumper / cobra cb /
2011 KK []lllllll[] stock
My wife's daily driver
Think twice before you speak once... Renato
Daddy as of 09/02/10
4 banger / 4.5" procomp lift / 33" KM's BFG / AR wheels / 4.56 gears / e-fan / snorkel
tb spacer / quite a few lights / stinger bumper / cobra cb /
2011 KK []lllllll[] stock
My wife's daily driver
Think twice before you speak once... Renato
Daddy as of 09/02/10
#6
Posted 16 July 2010 - 08:41 PM
Tires will be 35's.
I really can't decide
BFG KM2
M/T MTZ
M/T ATZ
GY Duratrac
Cooper SST
That's the short list. I'm going to keep the stock rims (with TPMS) and use 1.5" spacers.
Duratracs are the least expensive at $240 ea. followed by the Coopers and the rest are at about $300 a tire.
I put a lot of miles on the pavement (36,500 last year) but need to get through the mud to get to the deer and the ducks in the fall and winter. Probably go with the Duratracs unless someone puts a crazy sale on the M/T's
#7
Posted 17 July 2010 - 02:01 PM
Id spend the money and go with the bfg's. there a great tire and pretty quiet on the road. All in all good write up and nice lift, keep us posted with more pics
THE CJ7
#8
Posted 28 July 2010 - 12:28 PM
#9
Posted 28 July 2010 - 02:40 PM
Converted, on Jul 28 2010, 01:28 PM, said:
Took your advice
35x12.50-17 KM2s
35x12.50-17 KM2s
niceee! now... go test it out! :D
1997 TJ OlllllllO
4 banger / 4.5" procomp lift / 33" KM's BFG / AR wheels / 4.56 gears / e-fan / snorkel
tb spacer / quite a few lights / stinger bumper / cobra cb /
2011 KK []lllllll[] stock
My wife's daily driver
Think twice before you speak once... Renato
Daddy as of 09/02/10
4 banger / 4.5" procomp lift / 33" KM's BFG / AR wheels / 4.56 gears / e-fan / snorkel
tb spacer / quite a few lights / stinger bumper / cobra cb /
2011 KK []lllllll[] stock
My wife's daily driver
Think twice before you speak once... Renato
Daddy as of 09/02/10
Share this topic:
Page 1 of 1