
 Help
Help


February 9th, 2009
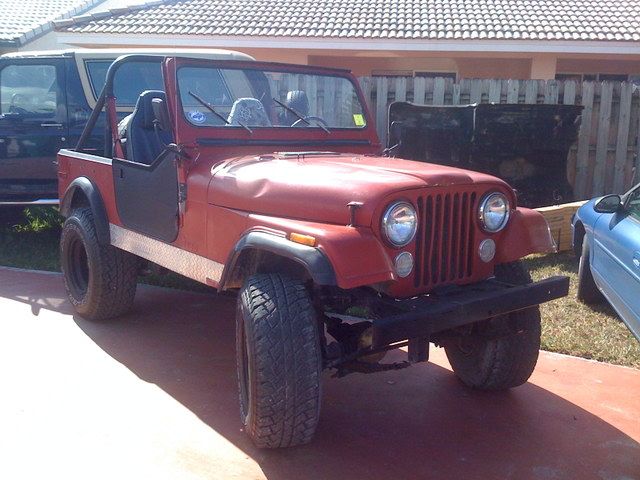
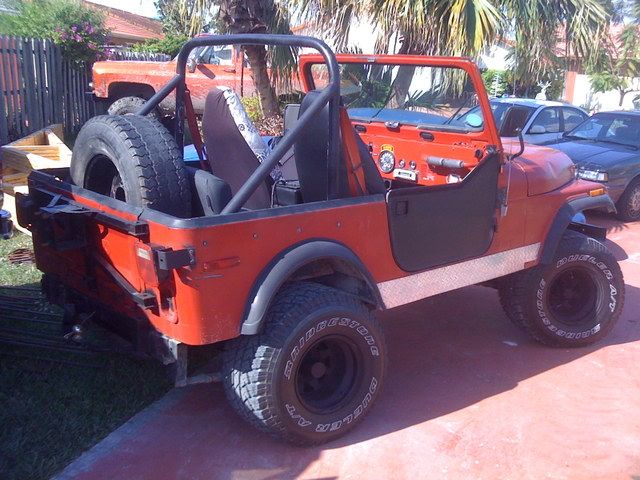
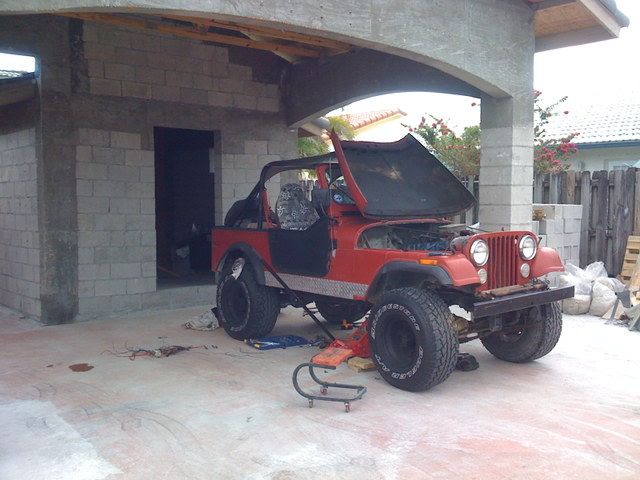
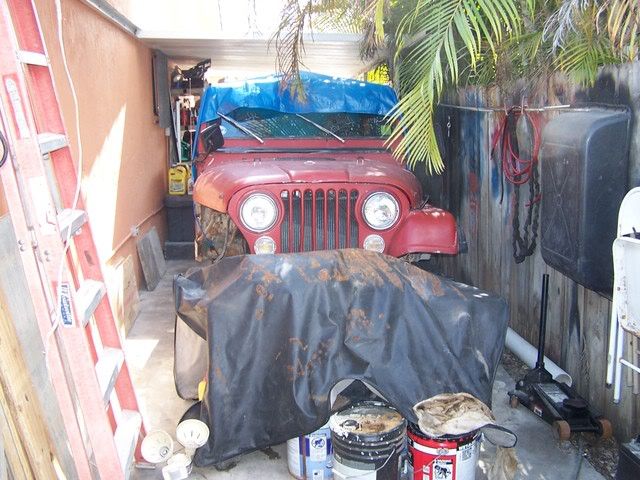
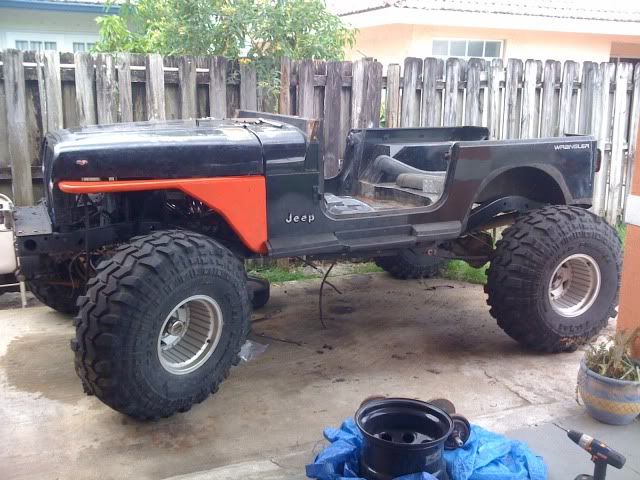
Well as some of you already know, I picked up a '78 CJ7 with a spare fiberglass tub for $800. The plan was to get the Jeep working and keep my k10 to have two rigs to play with. I finally decided not to go that route because of the cost of building and maintaining two rigs.
THE PLAN:
1 - Strip the Jeep of anything of value that is not needed. This includes the drivetrain, fenders, tires, springs.
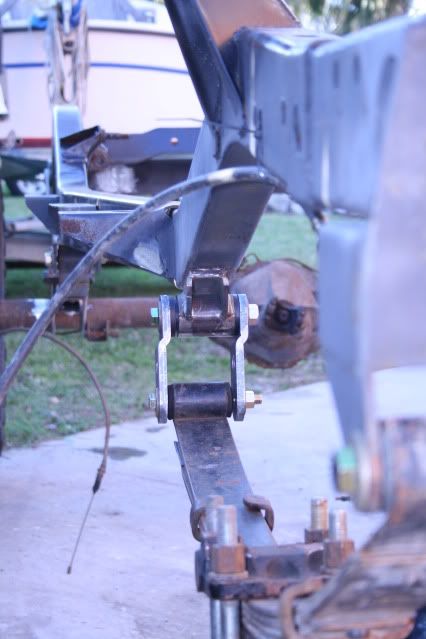
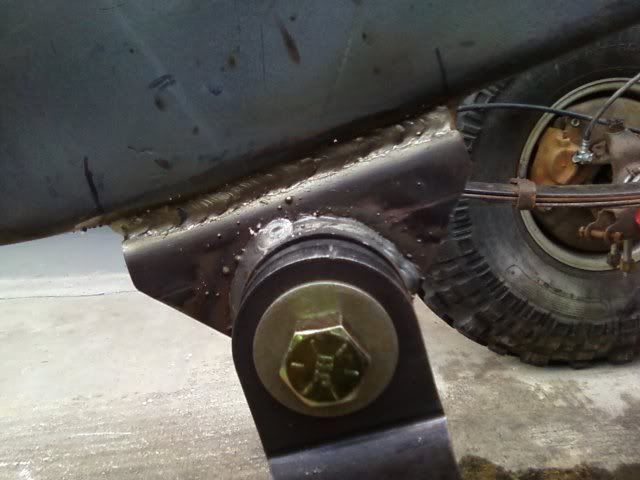
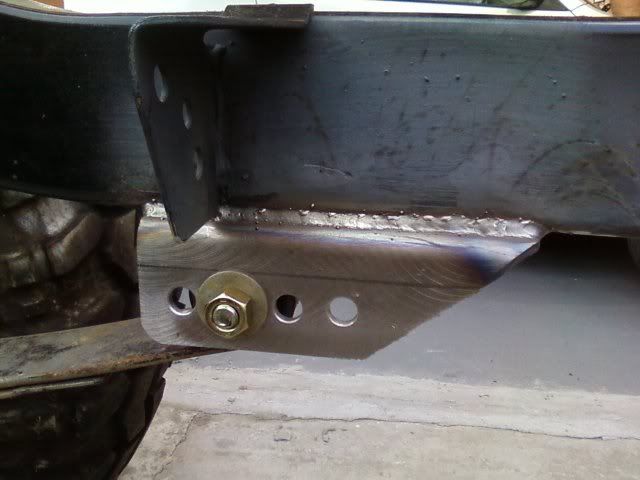
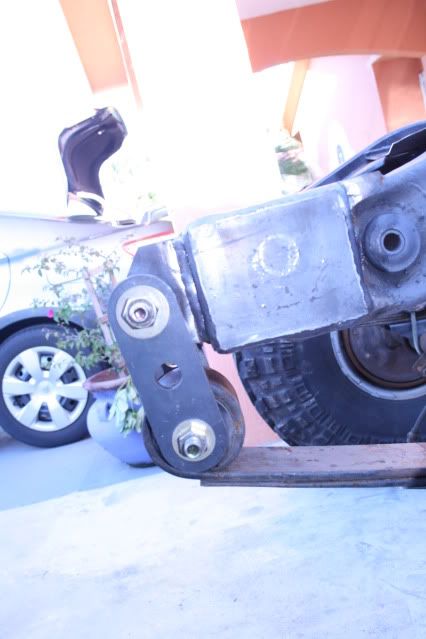
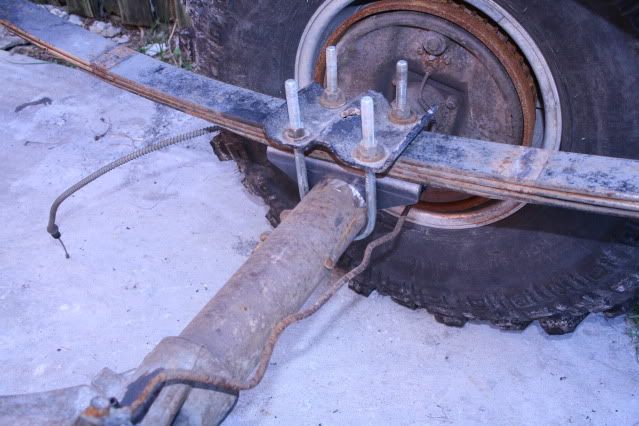
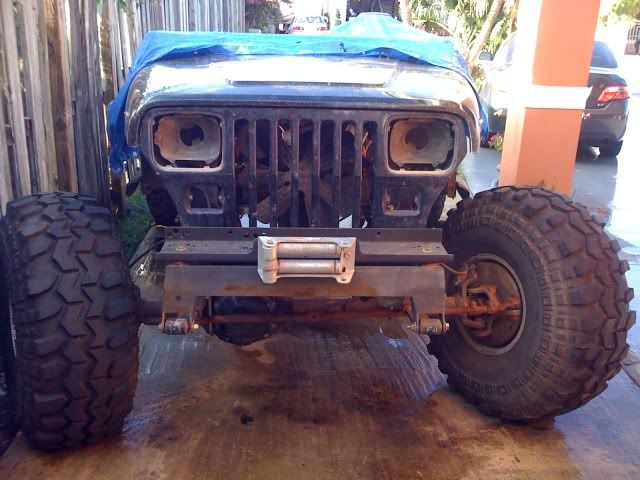
2 - Clean, prep and paint frame. This includes buying and installing the BTF Full Width Axle kit and the rear stretch kit.
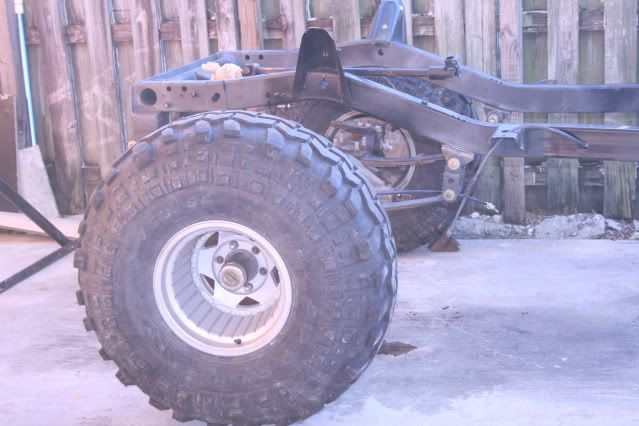
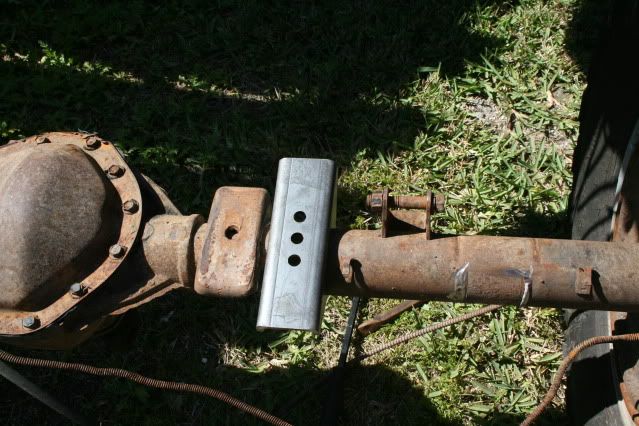
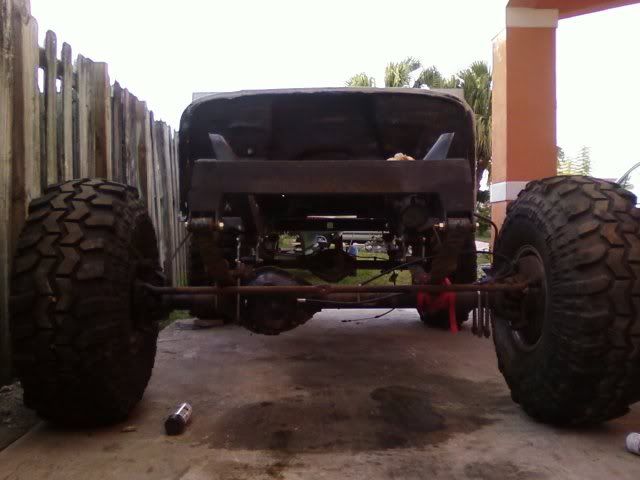
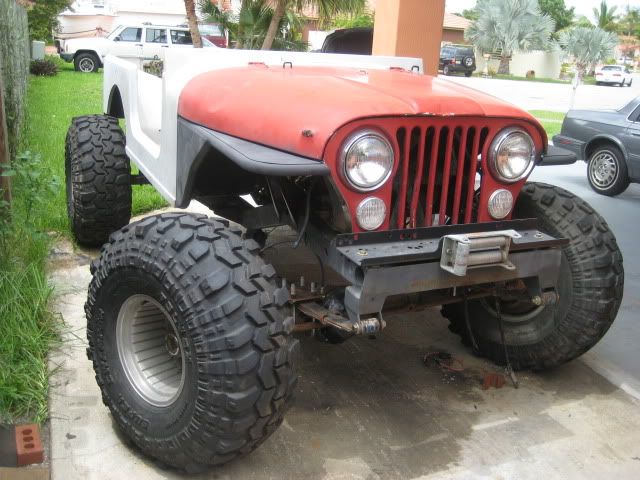
3 - Swap axles and tires from the '78 Chevy K10.
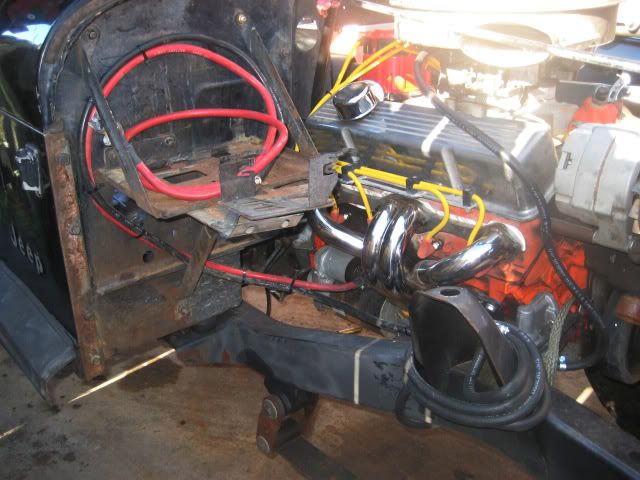
4 - Swap the motor/transmission/transfercase from the Chevy and shorten the driveshafts to fit.
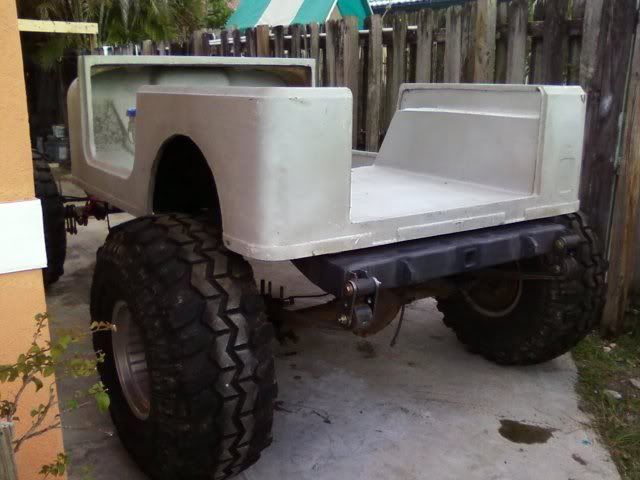
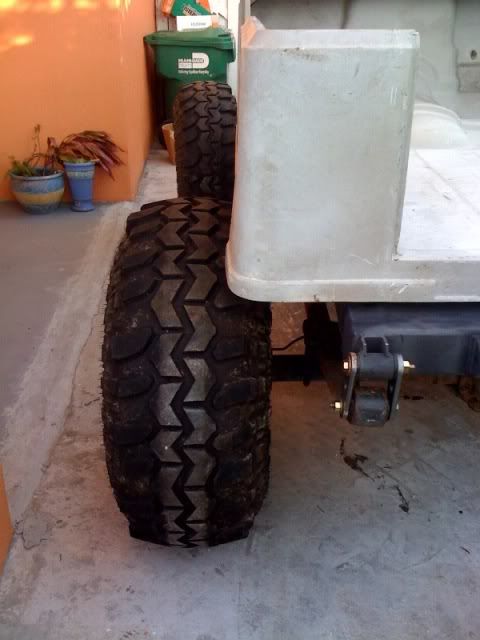
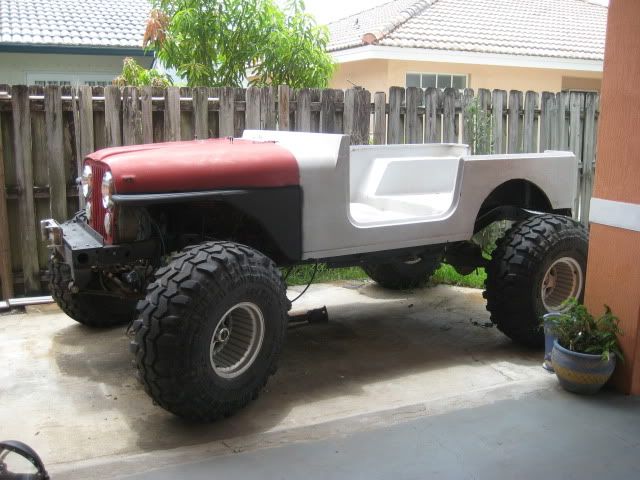
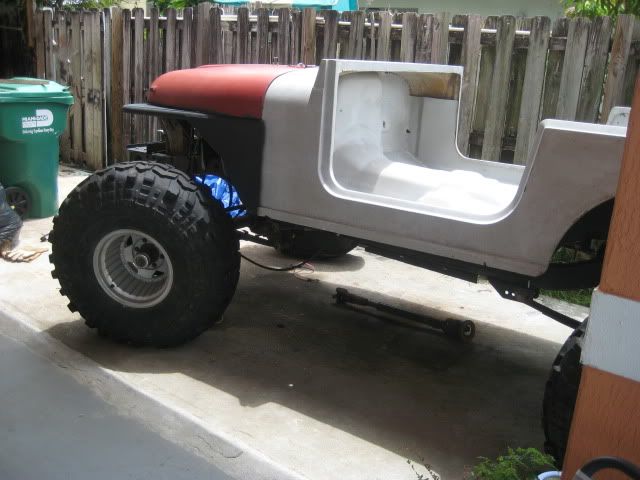
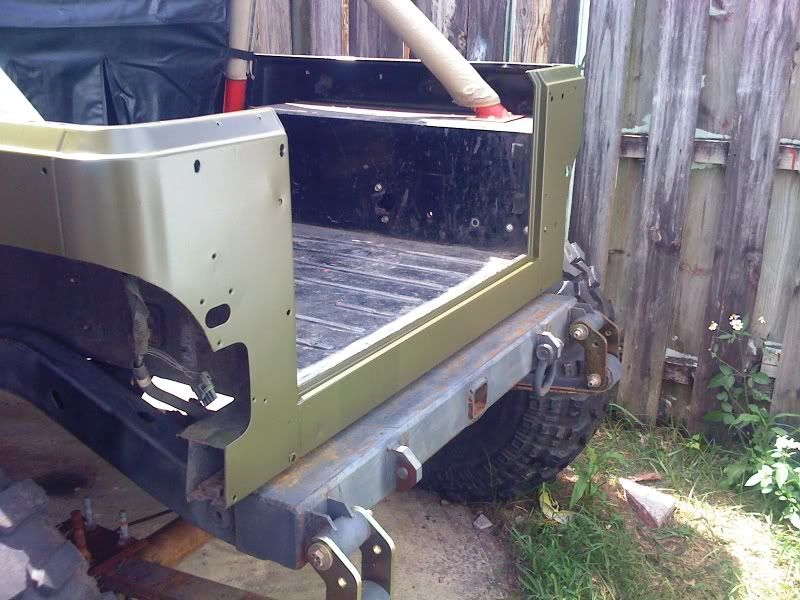
5 - Install the fiberglass tub along with BTF tube fenders and prep for paint. This includes "comp cut" rear fenders since the rear tires will be further back.
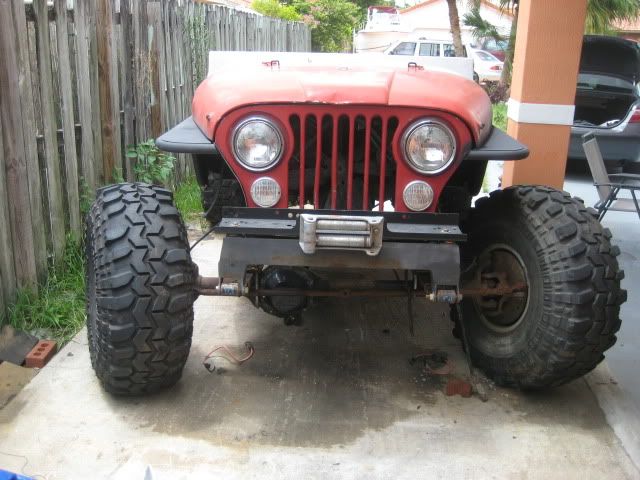
6 - Figure out how Im going make the Chevy crossover steering work on the Jeep.
7 - Buy and install a new electrical harness.
8 - Wheel the rig until I get the bug to do more to it, like a family roll cage, sliders, fuel injection, etc.
This will be a very long and slow build to low funds. Most of the money being used is going to be raised by selling parts and saving slowly (two kids to feed).
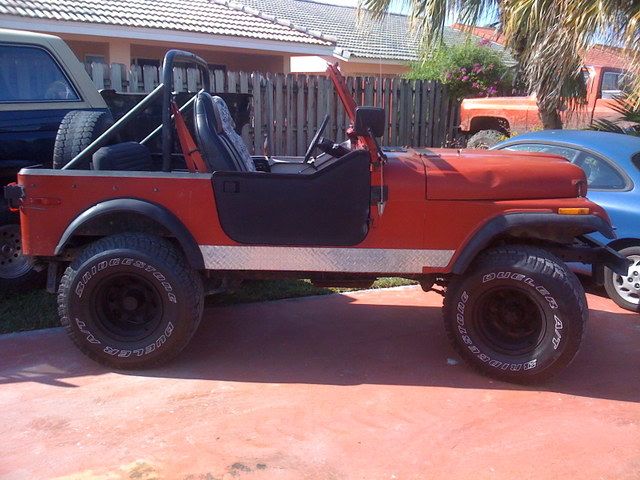
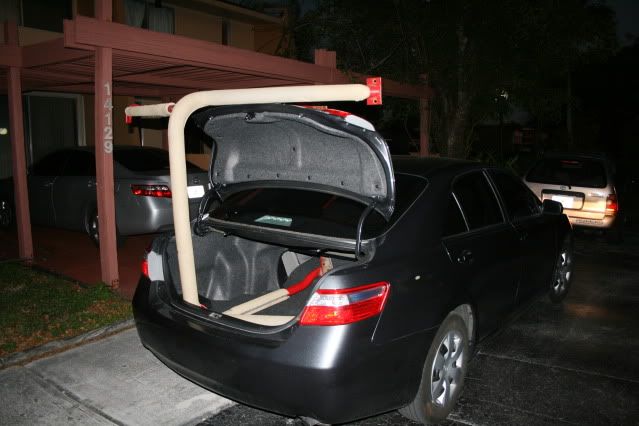
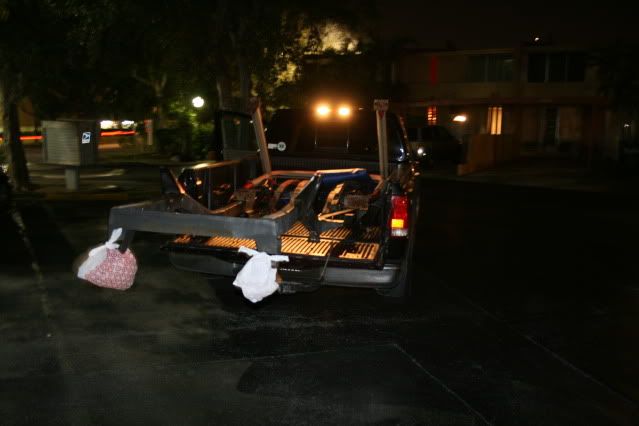
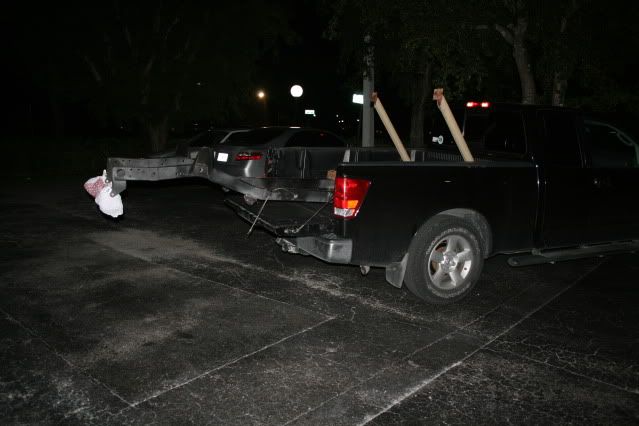
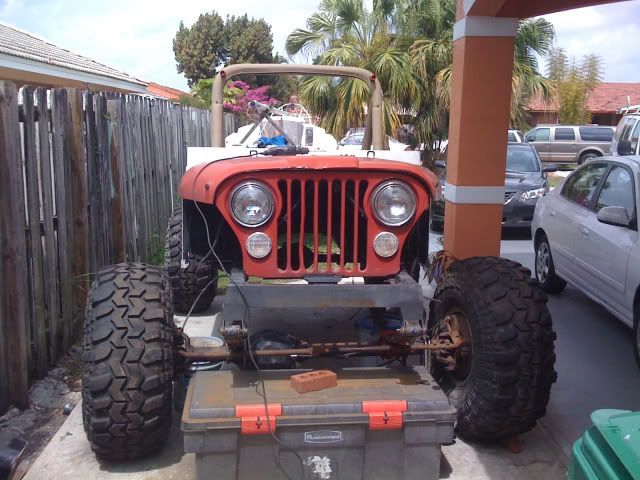
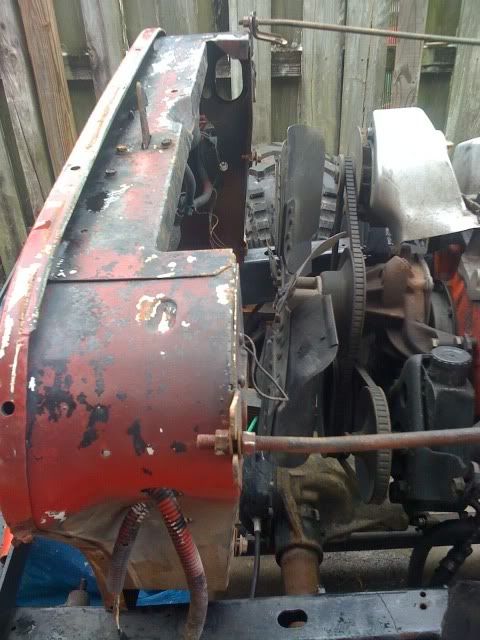
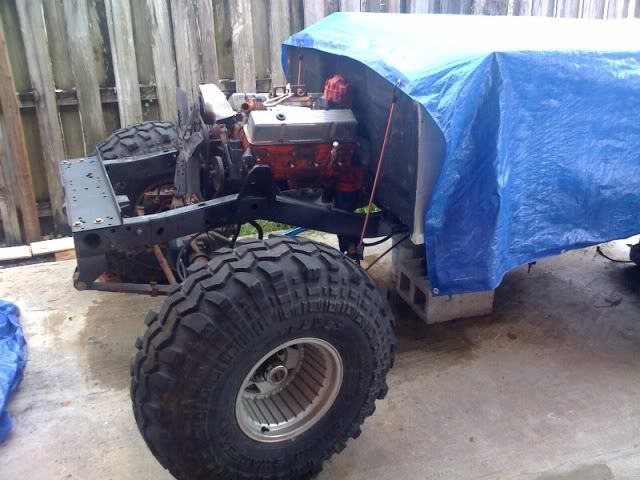
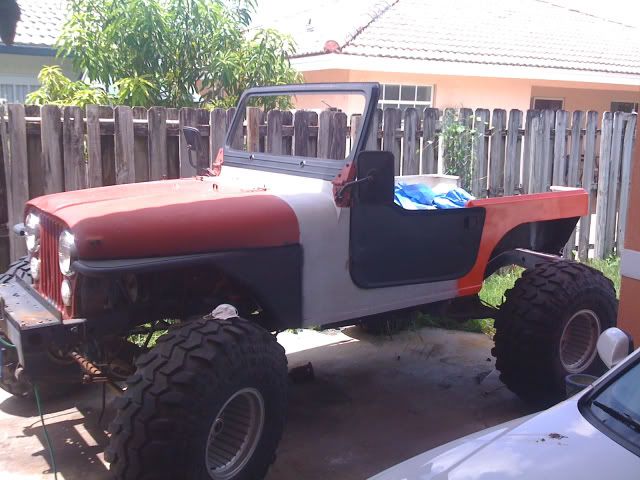
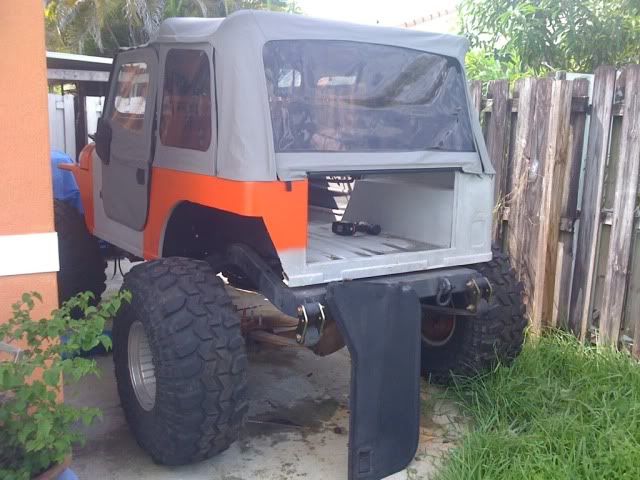
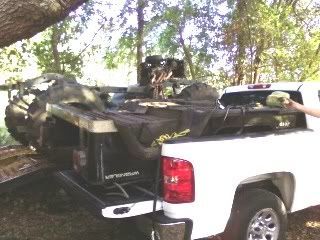
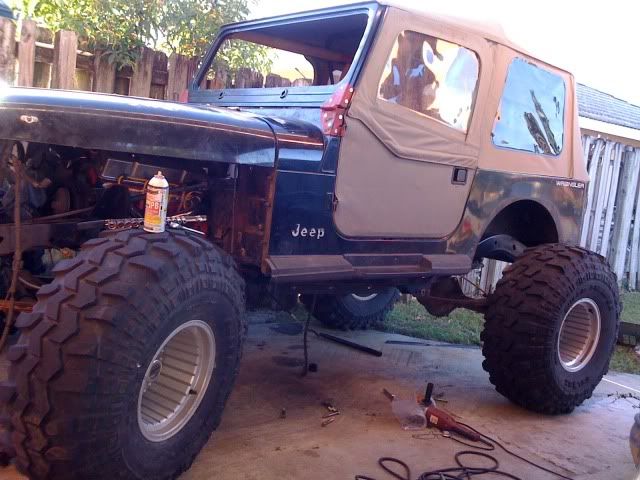
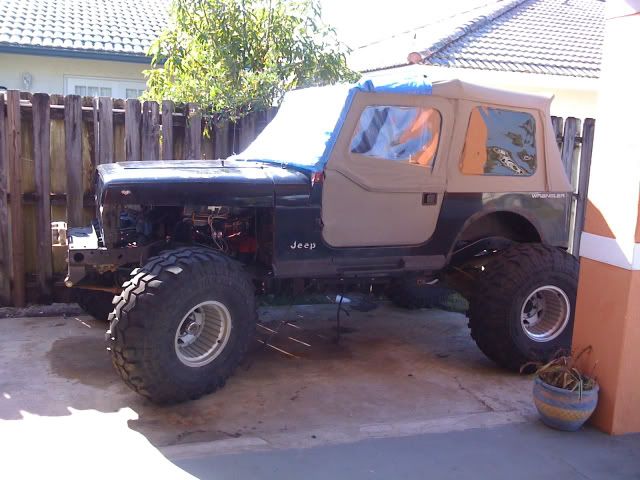
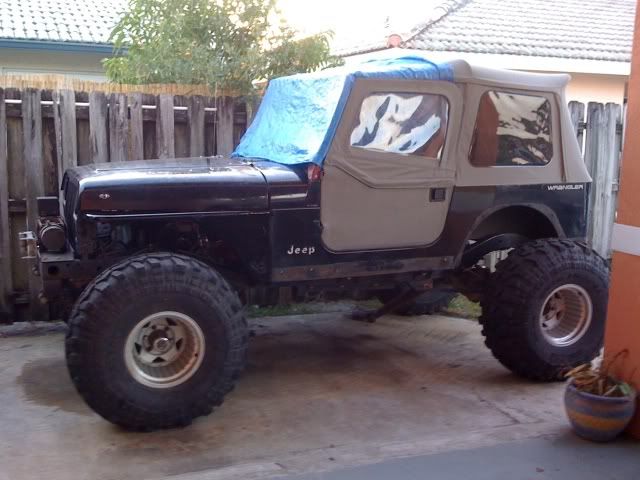
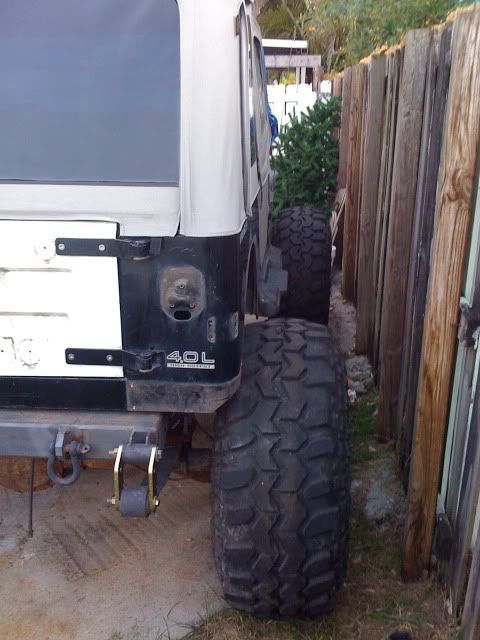
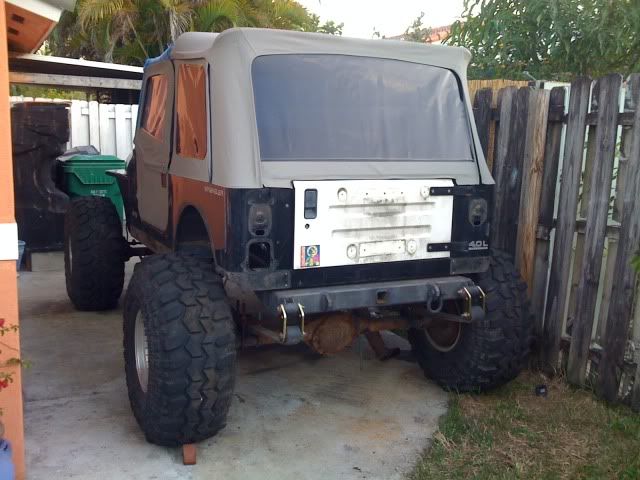
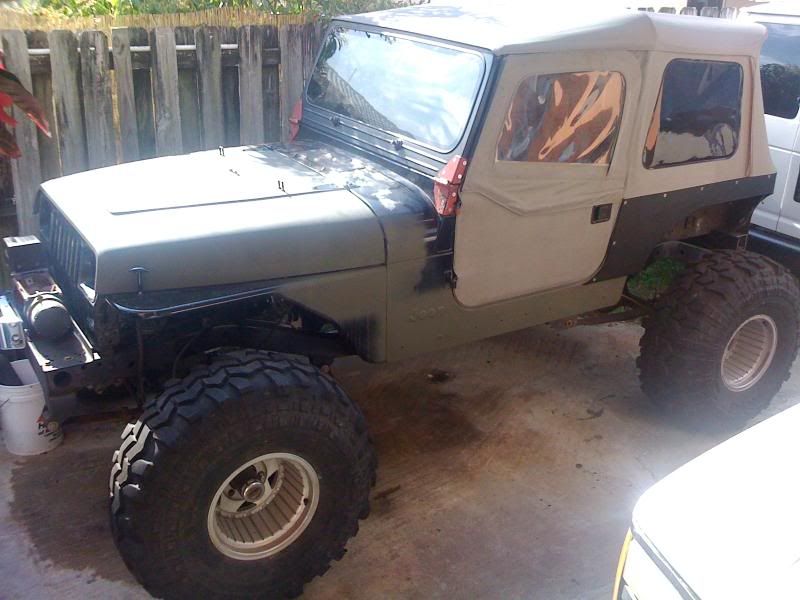
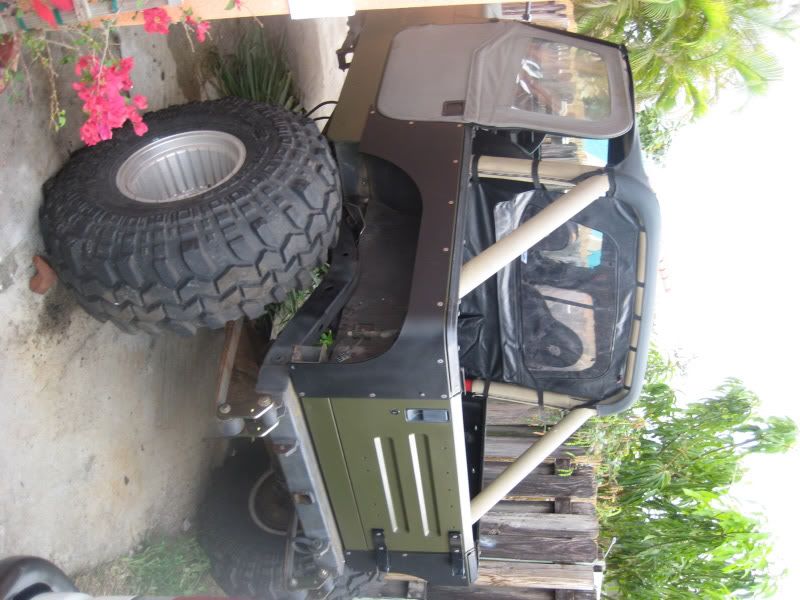
This is the day I got the Jeep...
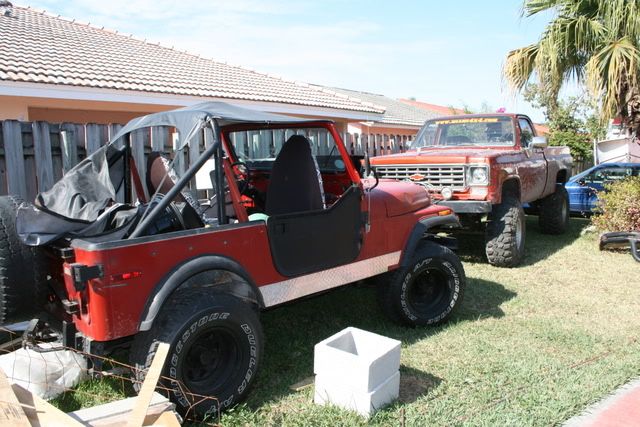
Here you can see the Jeep and the K10 together...
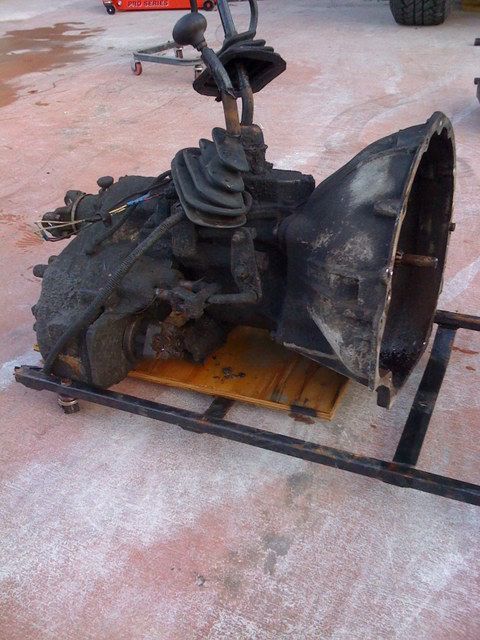
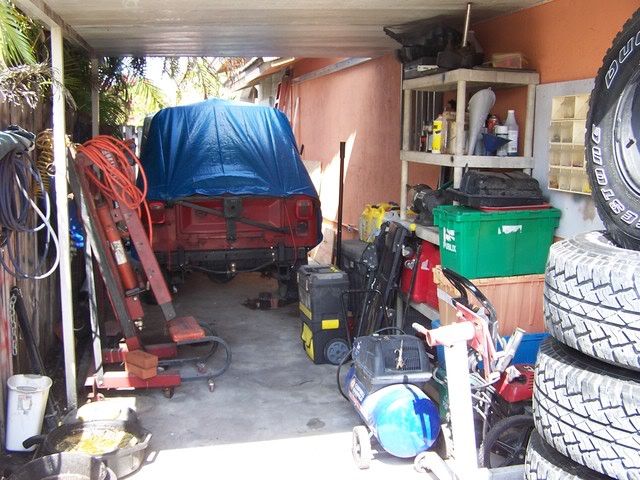
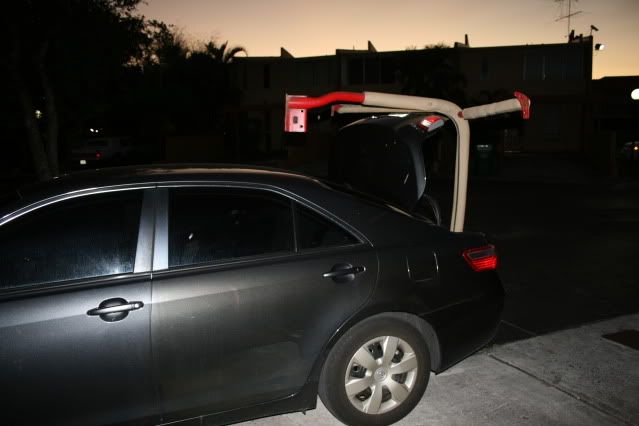
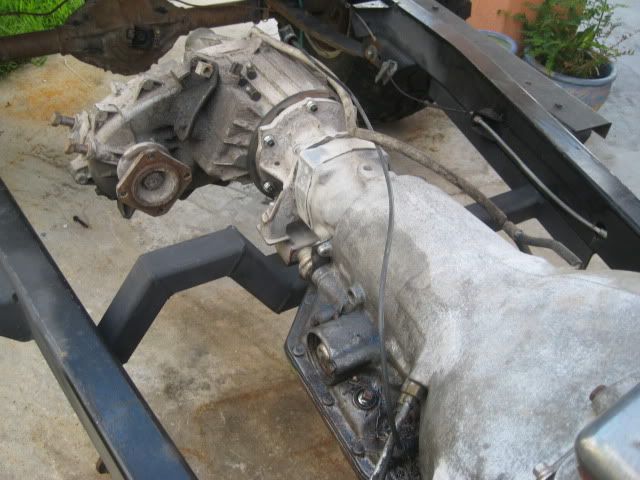
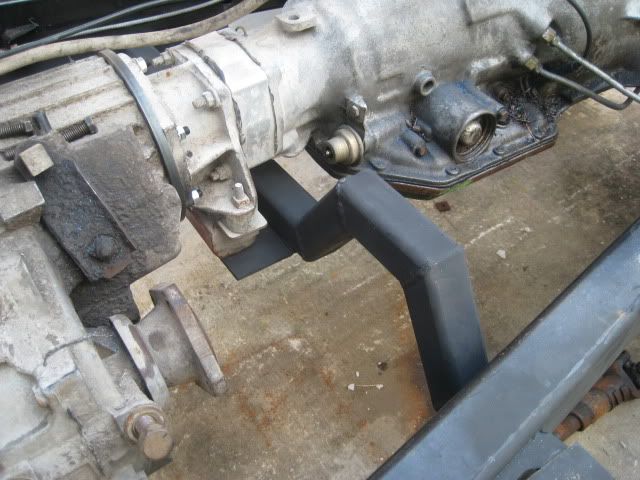
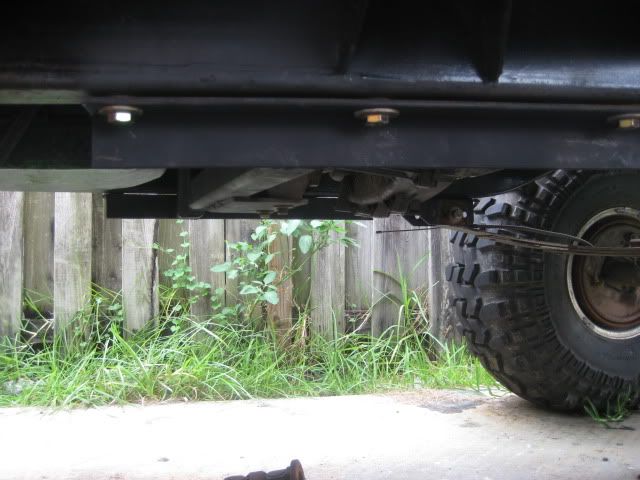
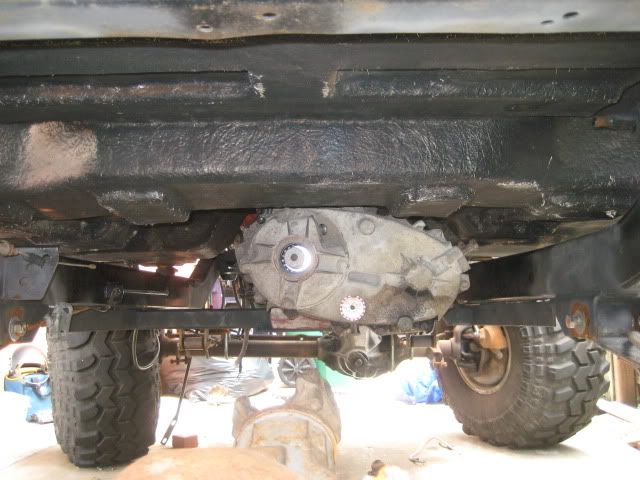
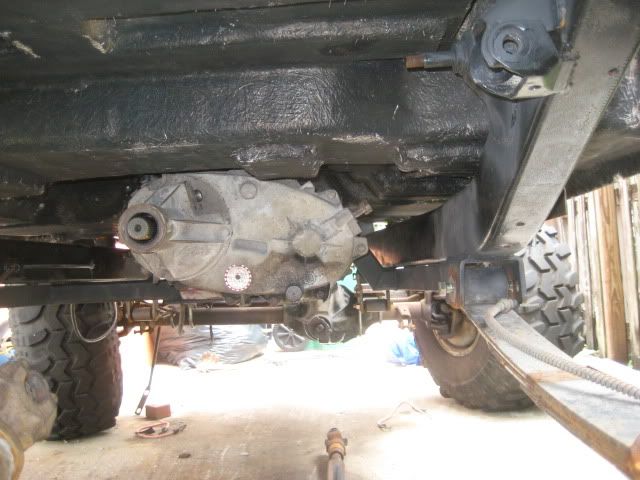
This weekend I started by pulling the tranny and t-case for a buyer. This took all day and two crowbars due to a stuck shaft. It eventually came out without damage. I've got too say, I forgot how hard it is to work under a short rig. Hopefully the construction will be done soon so that I can get the Jeep into the side yard to start really stripping her down.
AWW It's so tiny
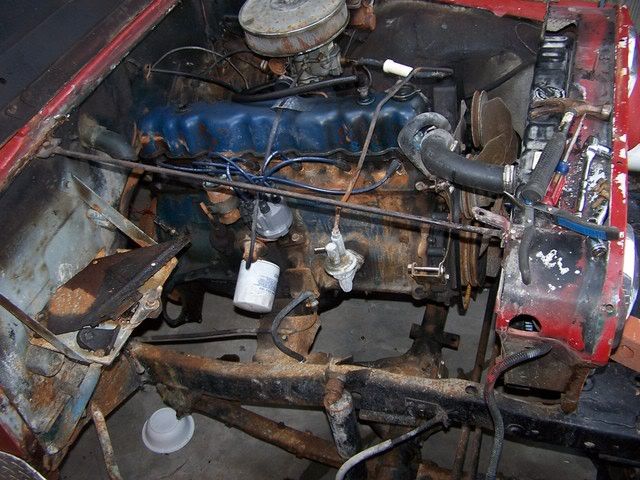
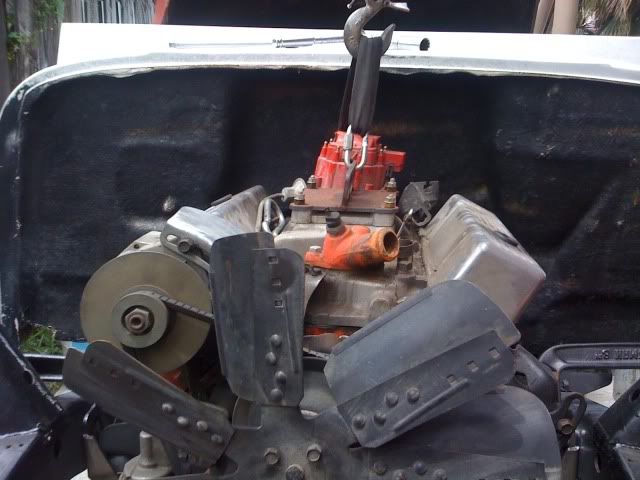
Next to go will probably be the motor and tires/rims.
BTW, if you want to ALL of the pics, here is the link to the complete album
http://s5.photobucke...51/CJ7%20Build/
Really looking forward to this. The K10 was fun and all, but I missed having a 4 seater and eventually the kids will be old enough to ride. Since this will probably be the last 4x4 I build it's got to be something that the family can ride in and that can be towed more easily. Plus, Im keeping the best parts of it.

February 17th, 2009
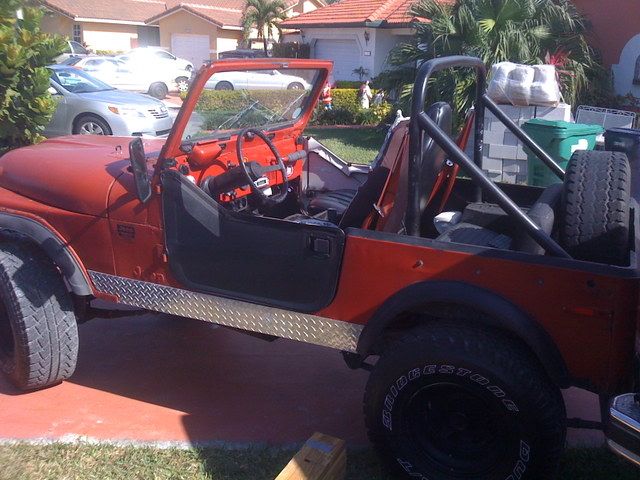
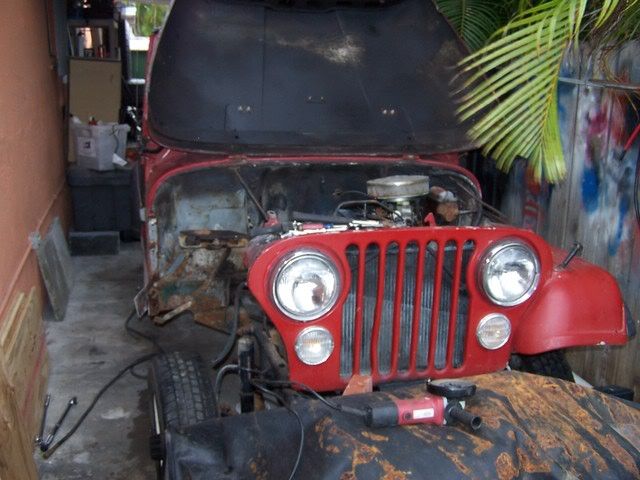
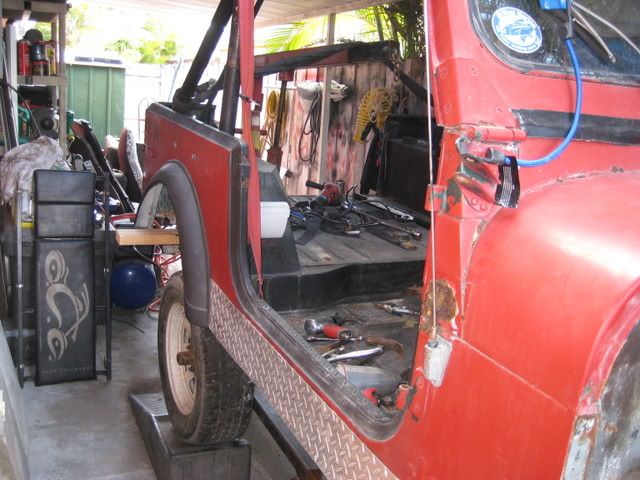
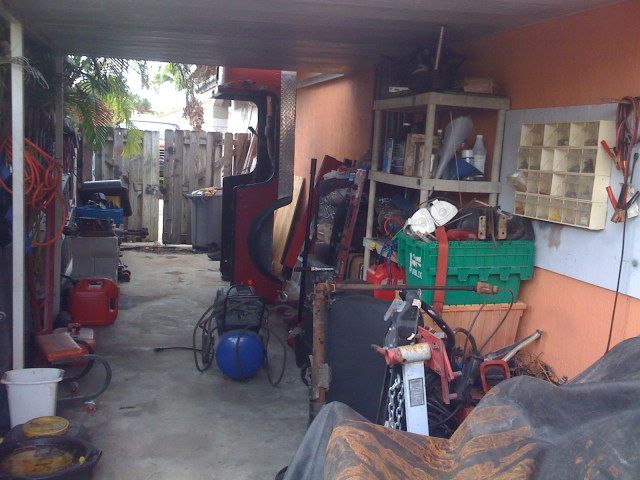
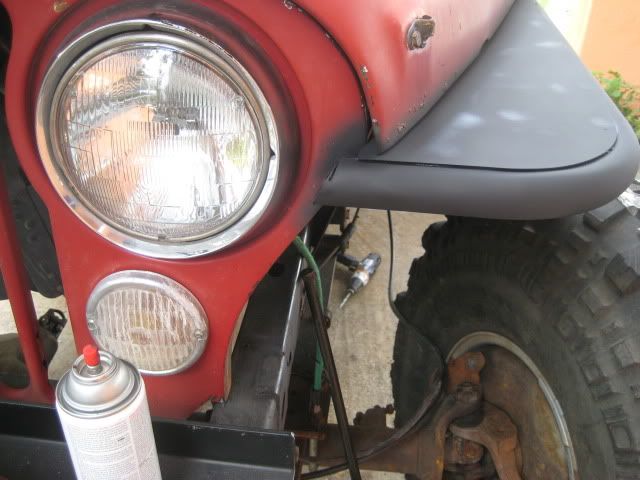
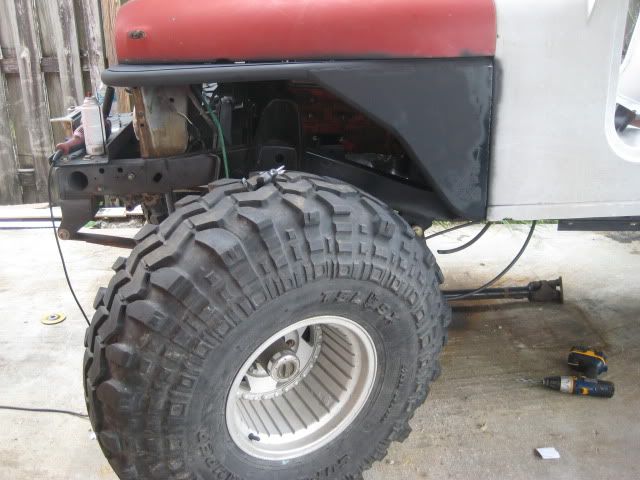
Finally got around to doing something with the Jeep again. Wasn't much though cuz I had to make room on the side of the house for it and it was a real mess. In the end I was only able to pull the passenger fender and swap the tires with the mini loaners. I just have to finish organizing the tool shed and get rid of a few things and Ill be ready to start stripping her down.
March 1st, 2009
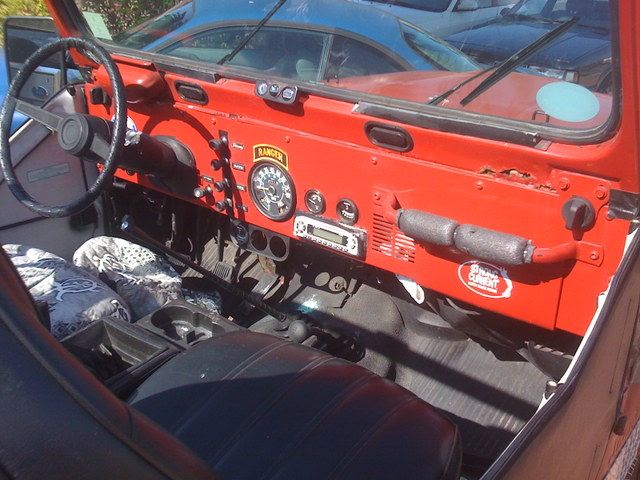
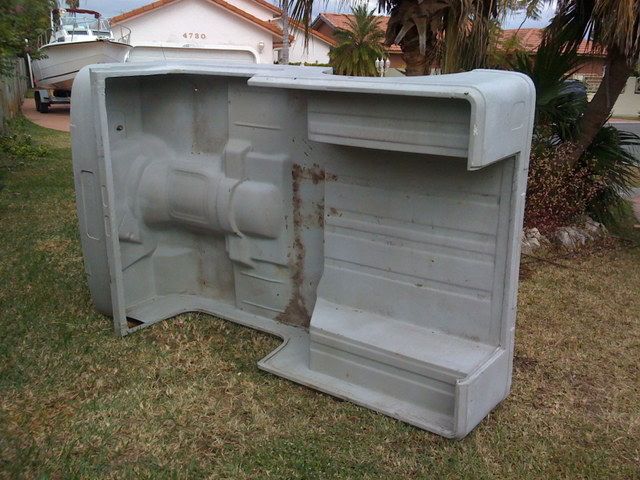
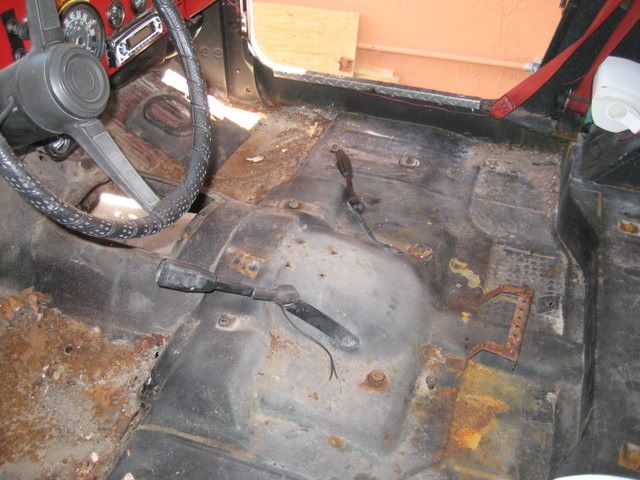
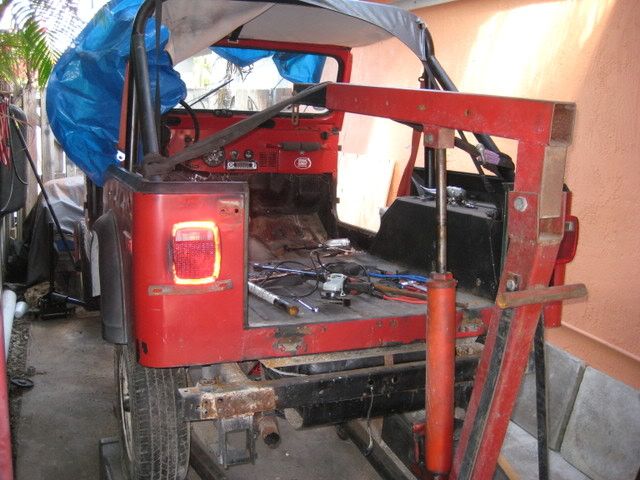
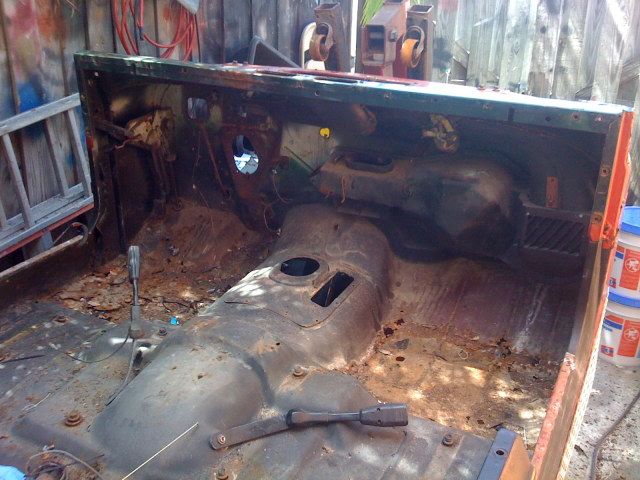
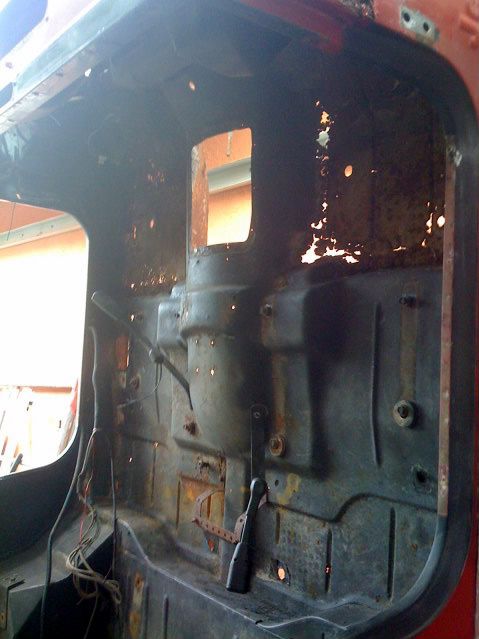
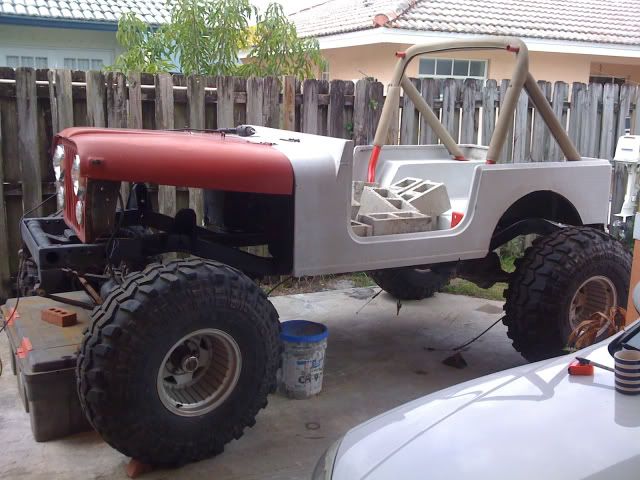
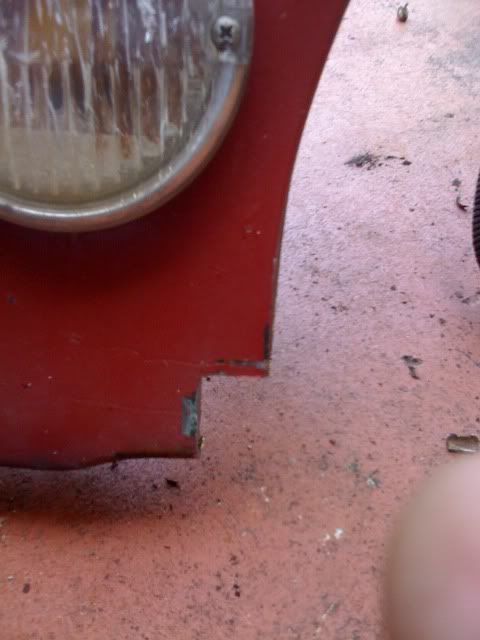
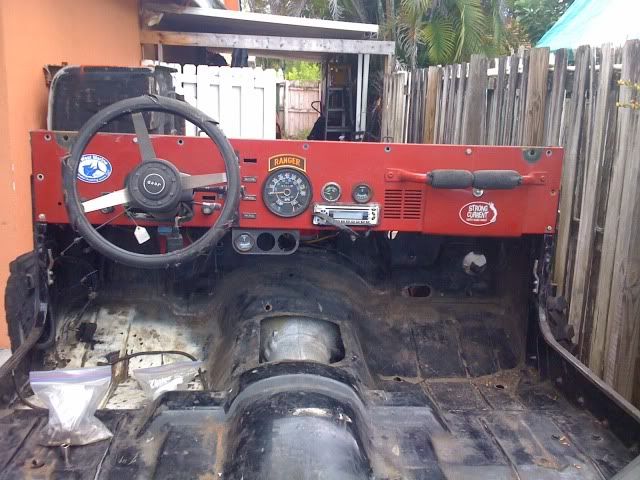
I did some more work on the CJ this Saturday. Pulled the seats out and cleaned out the mess a bit. Still not sure if I should try to fix this tub, use the fiberglass tub that I have, or sell both and find a CJ or YJ tub with less rust.
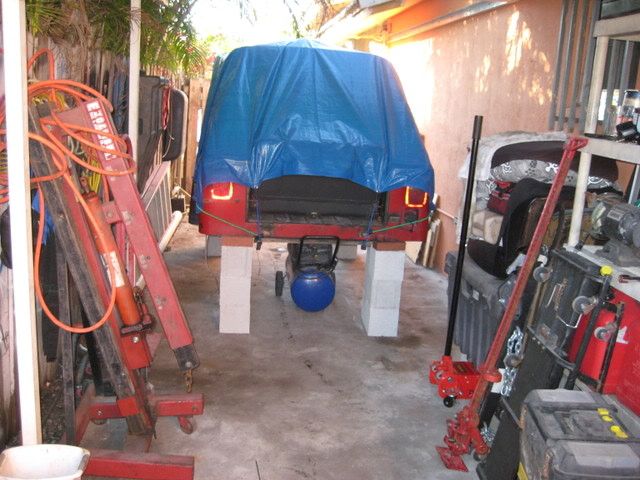
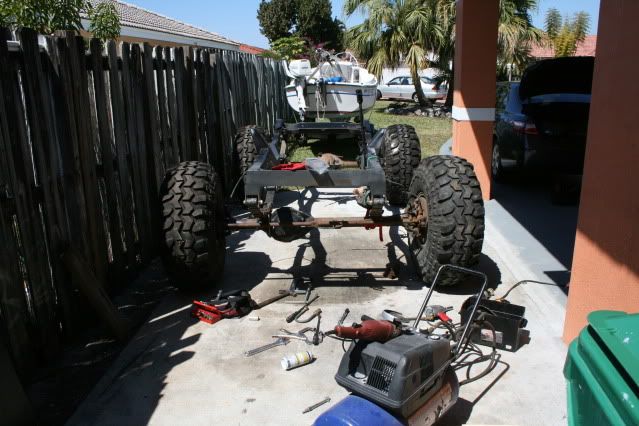
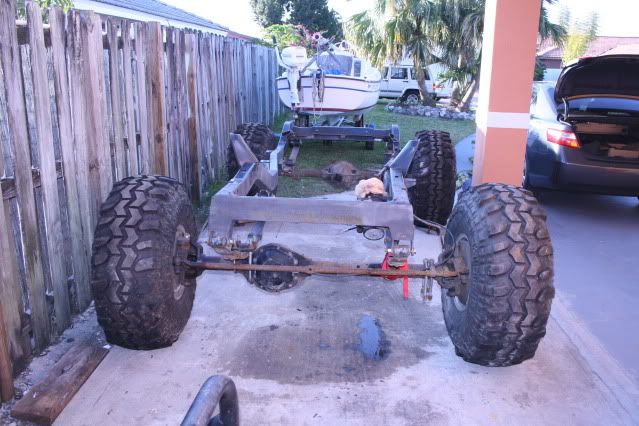
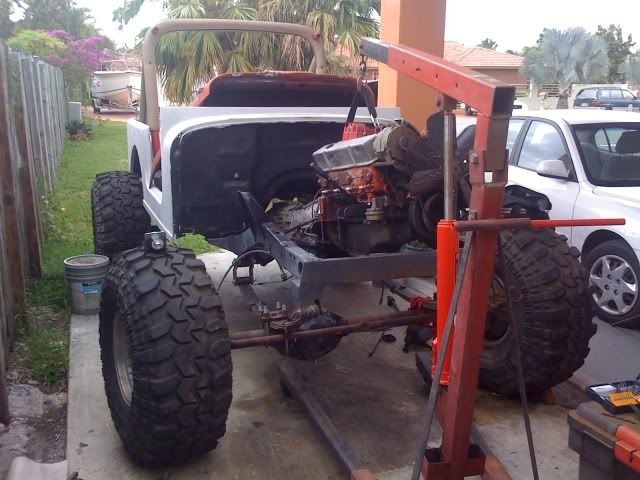
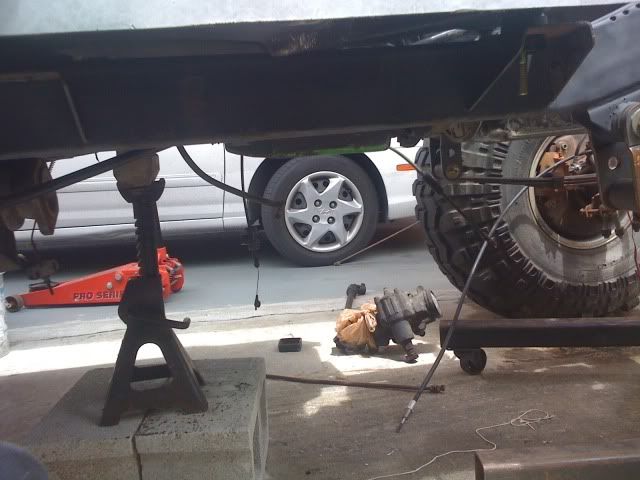
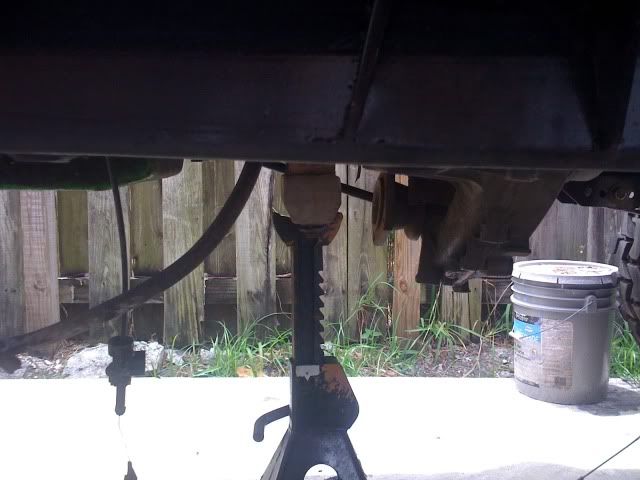
Next I fought with some rusty body mount bolts and I was finally able to take the tub off of the frame. I was alone so I had to get a little creative. I lifted the Jeep on stands, and then I supported the rear of the tub with an engine lift and the front with a 2x4 and bricks. Then all I had to do was lower the tires back down and roll the Jeep out.
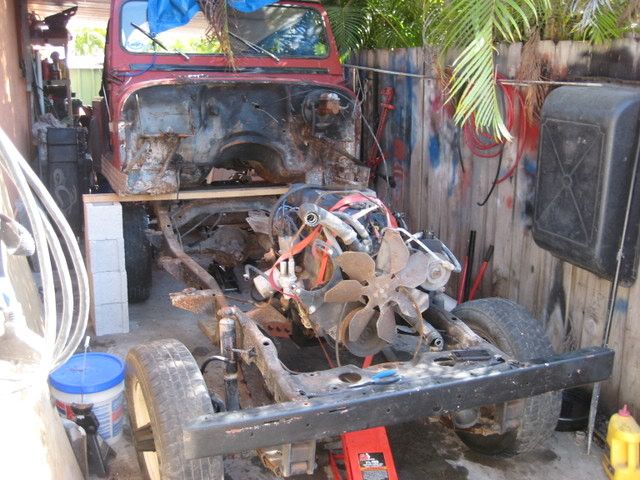
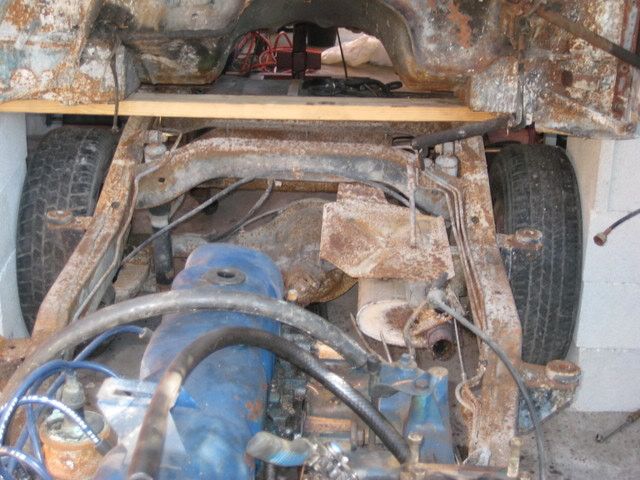
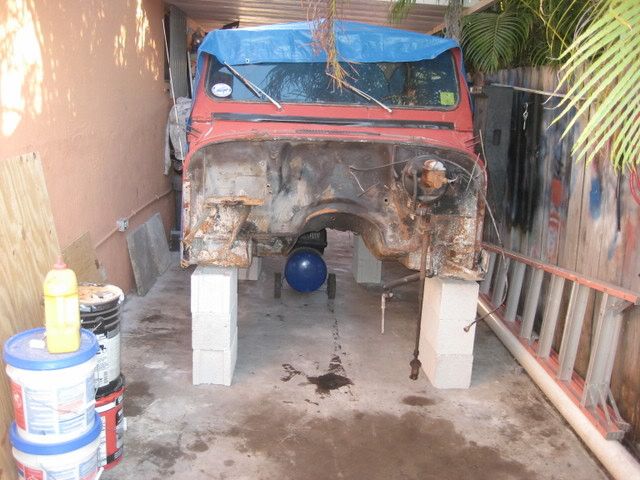
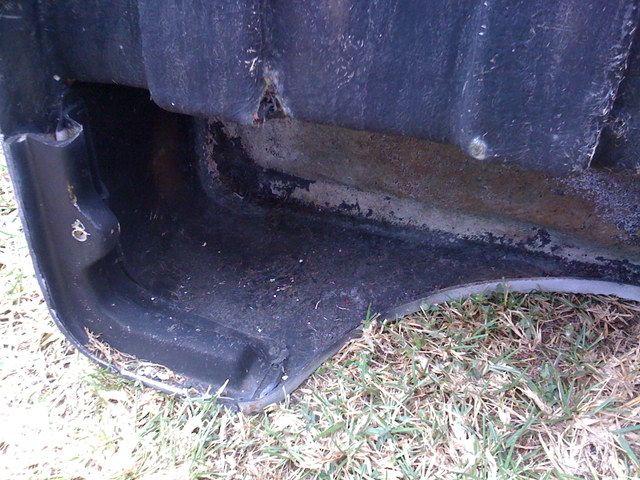
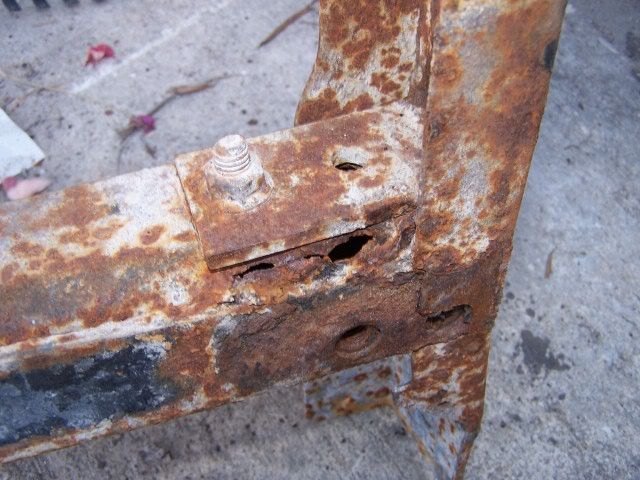
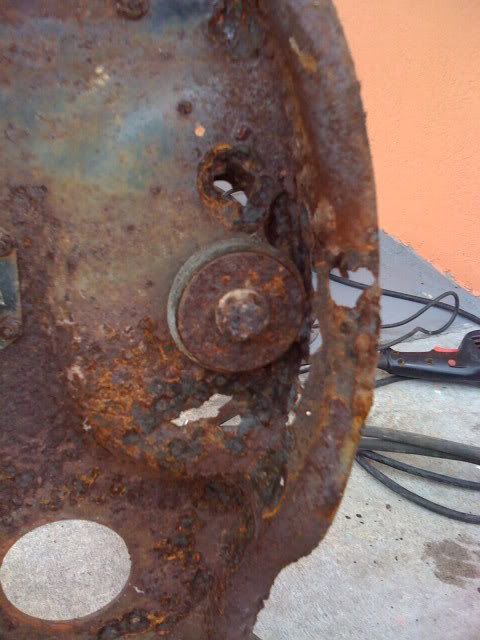
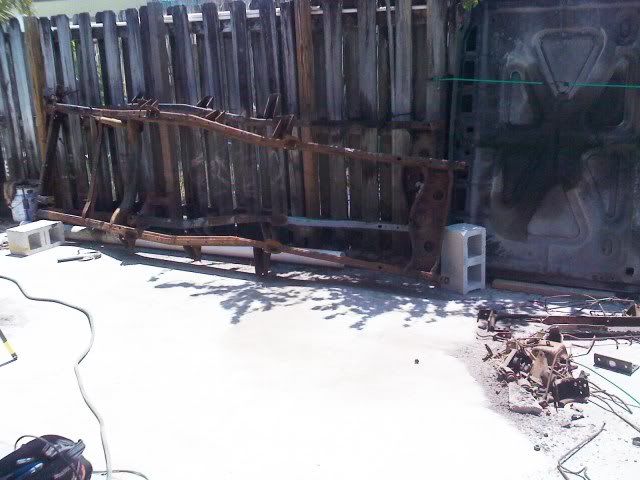
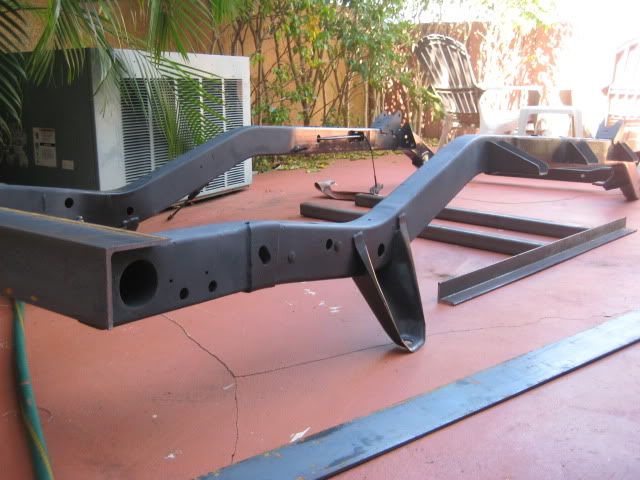
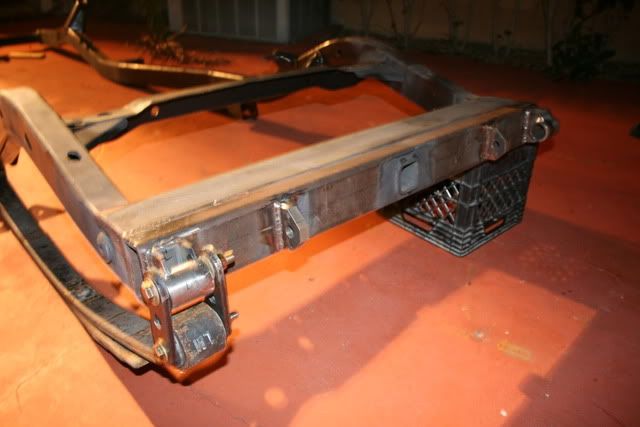
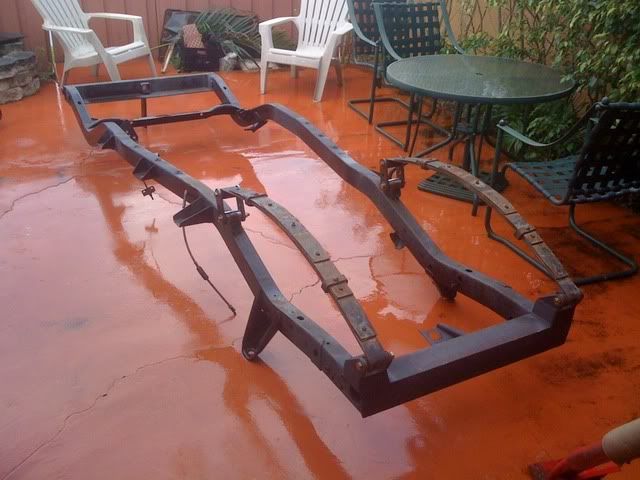
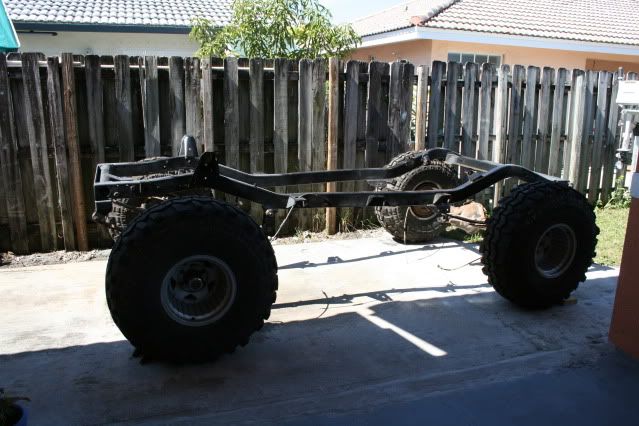
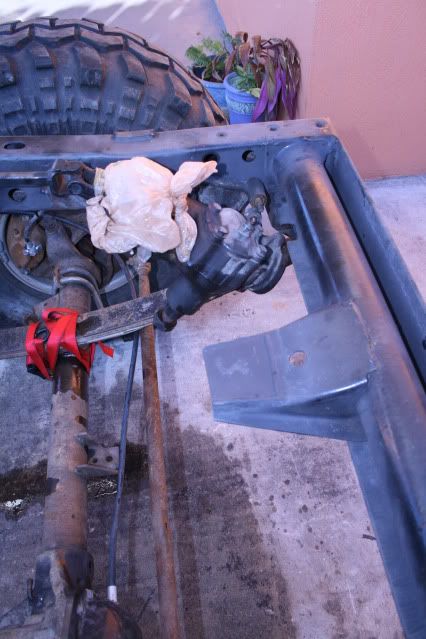
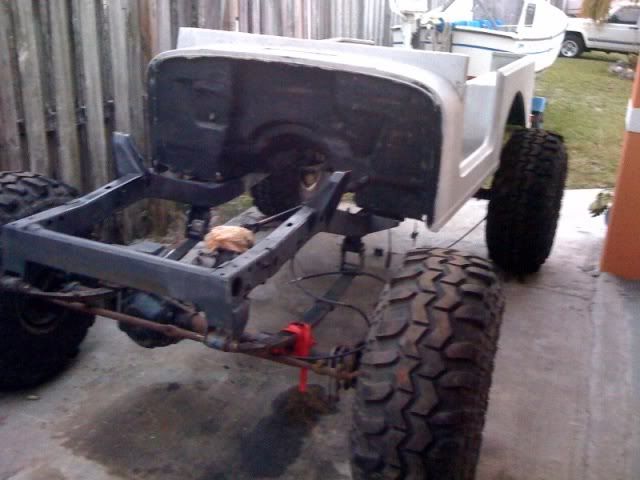
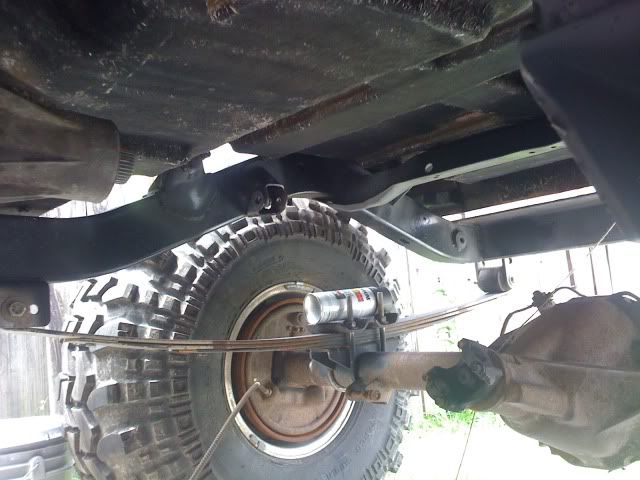
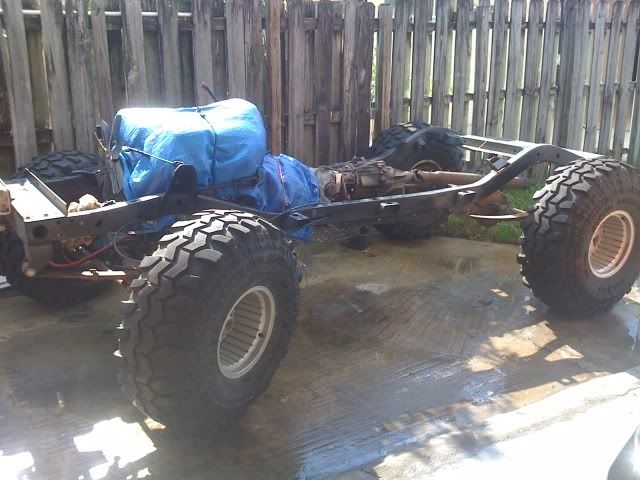
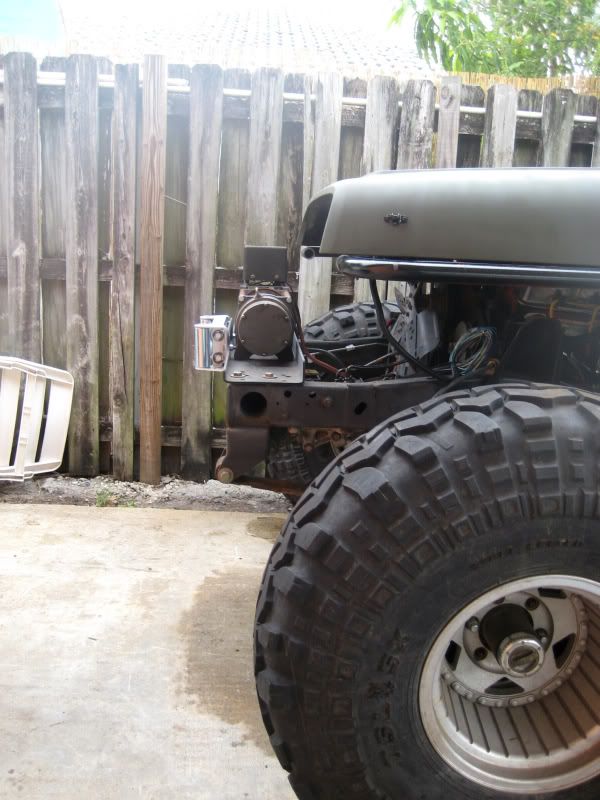
The frame is in better shape than I thought. Just surface rust throughout. The only major rust is the rear crossmember which will be replaced. Also looks like the previous owner installed a plastic gas tank.
Next on the list is to pull the axles for a buyer this week and pull the motor and springs (still no buyer). Then it'll be down to just the frame. I'll need to decide what Im going to paint the frame with because I want to have it cleaned and primed when I order the front and rear full width/stretch/bumper kits from BTF. That way I can have the kit welded on then paint the frame and bumper with some sort of glossy paint for easy cleanup. The frame will be either black or gray.
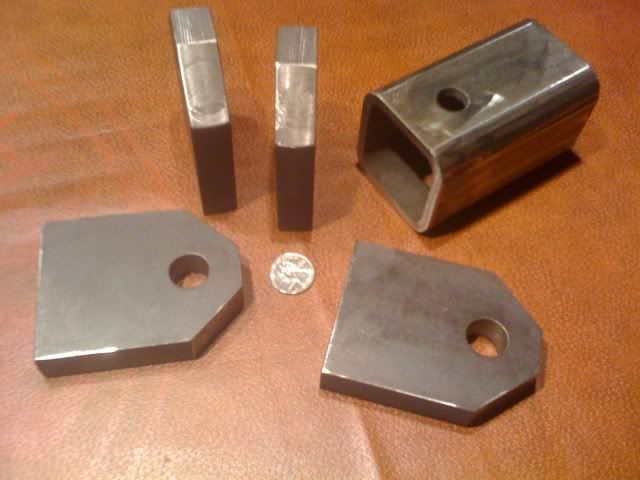
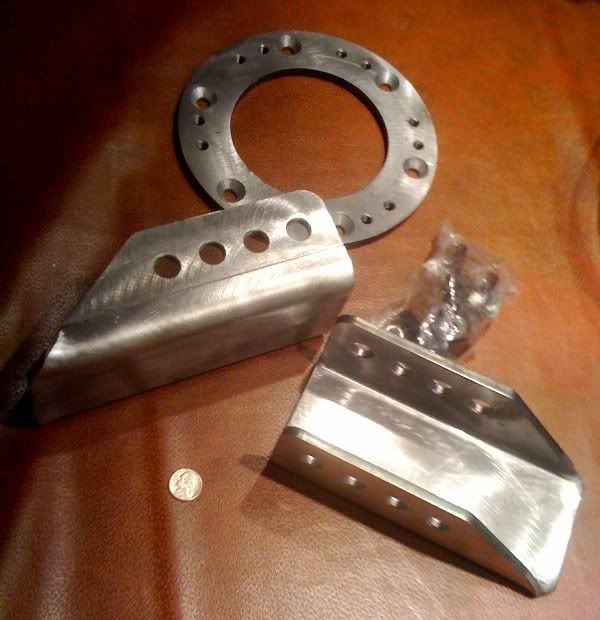
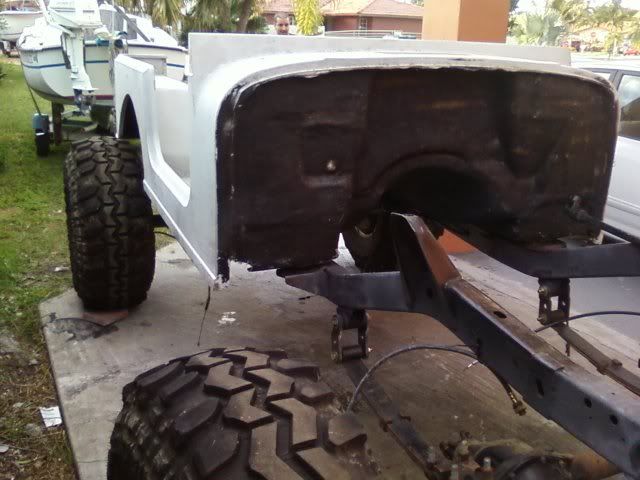
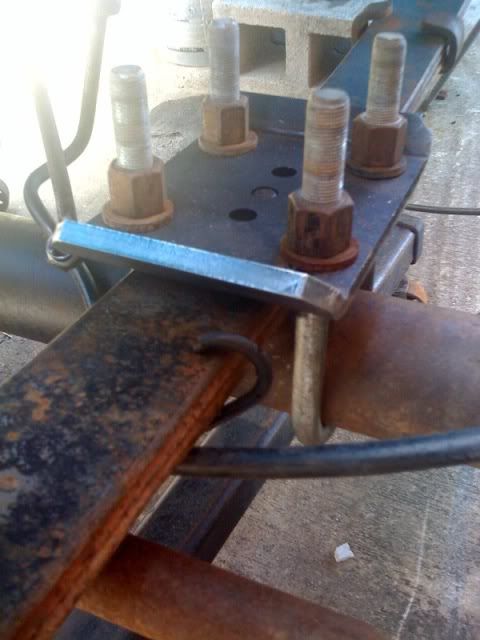
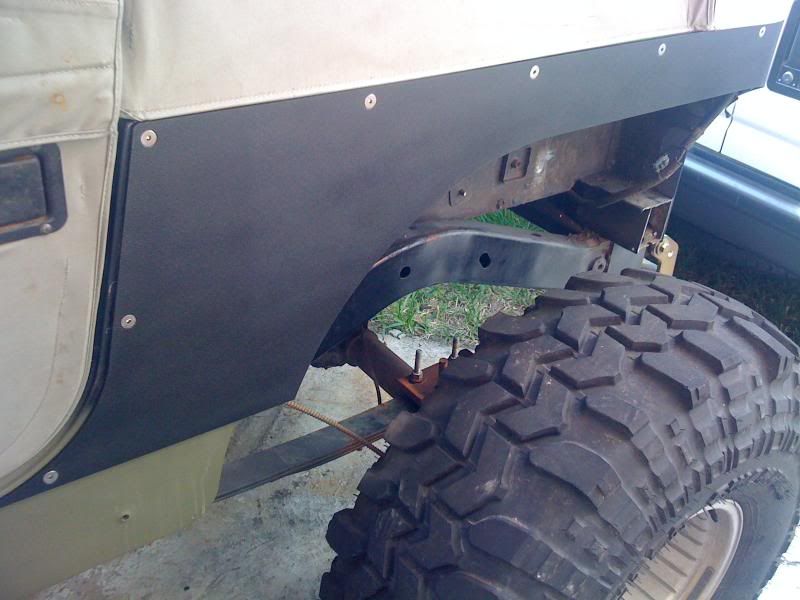
The only downside to the glass tub that I keep hearing is the you have to run extra grounds (not too big a deal) and they eventually crack from the stress in trail rigs. Don't know if thats true but I planned to use maybe a 4x4 steel plate at each mounting point (above and below the tub) to help spread the load. Not sure if thats over kill though.
Also worried about the rear fenders being too week after I cut them for the "comp-cut look.
March 3rd, 2009
Been home for the last 2 days with a cold that I got from both babies so I've been sitting around wiping boogers wishing I was working on the jeep
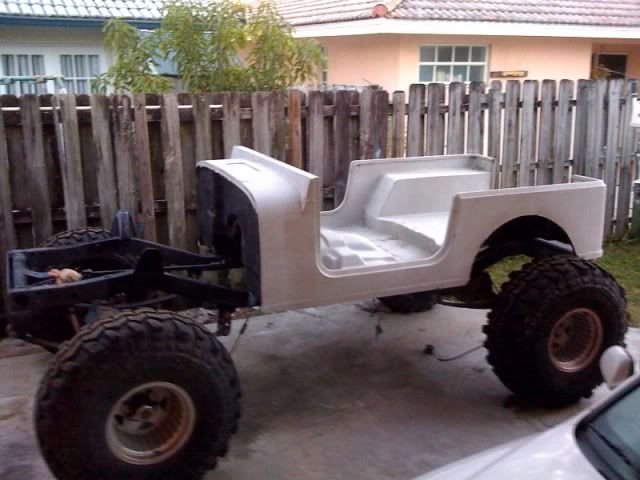
After looking at the tubs some more I'll definitely be going with the glass tub. Just going to research on the web for the week spots and reinforce them. I figure the mounts would be the worst spots. I might just get 4"x4" steel plates at each mounting point to act as giant washers.
I have buyers for the axles and motor but I can't get to that until Sunday. I'll also start stripping the misc. brackets on the frame and motor mounts, tank, etc.
Hopefully, I can have it all stripped down and ready for blasting soon. I'll also be ordering everything needed to get the axles mounted this week.
March 22nd, 2009
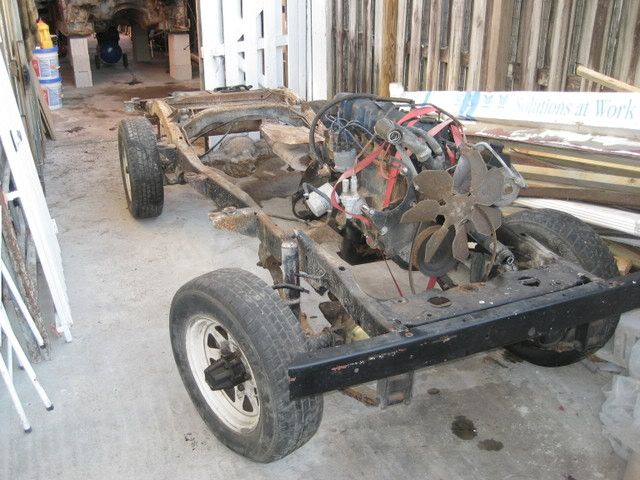
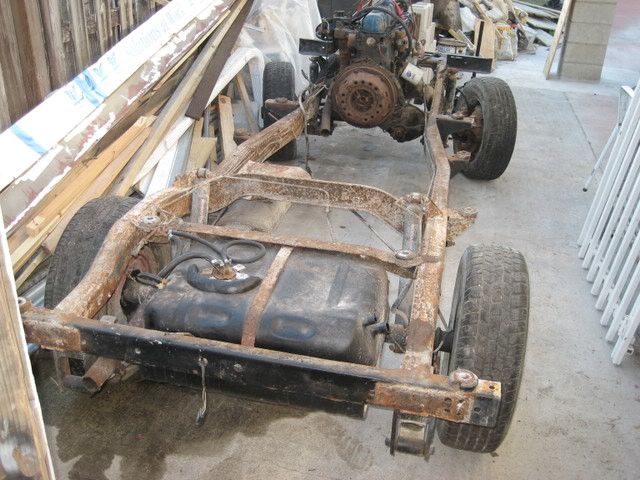
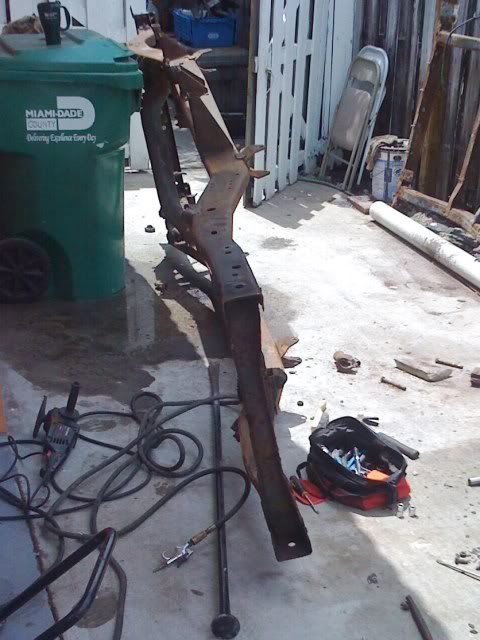
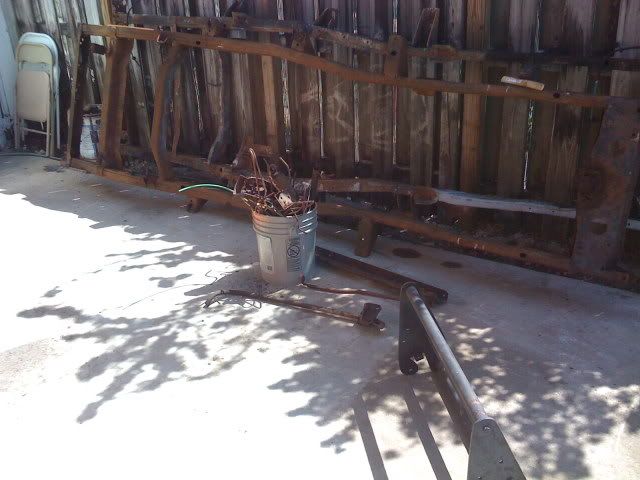
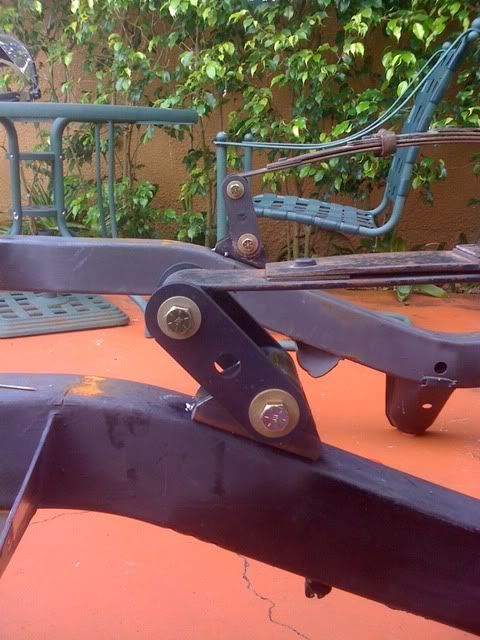
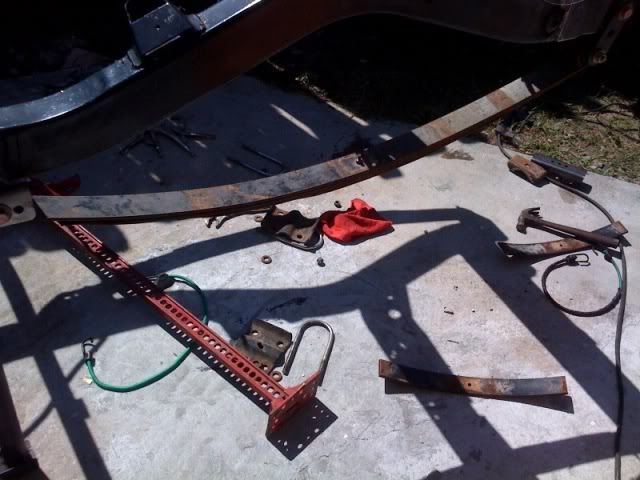
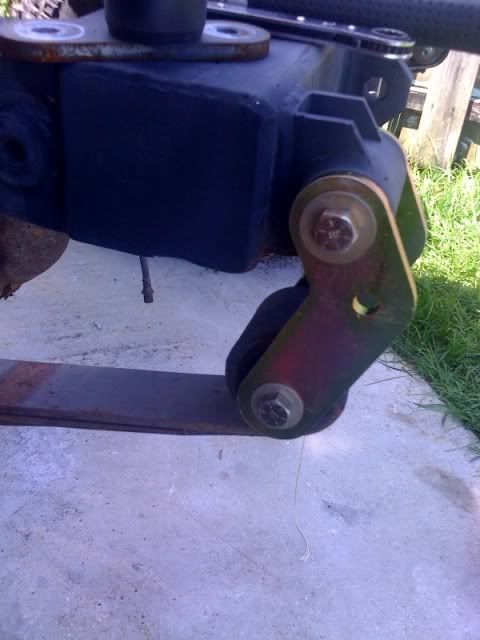
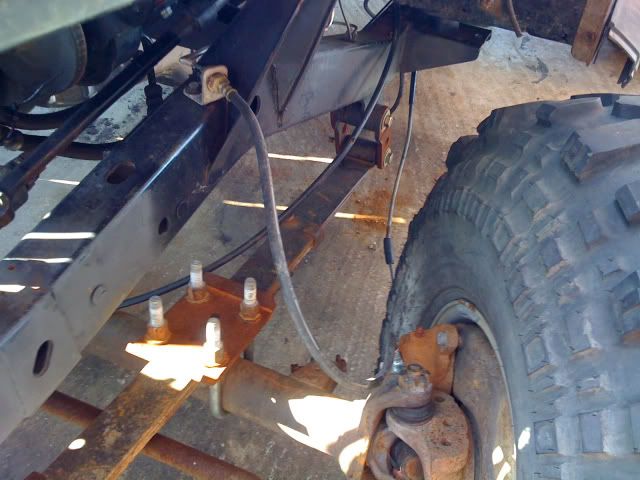
Well, I stripped down the frame last weekend. Got rid of the fuel and brake lines, dropped the tank and removed anything bolted down. I started to remove the rear shackle mounts for the front springs but I couldn't find any cutting wheels. I was able to drill out the top of two rivets but ran out of time.
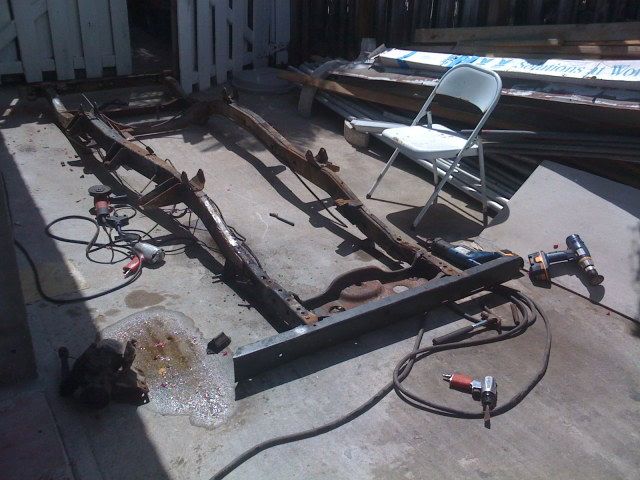

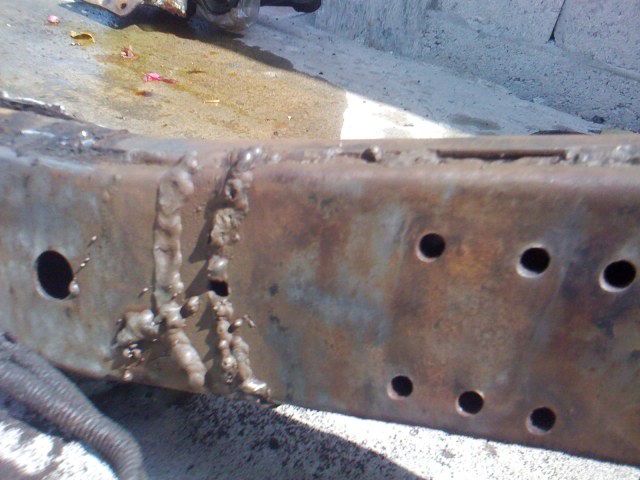
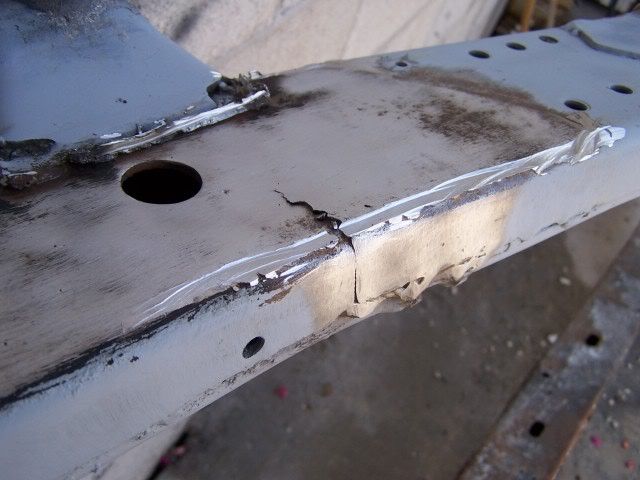
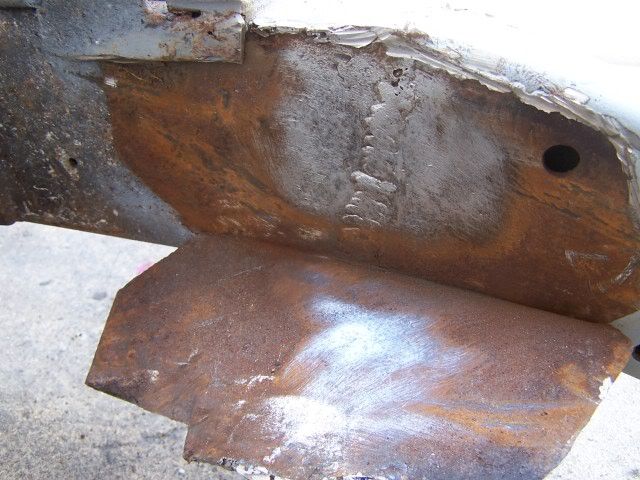
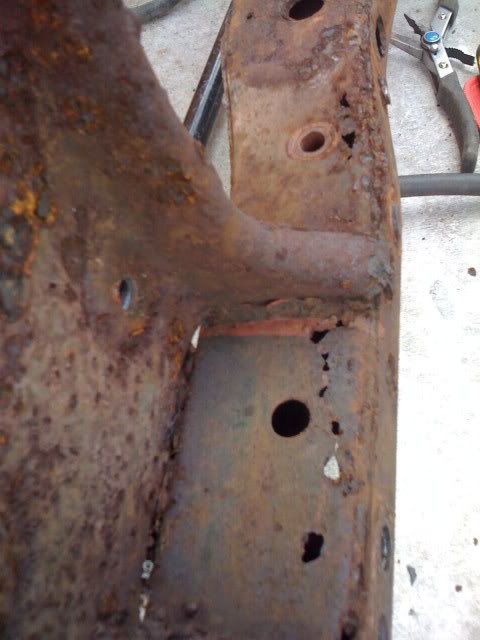
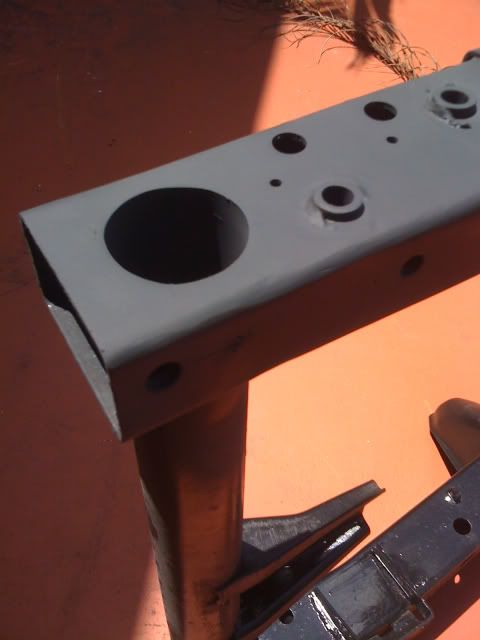
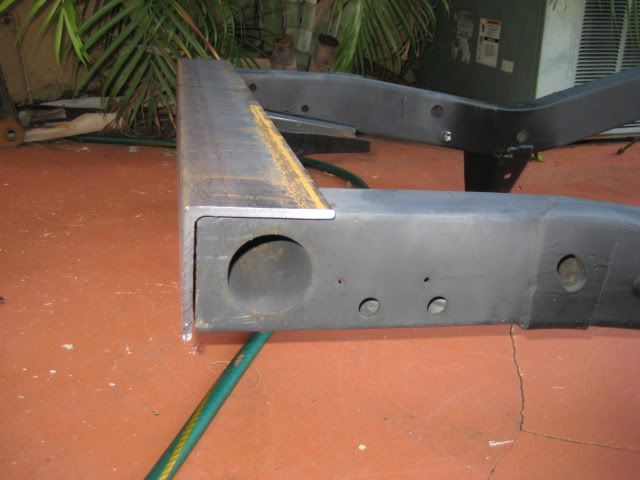
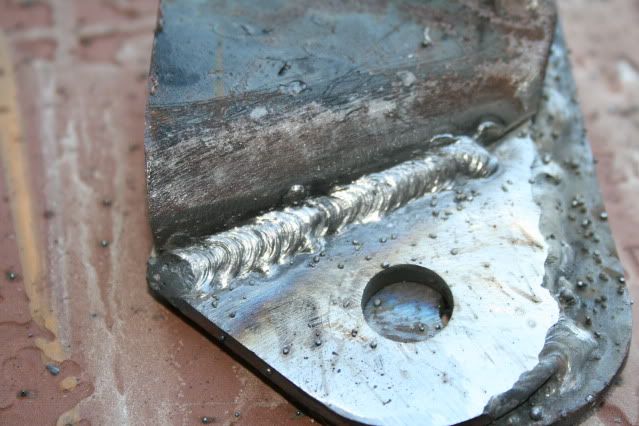
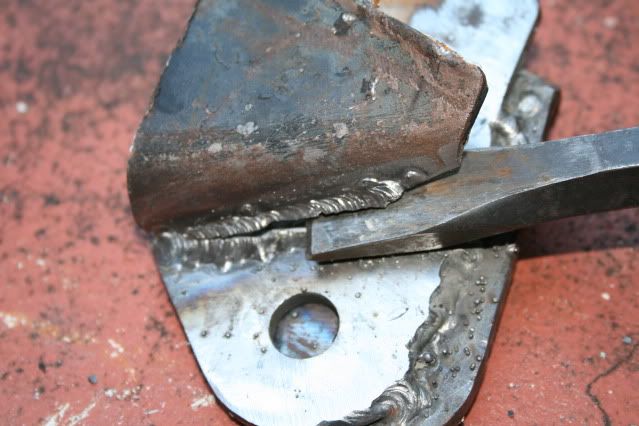
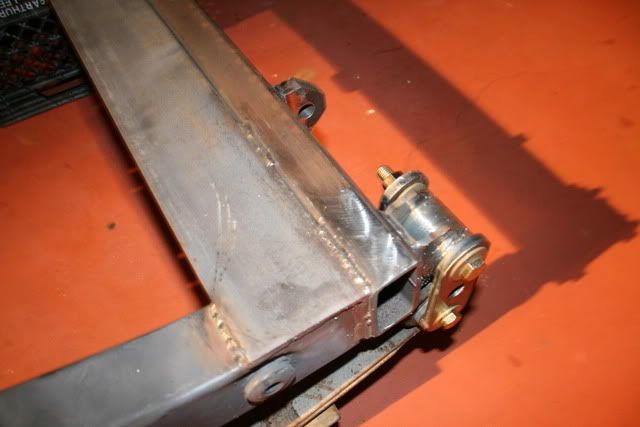
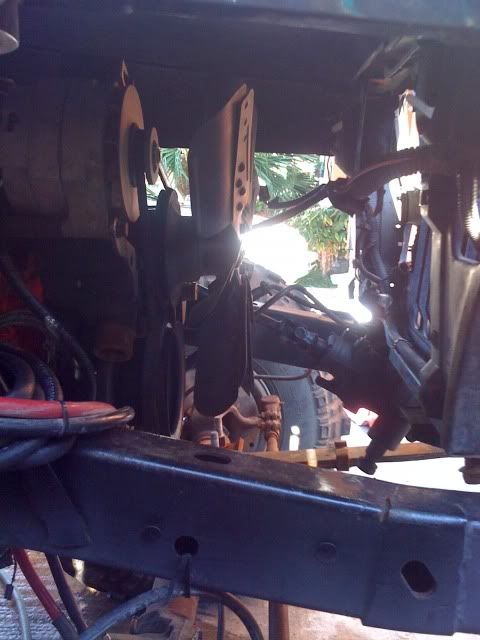
I found that not only did a previous owner try to fix the frame, they also did a bad job of it. Either they did this with the body on and had no room to work with or they just suck at welding. Now Ill have to grind all the ghetto welds down and cut out the plates on the outside of the frame. The MORE frame plates get welded to the outside and run from the front bumper to past the first body mount. Then using one of the cut outer plates, I want to trim it down a bit and have it welded to the inside of the frame.
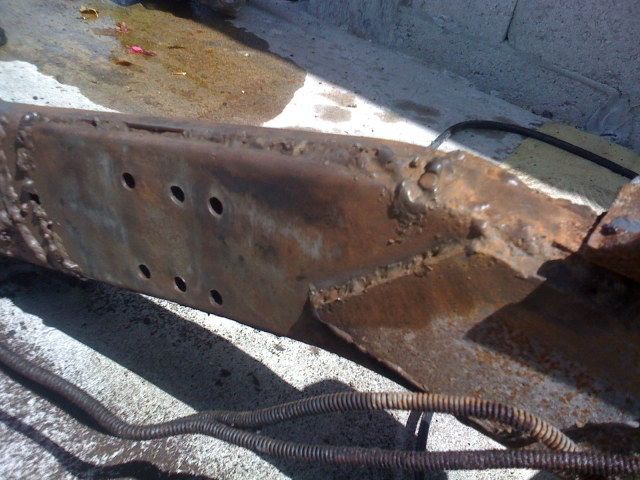
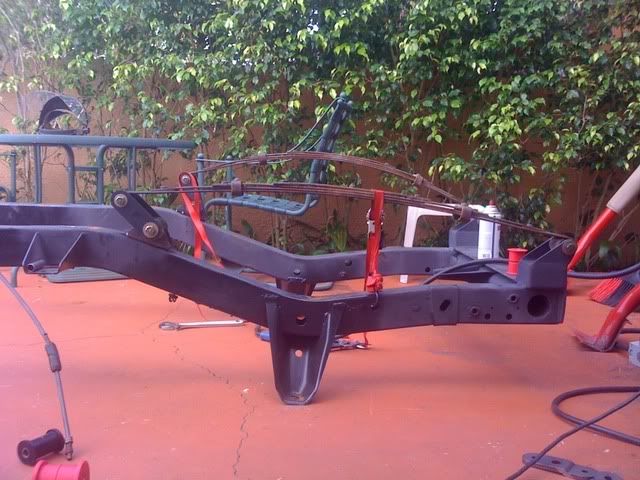
I had to stop early so I grinded and wire brushed the area then topped I of with some primer. This is going to take a lot of prep work before it's ready for welding.

March 22nd, 2009
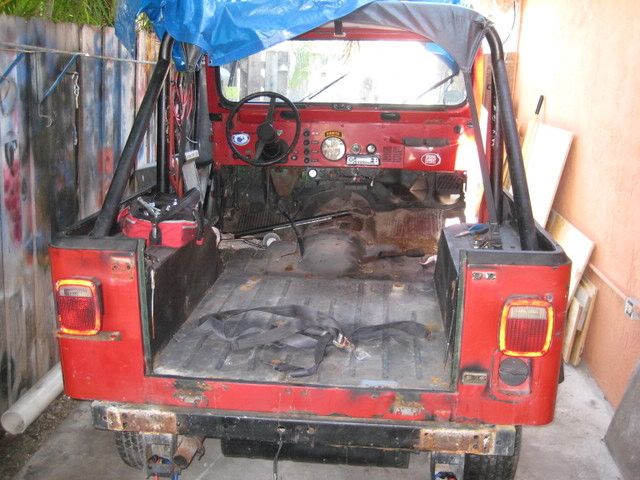
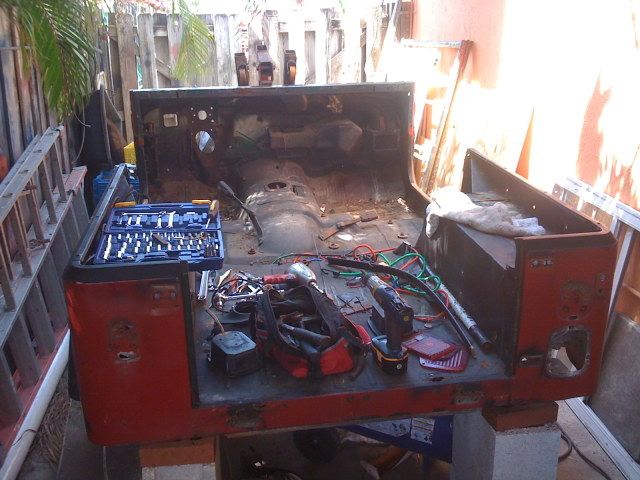
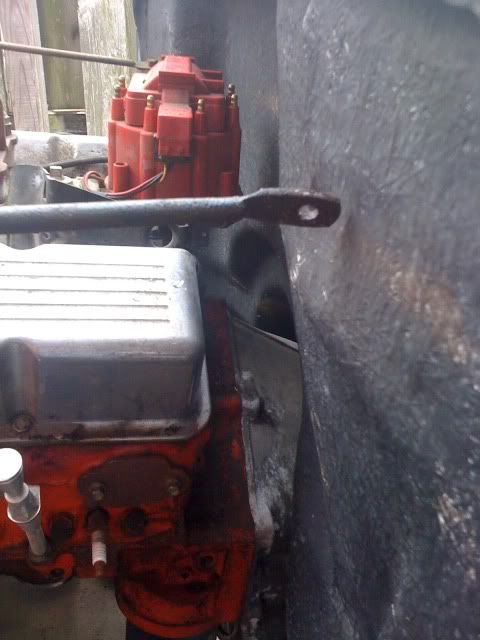
Today I had to put the frame aside to concentrate on stripping parts off of the tub. I was able to get everything I needed off except for the seat belts and two steel plates for the show bar.
The build is going slow but it's not too bad considering this is only the fifth day that I work on it.
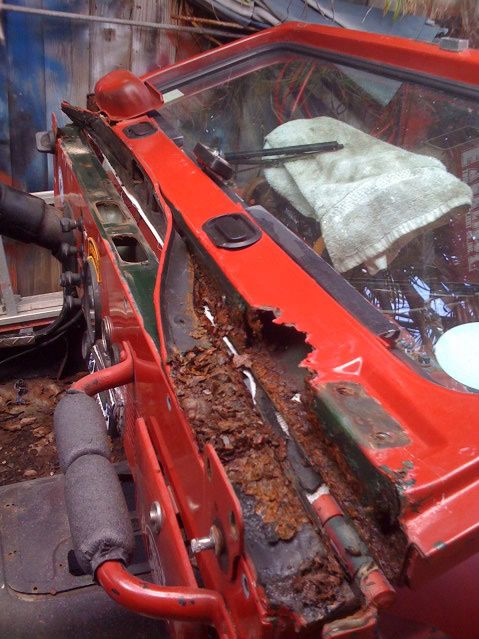
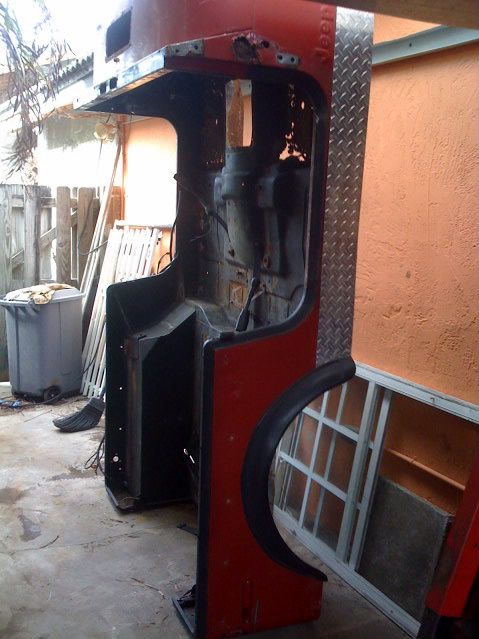
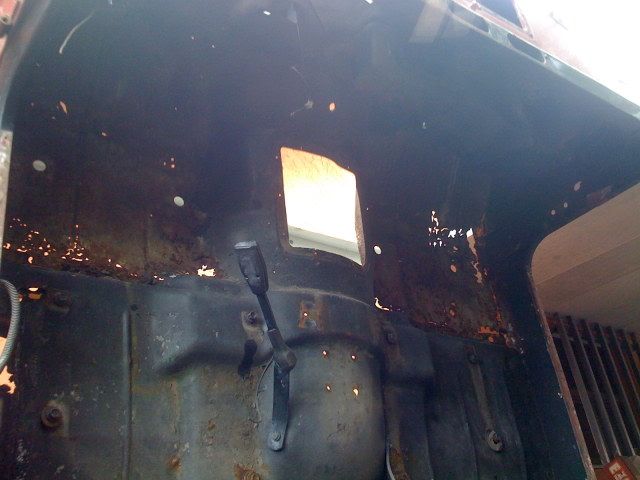
I think the window frame might be a little too far gone...Just going to keep it for the glass and wiper motor.
March 23rd, 2009
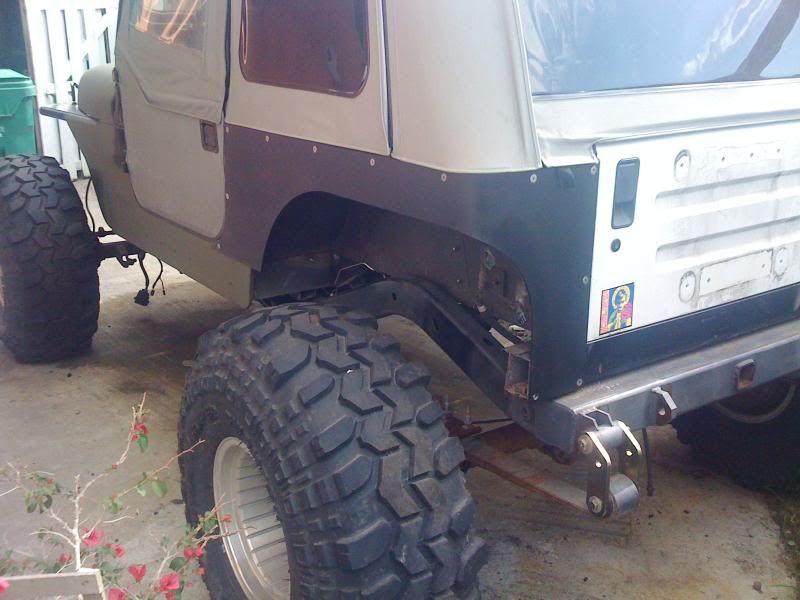
This thing is moving along nicely. It just sucks only getting one 6-8 hour day a week to work on it. I would have so much more done by now back in my pre-father days.
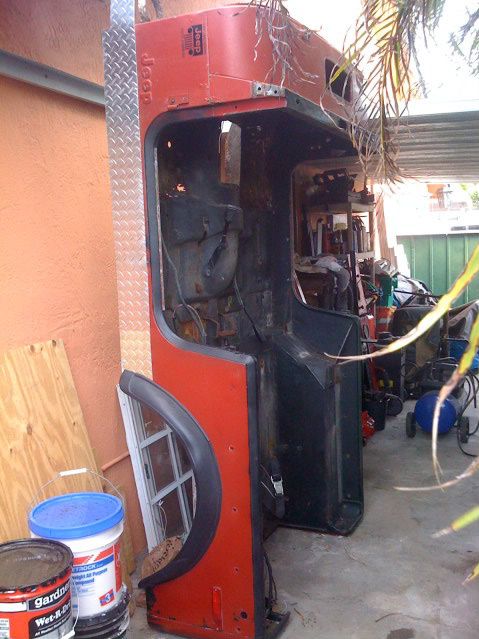
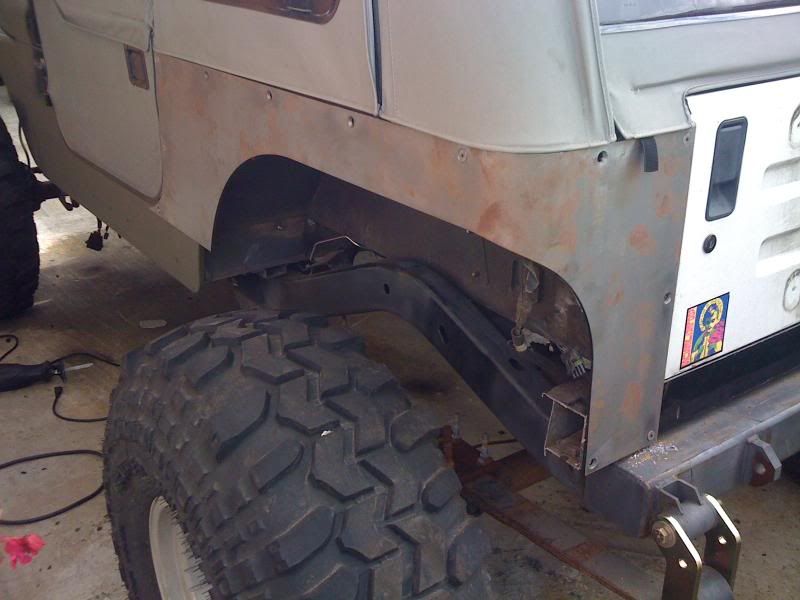
This weekend Ill pull the last pieces that I need off of the red tub and it'll be ready to go. The red tub really isn't that bad for someone that has the skills and sheet metal. The worst parts are the front floor board which can be bought and welded. There's also a rust hole by the passenger door hinges that needs patch work.
This weekend I also plan to have the frame ready. I was planning to sandblast the thing, but by the time Im done prepping the areas that need reinforcing, I might as well finish it off with the wire wheel and grinder. Cutting the old welds will take most of the time.
I also have to start ordering all of the frame and axle swap parts this week.
I'm keeping the glass and motor cuz the windshield frame is shot. Probably just buy it new when the time comes and swap the glass over.
March 28th, 2009
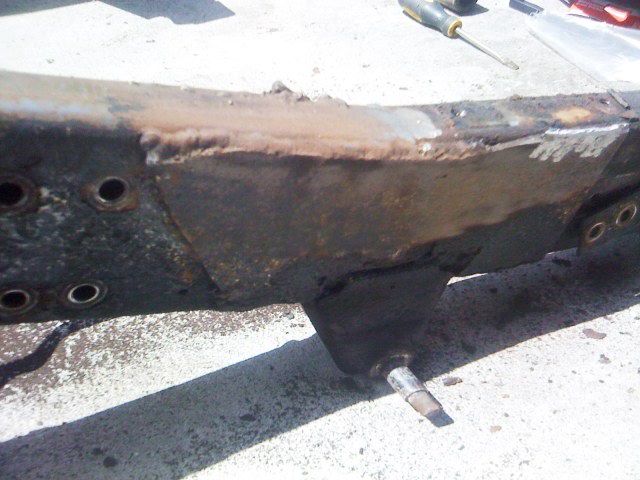
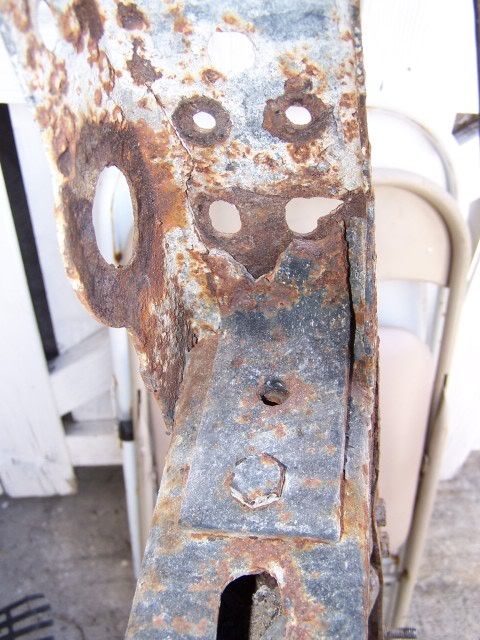
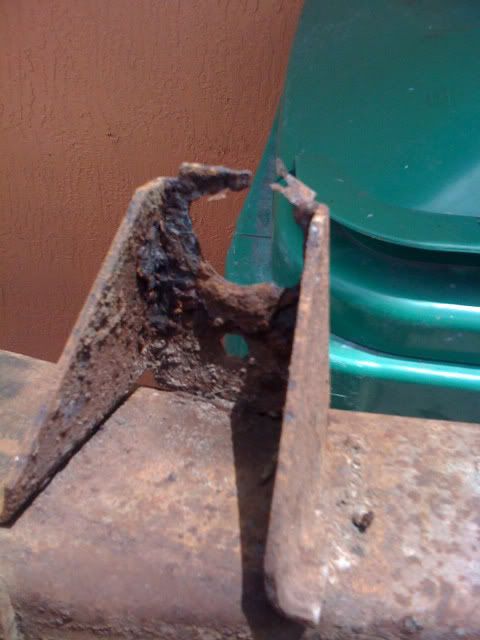
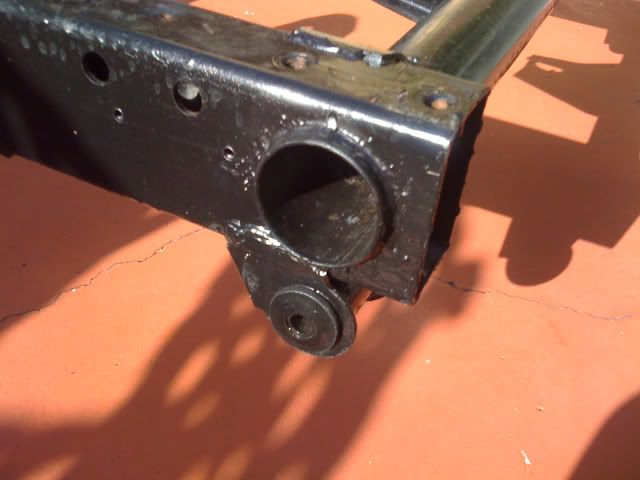
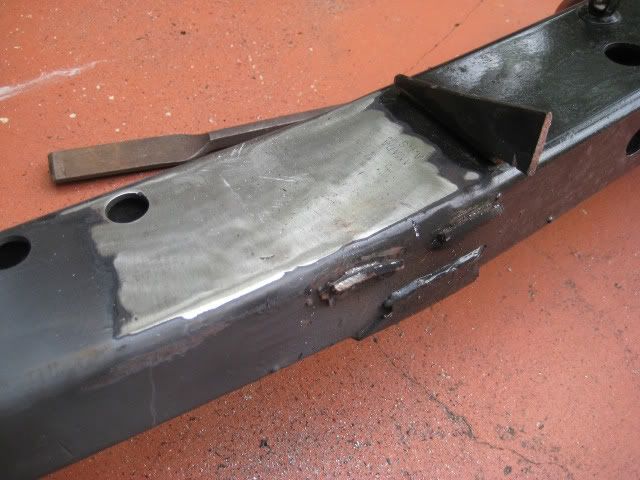
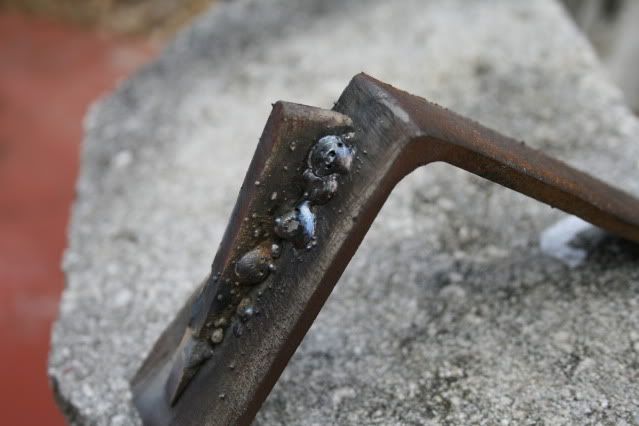
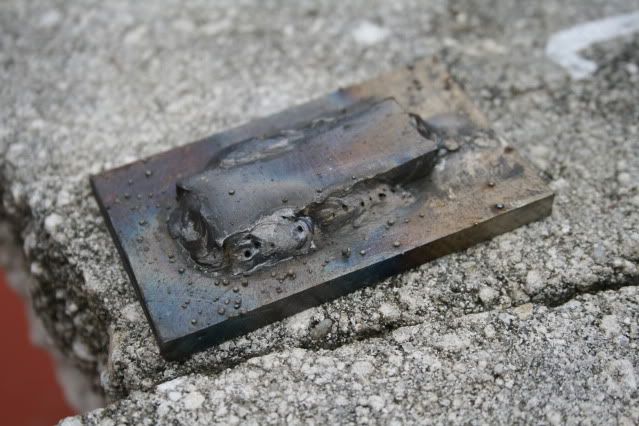
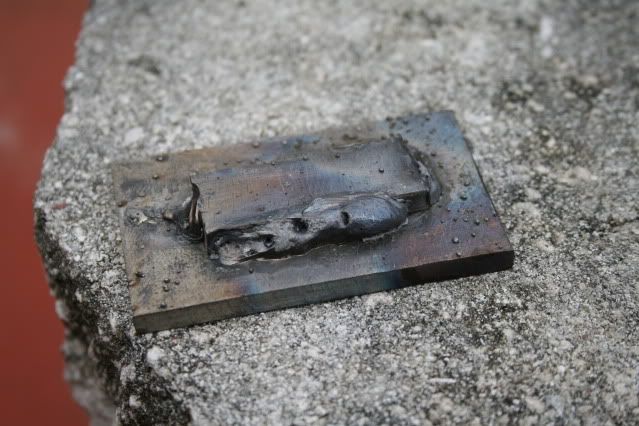
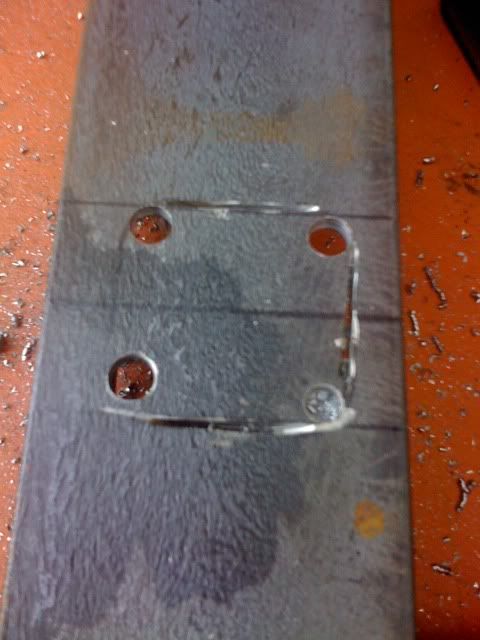
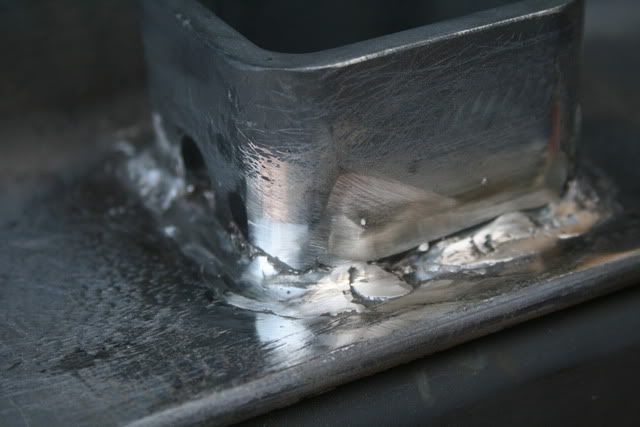
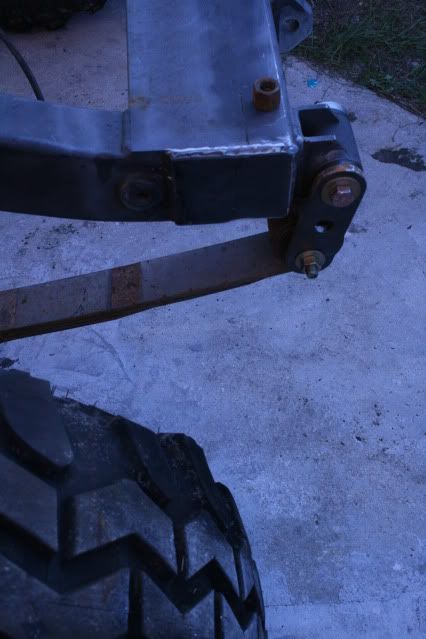
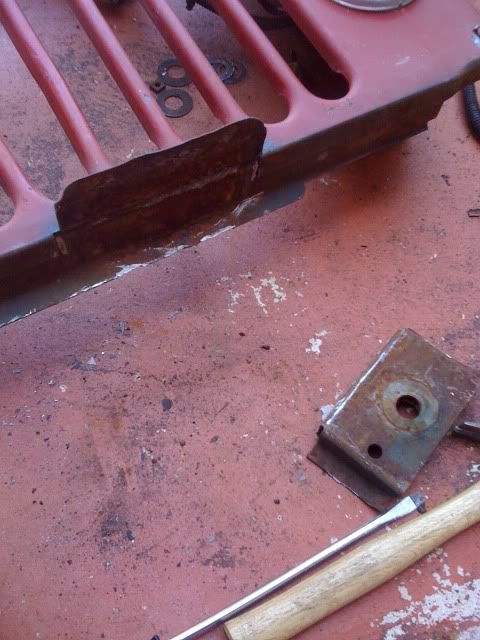
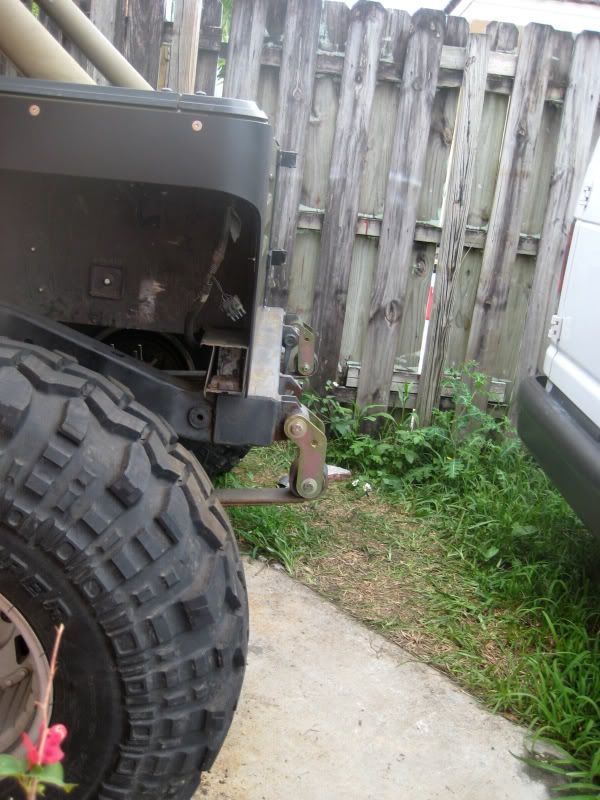
Only spent a few hours on the Jeep today. I cut of one of the steel plates completely and I cut enough on another to bend it back. I also worked on the two booger welds on the inside of the frame. Got tired of grinding and cutting, so I stopped for today.
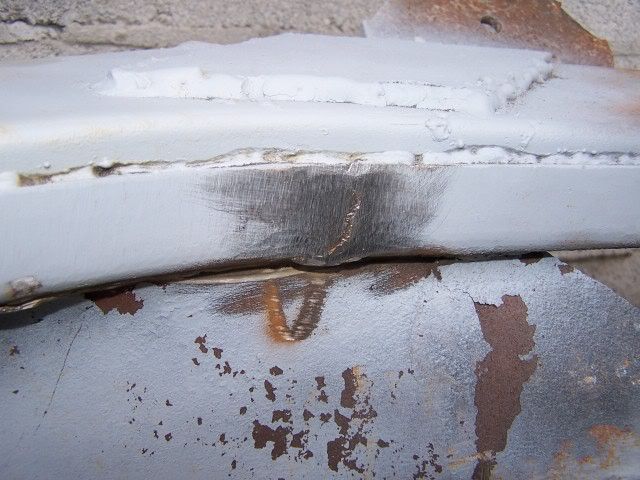
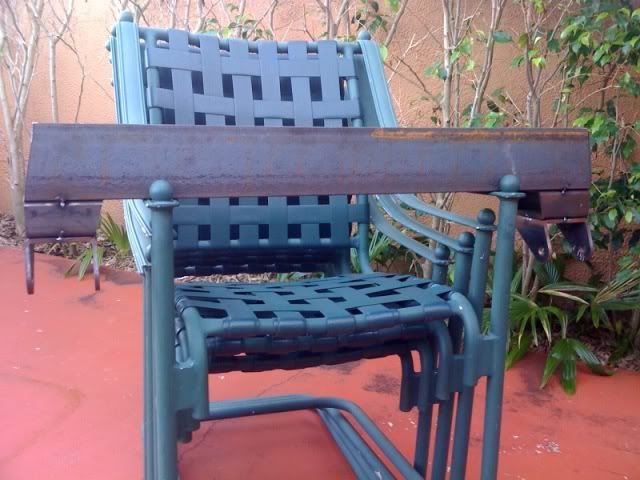
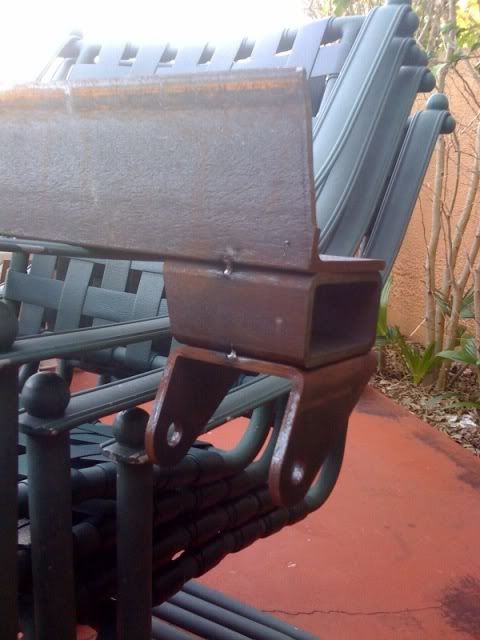
before
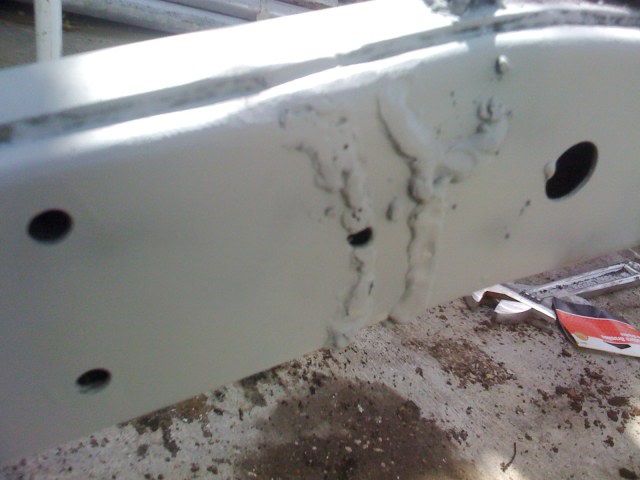
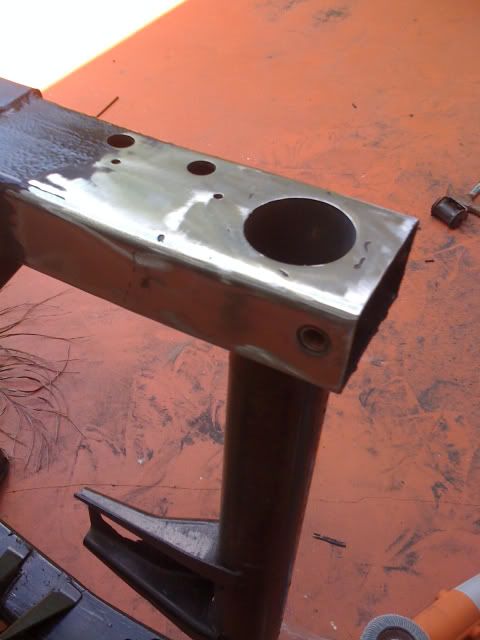
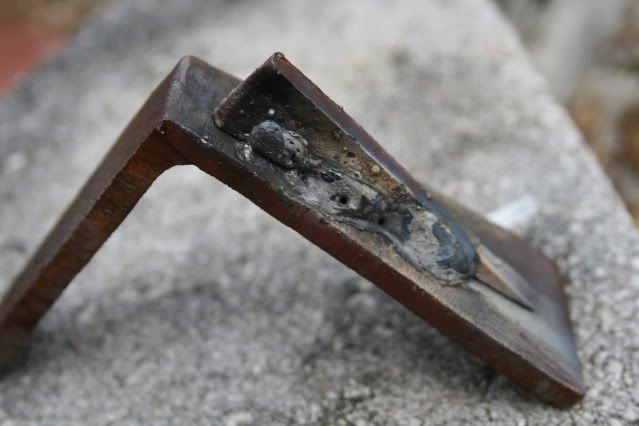
after
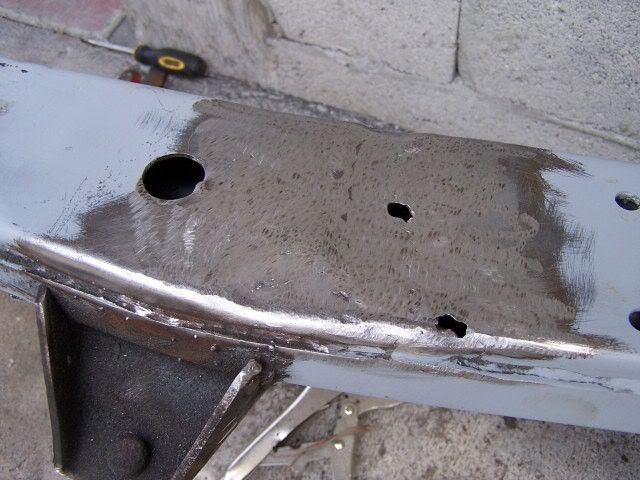
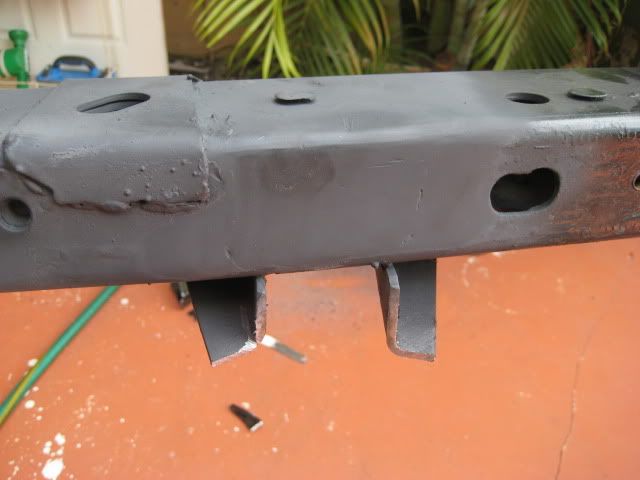
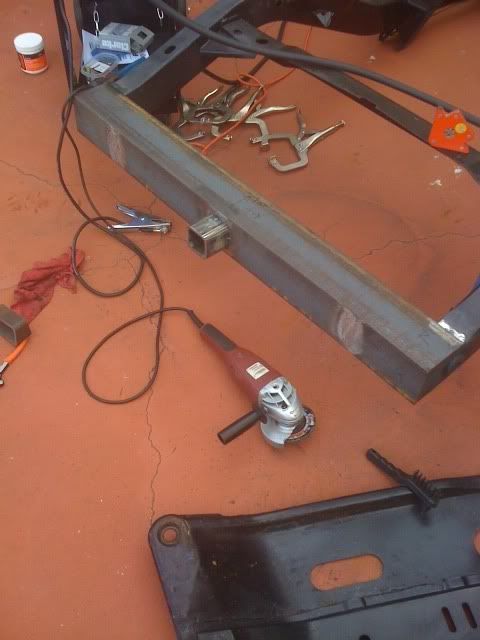
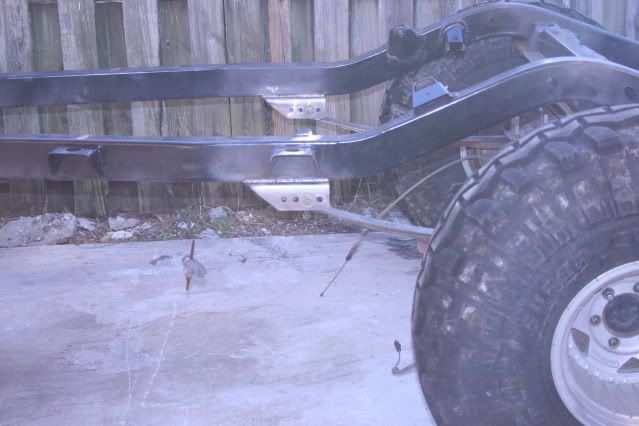
So the goal for now, since I can't find a good CJ7 frame, is to finish cutting out all of the plates that the previous owner welded on. Then grind them all smooth and clean the frame.
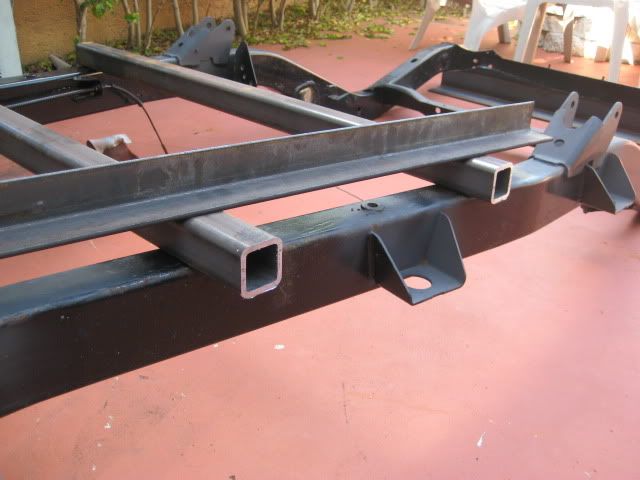
Once the old welds and front spring hangers are cut out and ground smooth, the plan is to grind a groove following each crack in the frame which will be filled in with the welder. Then I want to grind that down smooth enough to weld on the MORE frame plates that go on the outside and the home made plates that will go on the inside. It's a lot of work but a onetime deal.
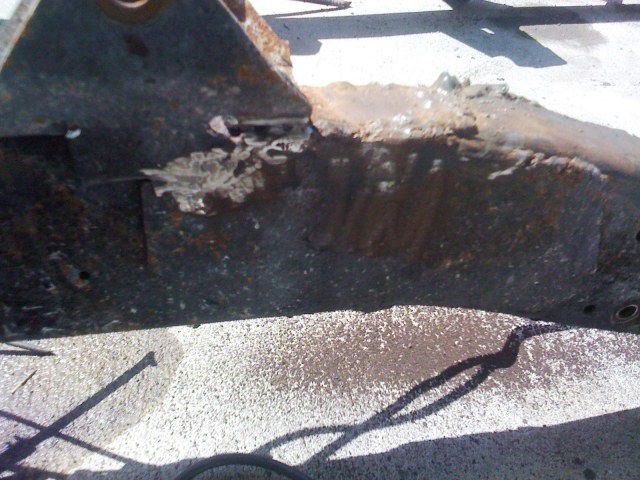
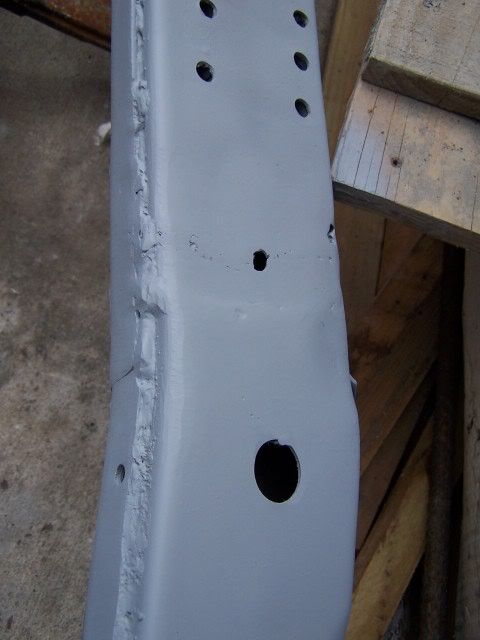
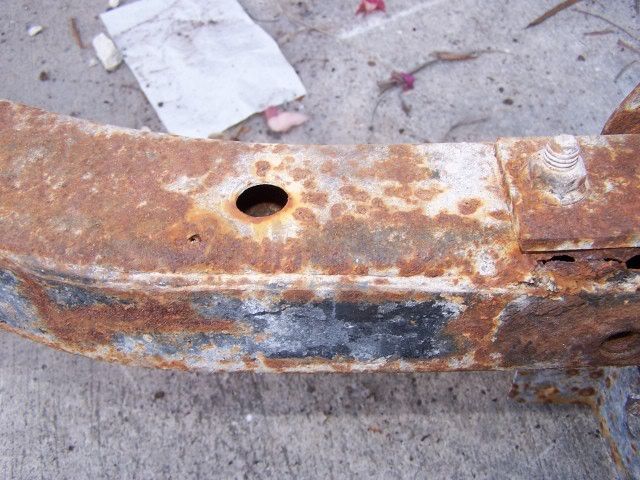
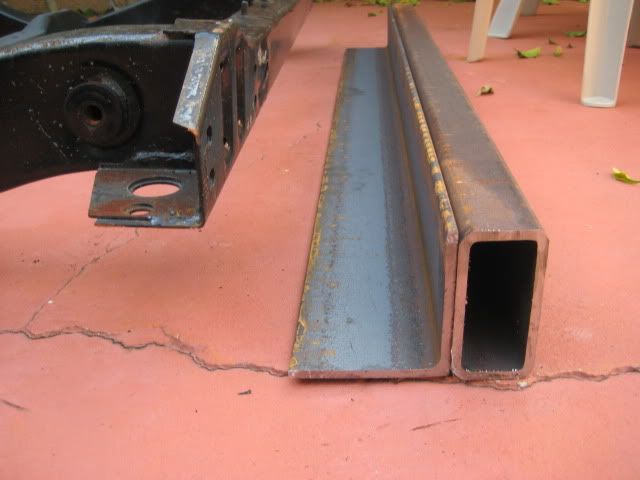
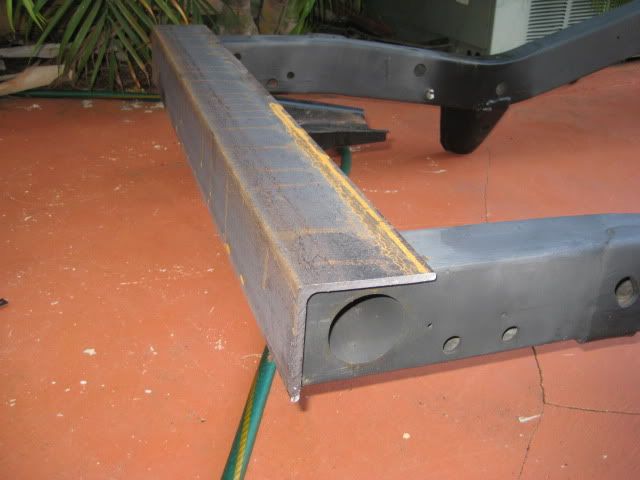
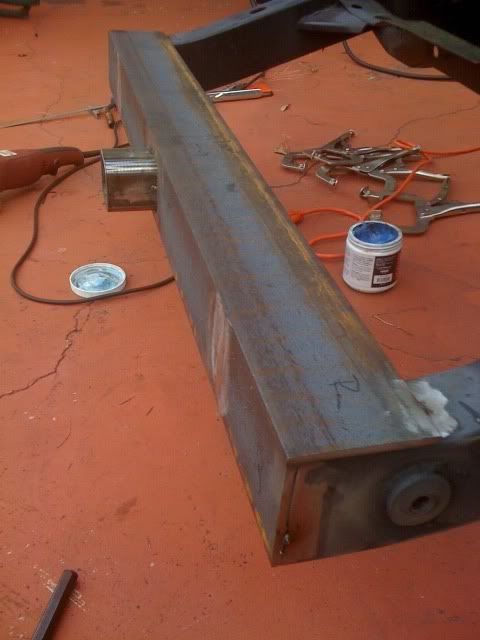
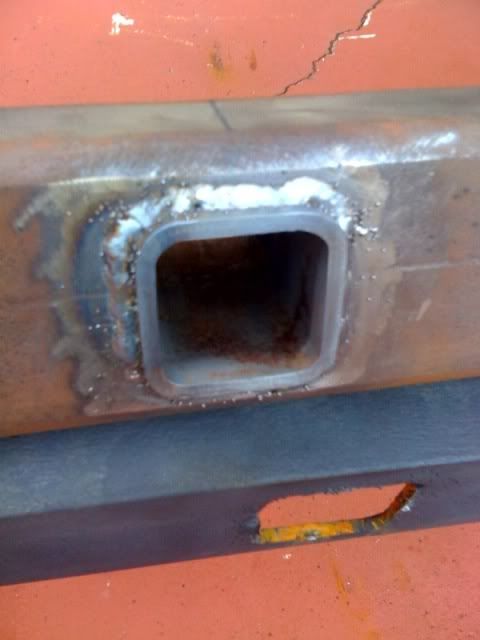
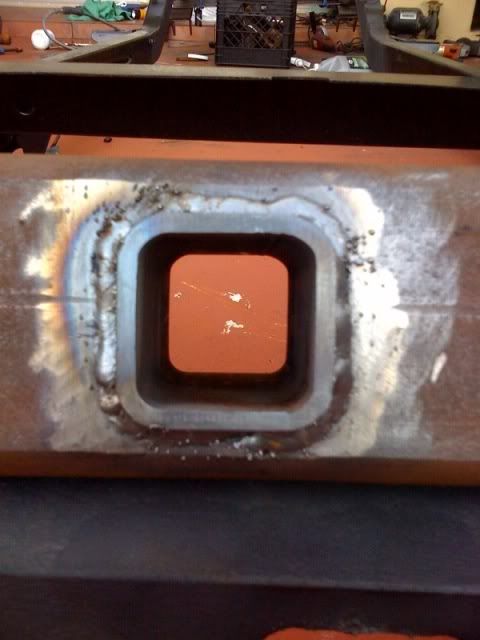
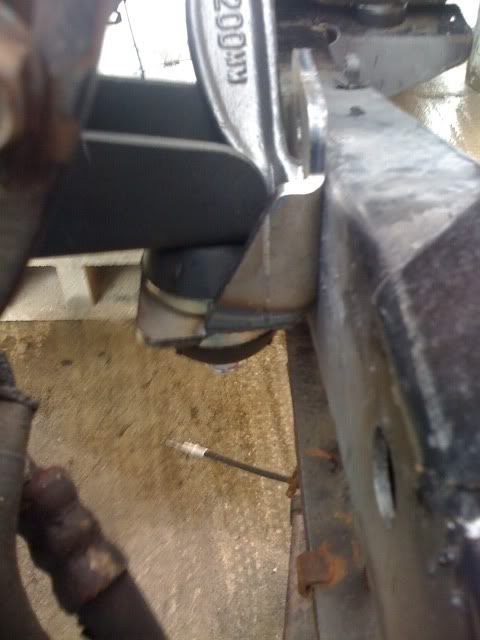
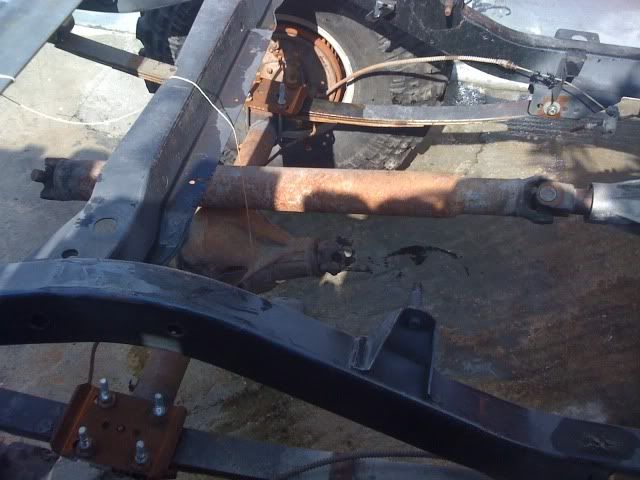
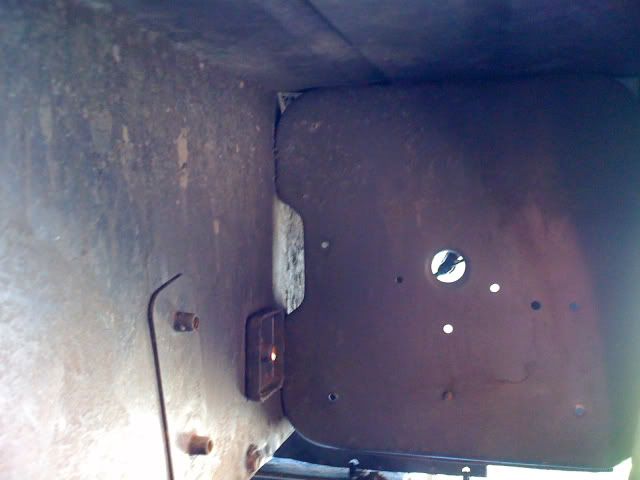
Once all that's done, Ill have to deal with the rear of the frame. The crossmember is trash so I want to replace it with some stronger steel. You can see in the pics that a small section needs to be replaced with some box tube.
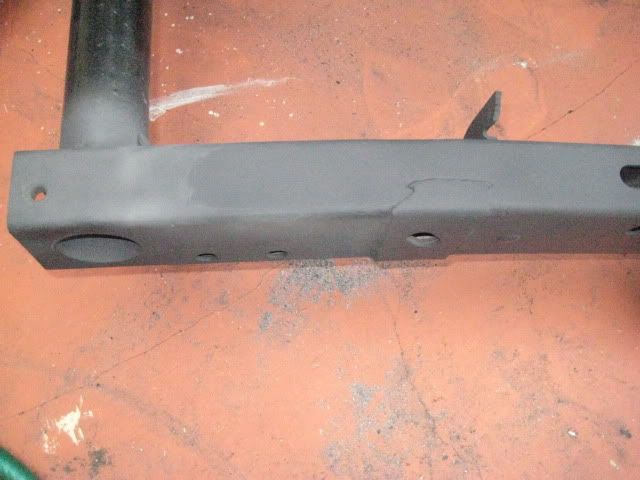
After all that it's getting POR15 and Chassis Coat and Ill be done with this frame crap once the BTF stuff gets welded on.
This frame sucks, but I don't know if I want to start stripping another jeep again just for the frame. The whole thing with this one was that the parts I sold almost cover what I paid for it and I would still have a frame, glass tub, hood, grill and all of the dash stuff and interior. Now to start again would really suck. If I could just buy a rust free frame thats ready for paint then it would save me the money and time that Ill spend on this frame.


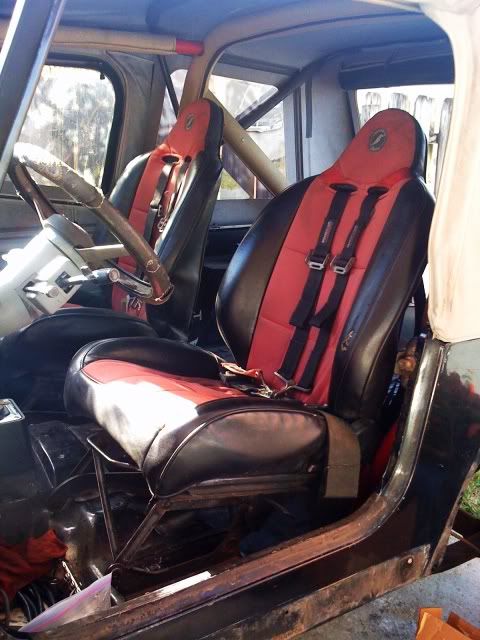
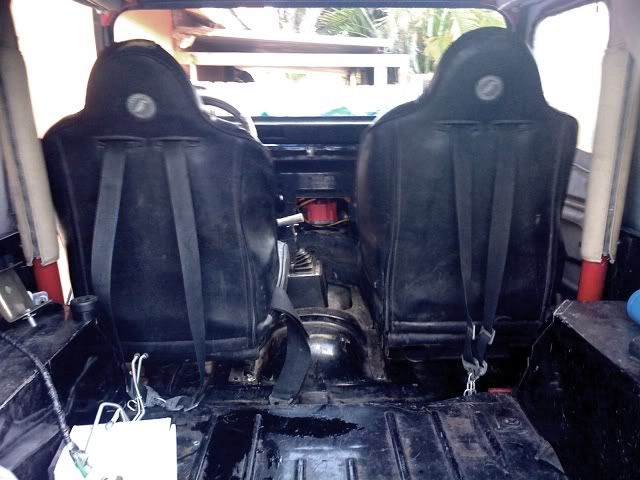

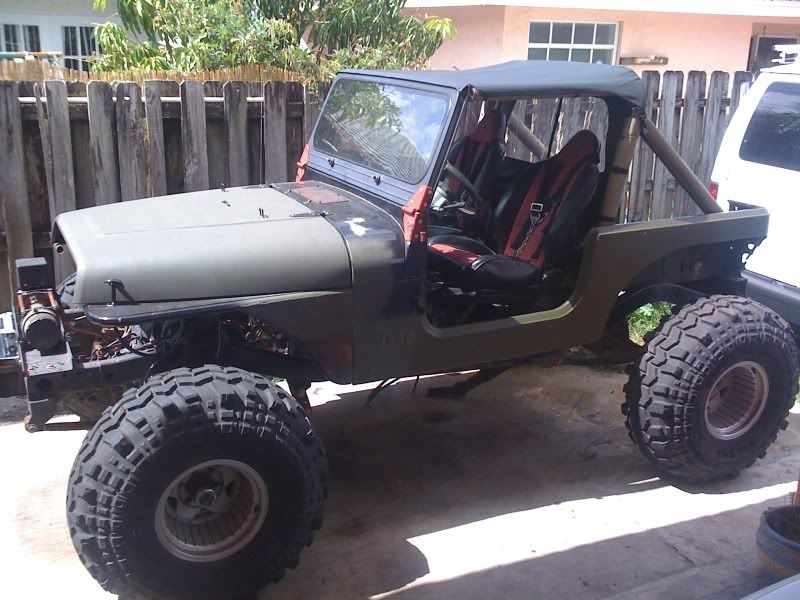
 nice seats
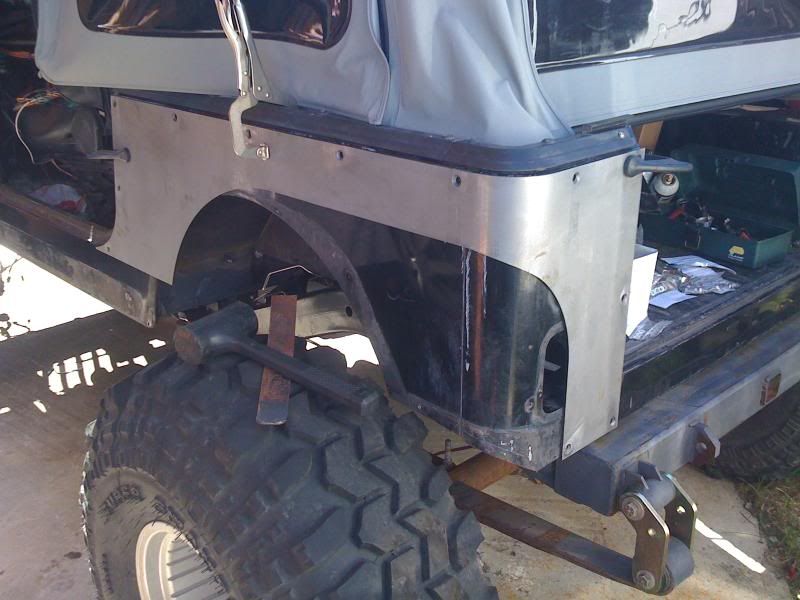
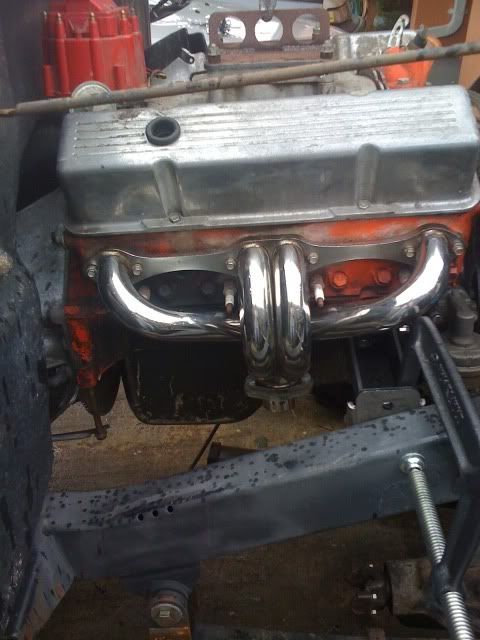
 you elimated the rounds!


