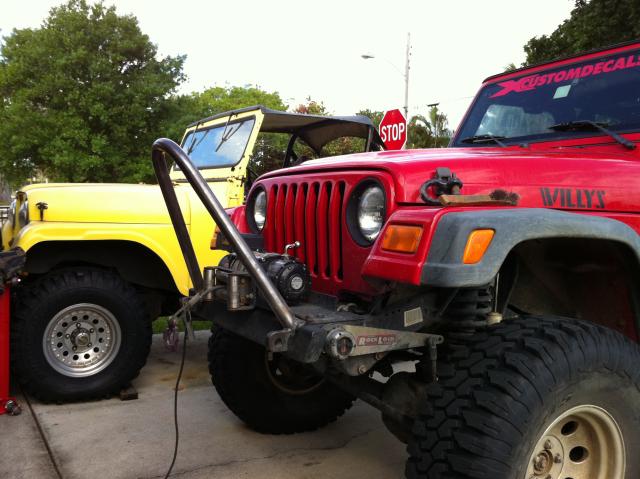
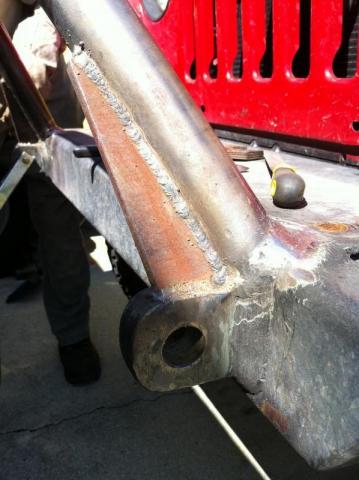
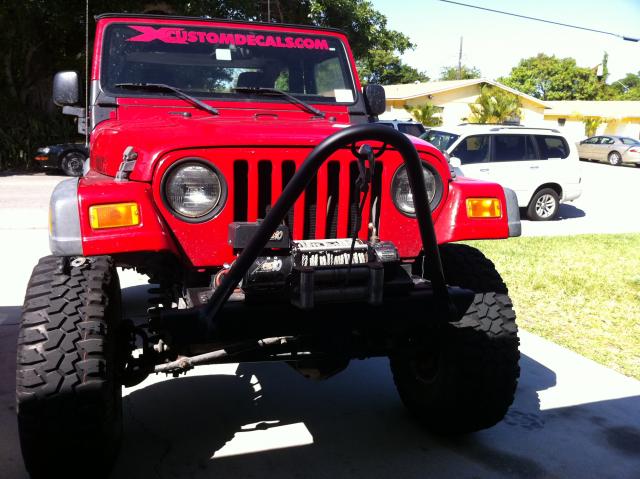
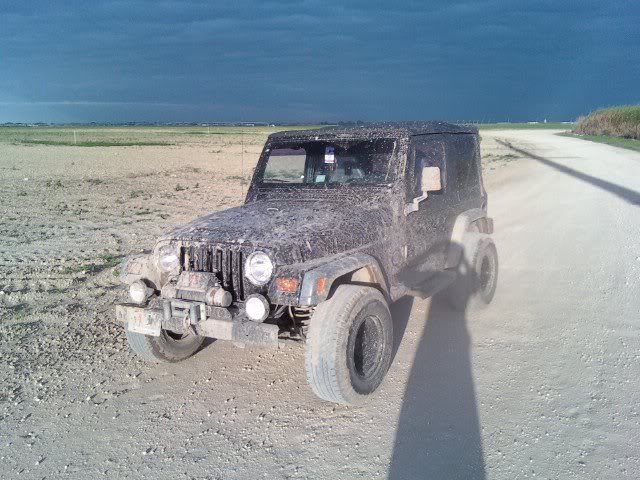
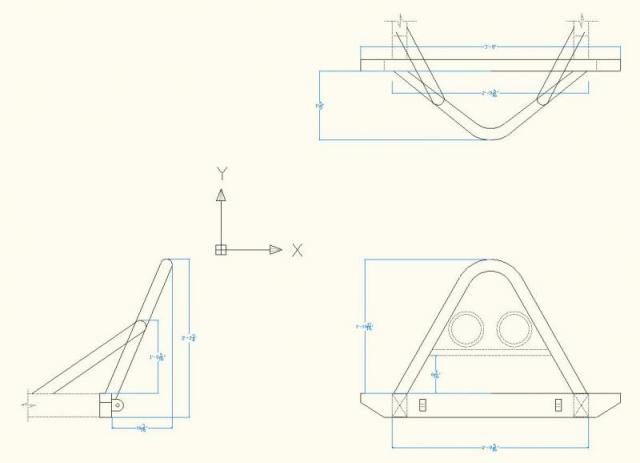
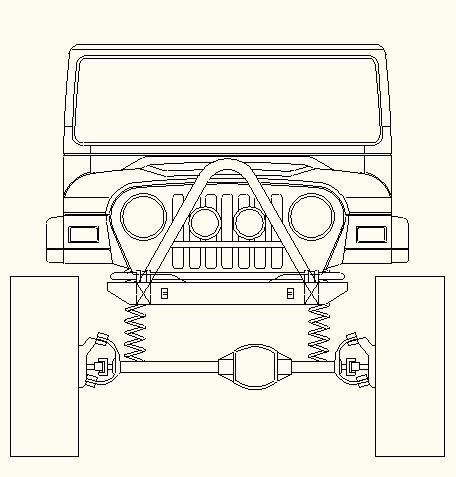
I had the desire to learn from my dad welding and fab work and thought the bumper was a great start. I took CAD classes in High School which helped me in the design of the bumper. I started looking arround the net for ideas before I started the CAD design. Below is the CAD design of what the bumper will eventually looke like.
Tools used:
- WELD-PACK 3200HD Lincoln Wire Feed Mig welder.
- My dad's Band saw
- Delta Drill Press thanks to Rollbar
- Reciprocating Saw
- Grinder
- Other Misc Tools
- 1/4" rectangular tube
- 1/4" steel plate
- 1" steel plate
- Square tube used for T-Case Drop (I had a second set that was sent by mistake when I bought my Rough Country Lift)
- 1/4" L beam
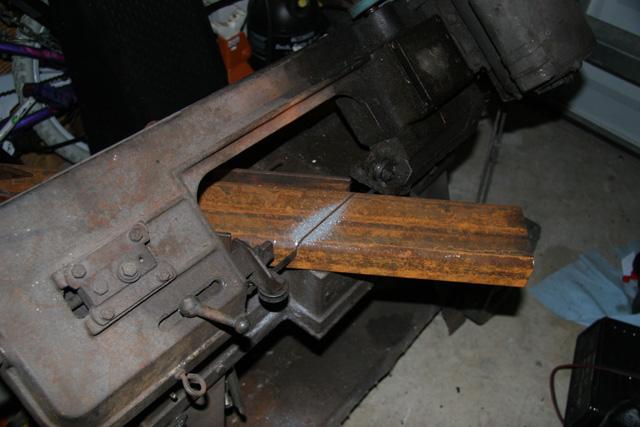
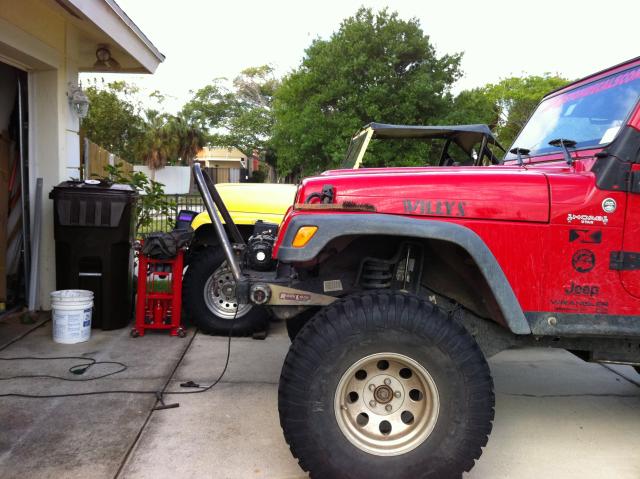
I wanted a stubby bumper to help climb rocks in the future so I cut it about 3'-8" and added the angled cut to give it some finish.
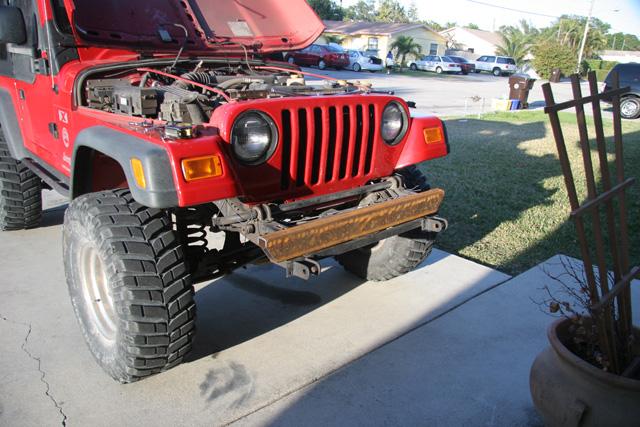
I used the steel plate as the top cover and the top mount point of the bumper also as a winch plate so I needed to cover the entire area. The plate I had did not go all the way to the back to I used the 1/4" L beam I had thanks to Skinner
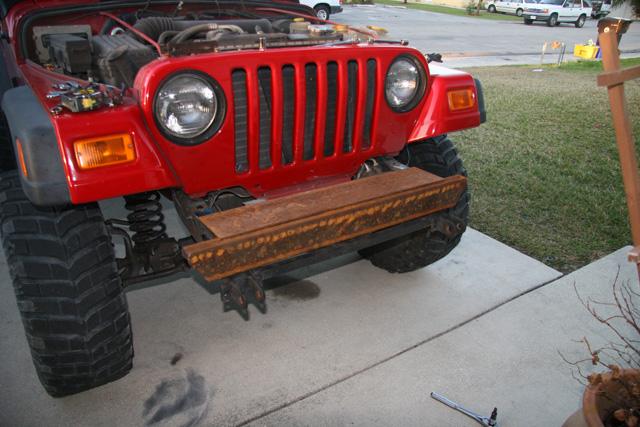
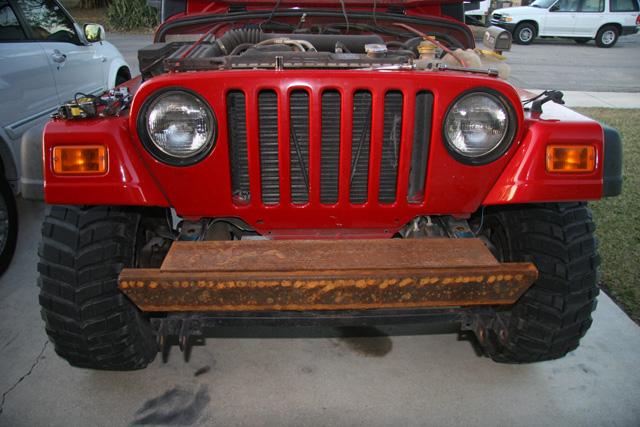
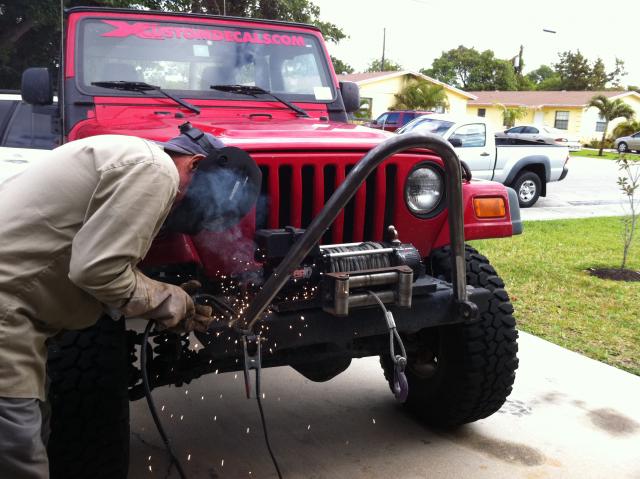
After setting it up on the Jeep to get the acurate position I tacked weld it and started the weld process of the plate and rectangular tube.
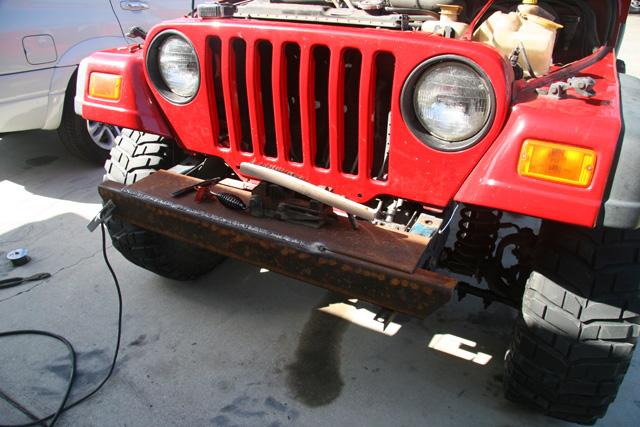
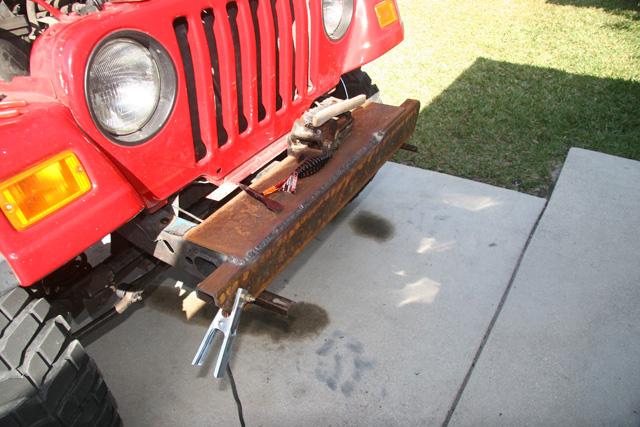
After I welded the steel plate to the rectangular tube it was time to close the ends as well as grind the welds to give it a smooth finish. I asked my dad for help on how to close the ends and we used parts of the square tube used for T-Case drops. Unfortunately I do not have any pics of it bur we made some cuts and bent the tube to give it the same shape as the bumper ends and hammerd them into each end og the bumper until they were flush. We then proceeded to weld them and filled any gaps then grinded it until it was nice ans smooth and looked like it was part of the bumper. We carfully measured and drilled the mounting holes and continued to grind and sand the steel.
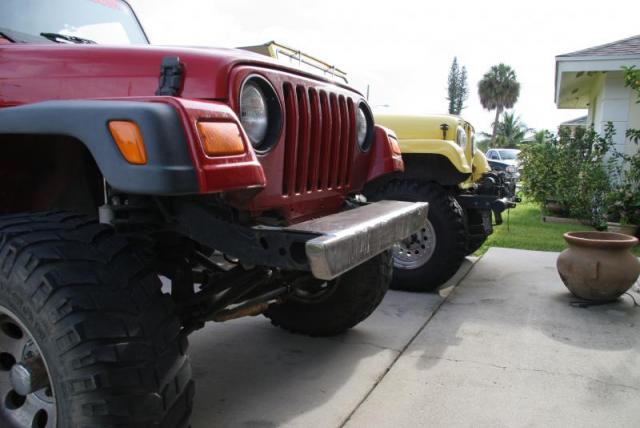
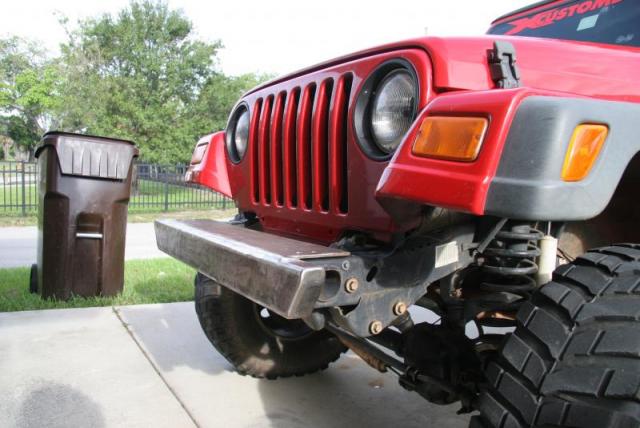
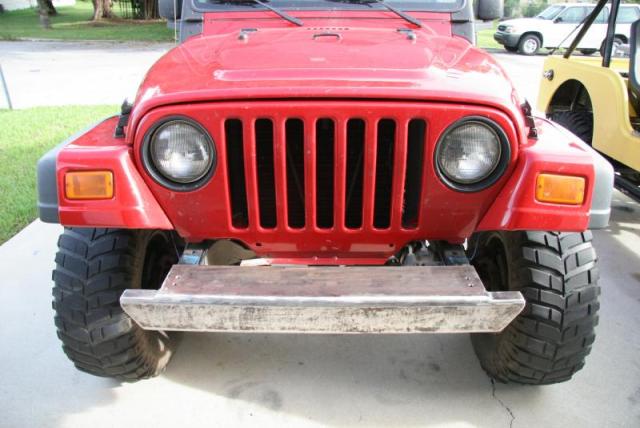
After this stage we worked on extending the plate using the section I cut of the 1/4" L beam. My dad suggested doing a diagonal cut so both steel plates come together with a V at the junction so we can fill it with weld to give it the best structural strength. After all welding completed we once again used the grinder and sanding disks to gice it a smooth finish.
My dad prior to retiring from work made the D-Ring Tabs for me from 1" steel plate. Drilled 1" holes for heavy D-Rings. Since I hear that the D-Ring tabs should be put thru the the bumper rather than just welding on the front, I decided to as my dad what he would recommend. (Note he has been welding for over 40 years) He told me that it was not necessary to to do a passthru setup. He has a heavy duty arc welder and used it to weld the Tabs in place. He gave each tab a 1/4" bezel so that the weld can start close to the center of the 1" steel Tabs giving it better hold and continued to build out the weld to releave my fears of it not holding even though it only needed half of the weld we did. The reason we used the arc welder was becasue my mig was not rated for 1" this steel.
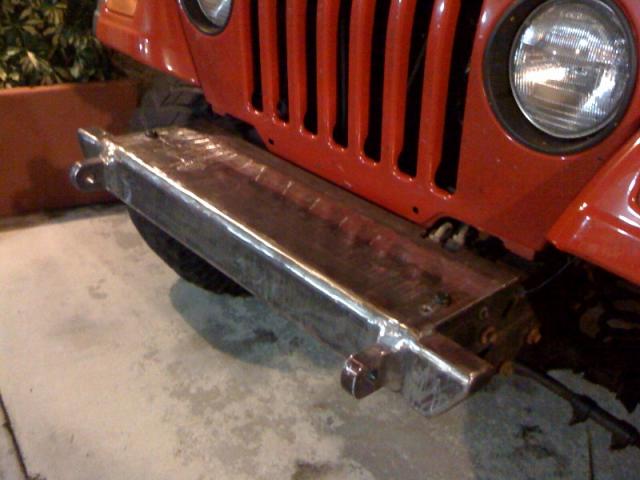
I added the bottom mount tabs and prepped it for painting. I used Etching Primer and Duplicolor Bedliner rattle can spray.
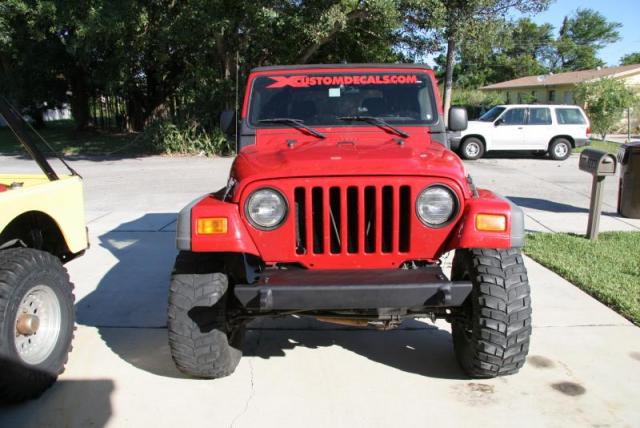
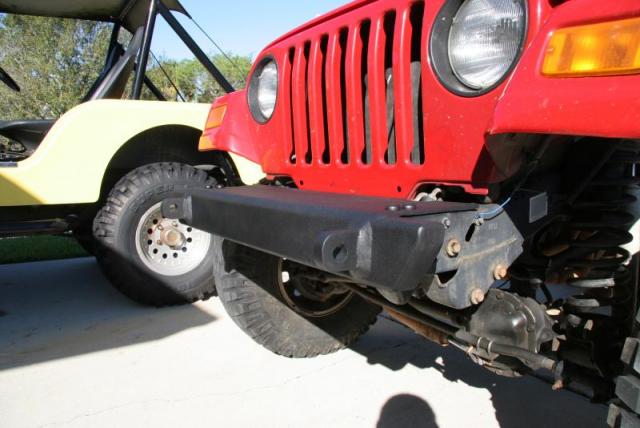
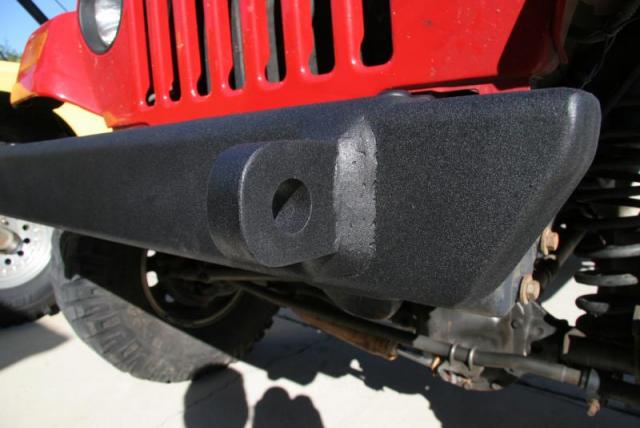
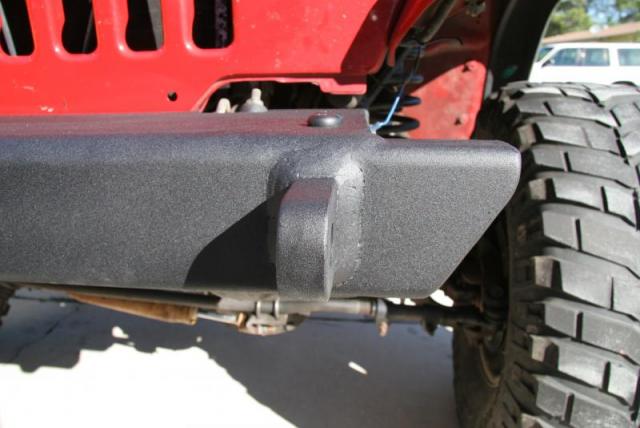
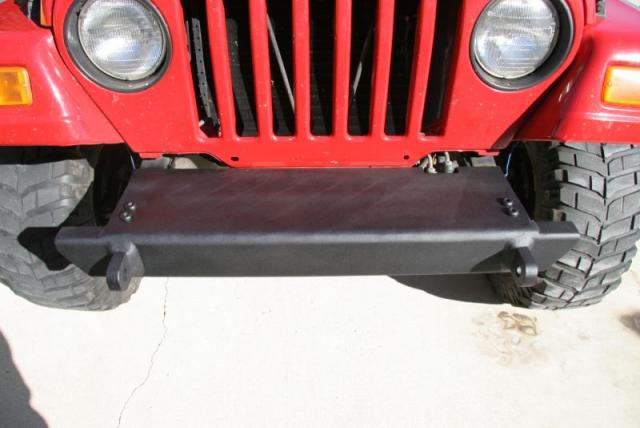
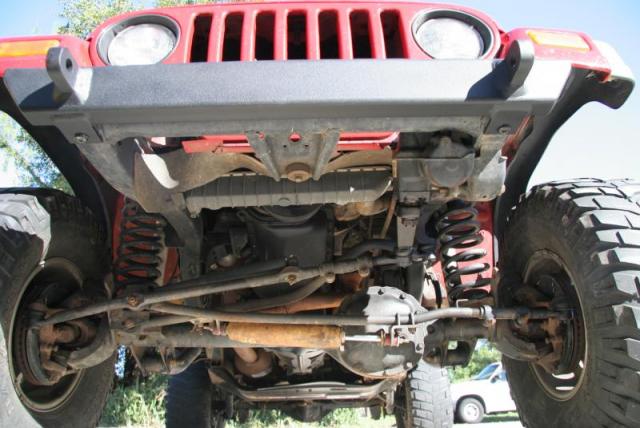
I still need to add the winch and fairlead attachment.
The stinger will be built when I buy a tube bender. I will also add a Steering Box skid.
PS: Next project will be a tire carrier rear bumper.
 Help
Help


